
How to Use Sweet Spooky Halloween Paper for Treat Bags, Tags and Journal Pages
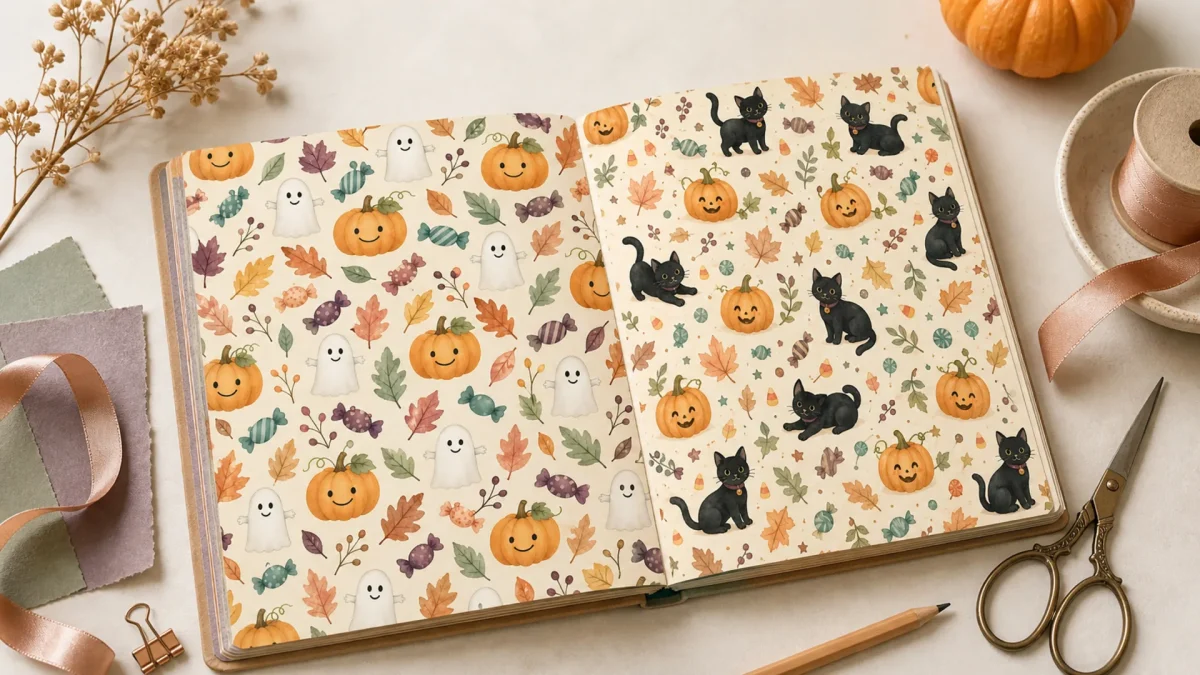
Quick answer: Sweet Spooky Halloween paper works best when one pattern carries the mood and quieter patterns give tags, journaling and photos room to breathe.
Editorial note: This guide is based on the current ScrapBujo catalog and practical craft-planning principles. The featured image is an AI-assisted editorial mockup built from the actual collection previews shown below; it is not presented as a photograph of a completed print test.
Who this helps
This plan is for crafters who want an October project that looks coordinated but can be completed in short sessions. It is also useful when you need a few themed pieces rather than a full party set.
What to gather before you start
- One coordinated paper collection
- Plain cardstock for bag or tag bases
- A paper trimmer, adhesive and a dark pen
- A small envelope or folder for leftover pieces
- One test sheet before printing a full batch
A practical plan
Start with the quietest paper
Use the least busy paper for the largest bag panel or journal background. It gives the pumpkin, ghost and black-cat motifs in the collection a place to stand out later.
Turn one sheet into a repeatable tag
Cut a tag template from cardstock first, then place it over the paper to reduce waste. Keep the hole and writing area clear instead of trimming through a character or a strong motif.
Make the treat bag do one job
A bag only needs a front panel, a closure and a name area. Avoid layering three large patterns on a small surface; one feature paper and one narrow strip are usually enough.
Save the collection for the journal
Keep two or three contrasting papers flat for a later October page. A short journal entry, a photograph and one small paper pocket can tell more of the story than a page covered edge to edge.
Use offcuts as evidence of the day
Small pieces can hold the date, a menu, a child’s drawing or a note about the party. Store them in a labeled envelope rather than scattering them across every layout.
Check the print before batching
Print one page at the intended size and inspect fine motifs, margins and the darkest areas. Screens, printers, ink and paper can change the final color, so a sample is more useful than guessing from the monitor.
Common mistake to avoid
The common mistake is treating every pattern as a feature. Repeat one or two motifs, leave quiet space for handwriting and let the photographs or treats provide the strongest contrast.
Questions to answer before buying
- Do I need a home printer or a print shop?
- Will the paper size fit the bag or tag template?
- Which surface must stay blank for names or notes?
- Can I test one sample before committing to the whole project?
Make the first session small
Start with one finished surface, not the entire project. For this guide, begin with one coordinated paper collection and one clear memory or use case. A small first session makes it easier to notice whether the paper, scale and writing space are doing their jobs before you spend time trimming every piece.
Run a useful quality check
After one sample or one assembled page, check four things: the main subject is visible, the writing can be read at normal size, the edges are not accidentally cropped and the page still makes sense without an explanation from the maker. If the project is printed, compare the result with the screen and record the printer, paper and scale setting. Colors can vary with screen, printer, ink, paper and print settings.
Keep a project note for next time
- Record the collection name and exact format used.
- Note which paper became the background and which became the accent.
- Write down the size of the photograph, card or tag that fit comfortably.
- Save one sentence describing what you would change on the next page.
- Keep the source link with the finished project so file details and current offers can be checked later.
Mini FAQ
Do I need a home printer or a print shop?
Answer it before you buy or print. The collection page and the exact Etsy listing should confirm the file count, size, delivery method and current eligibility; a styled mockup can show a possible arrangement but cannot confirm those commercial details.
What if the first layout feels too busy?
Remove one layer before adding another. Keep the focal photograph, the most useful writing area and one paper surface; store the remaining pieces for the facing page or a later project.
What if the project changes halfway through?
That is normal. Keep the original source files and note the change rather than forcing the page to match the first idea. A documented adjustment is more useful than a polished page whose process cannot be repeated. Add the date, format and reason for the change so another person can understand the decision later.
Collection previews used in this guide
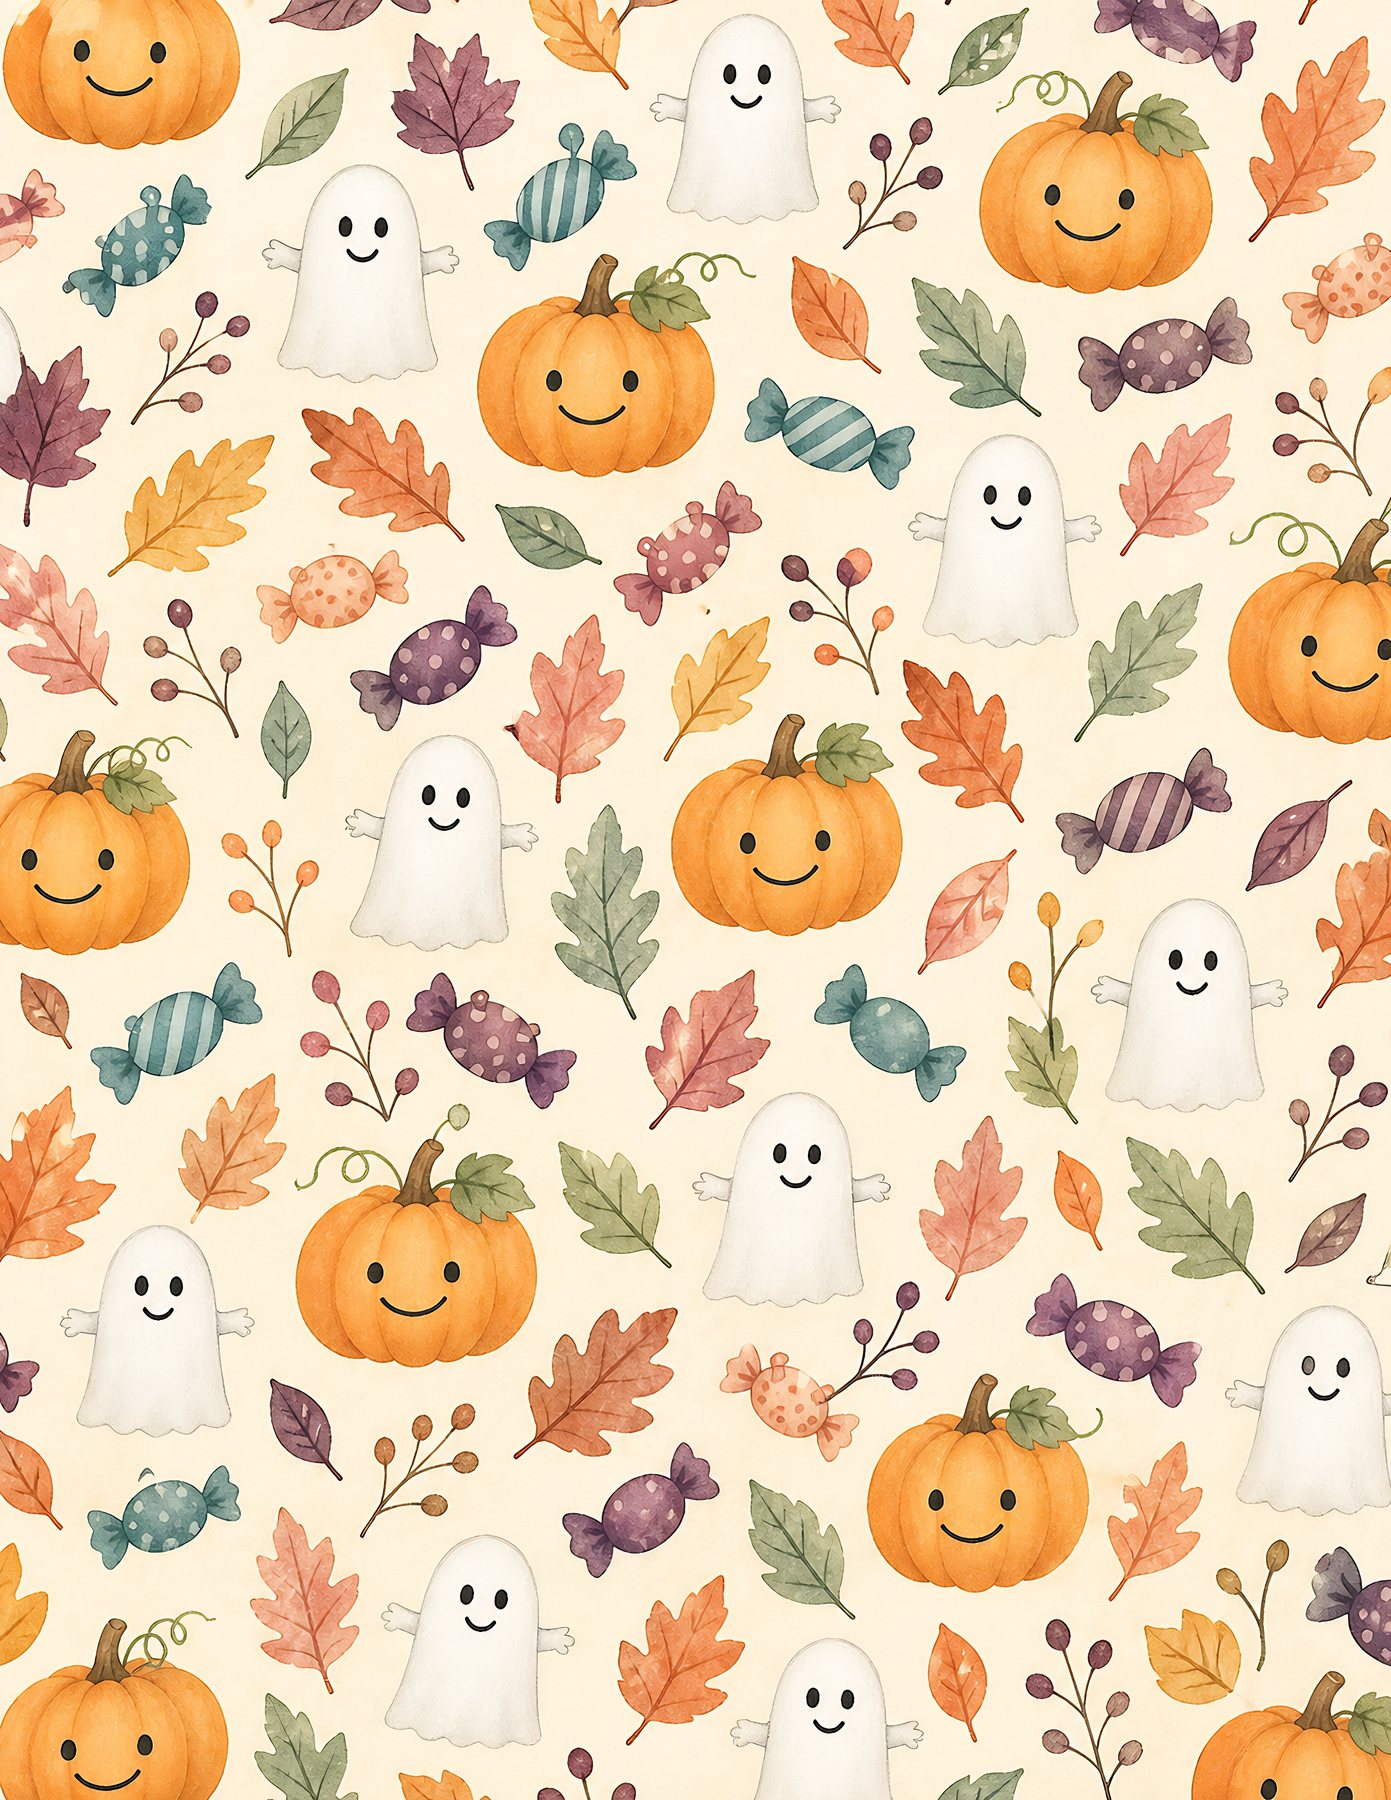
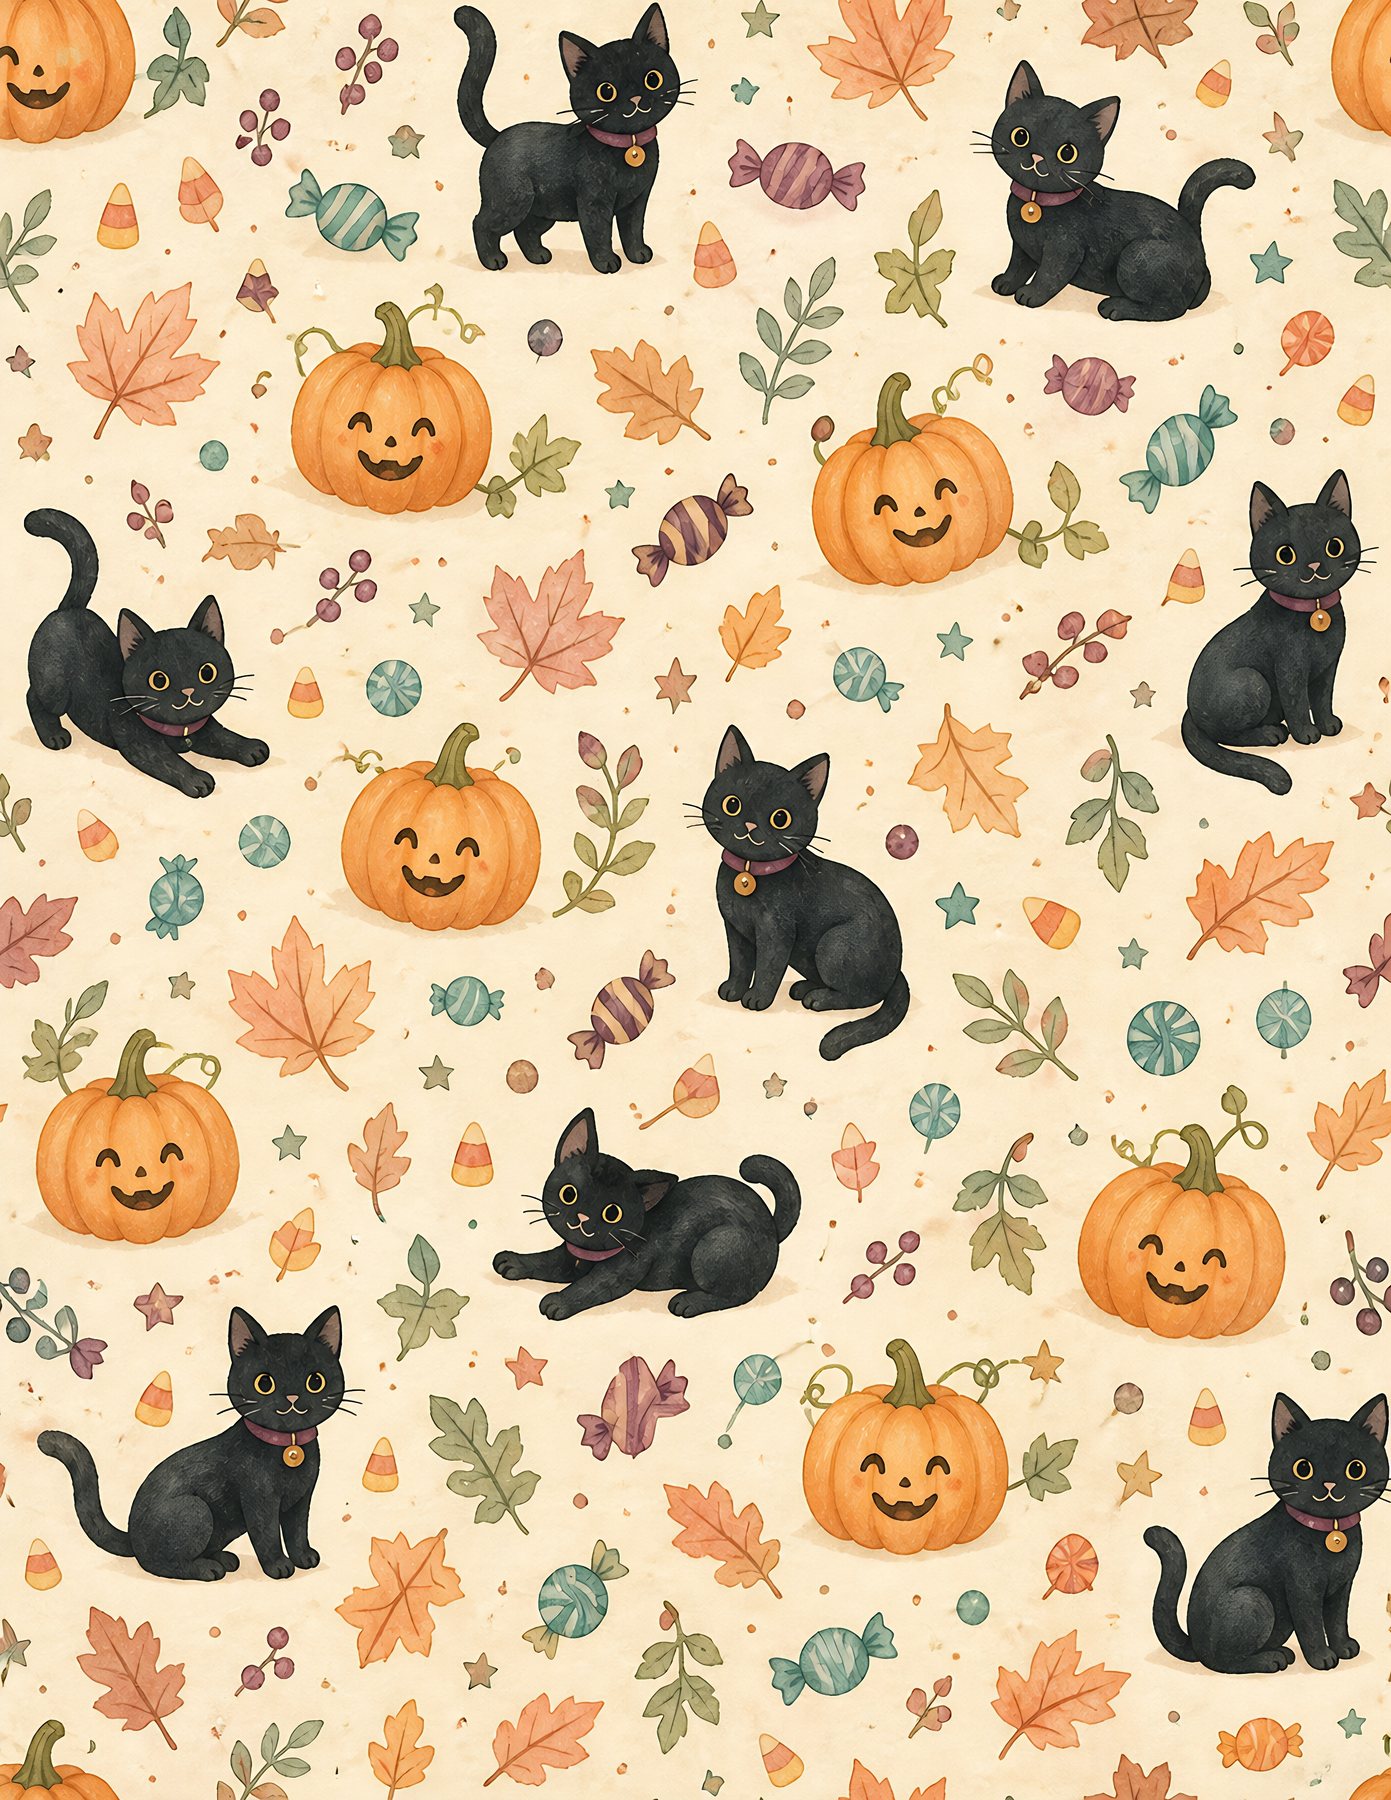
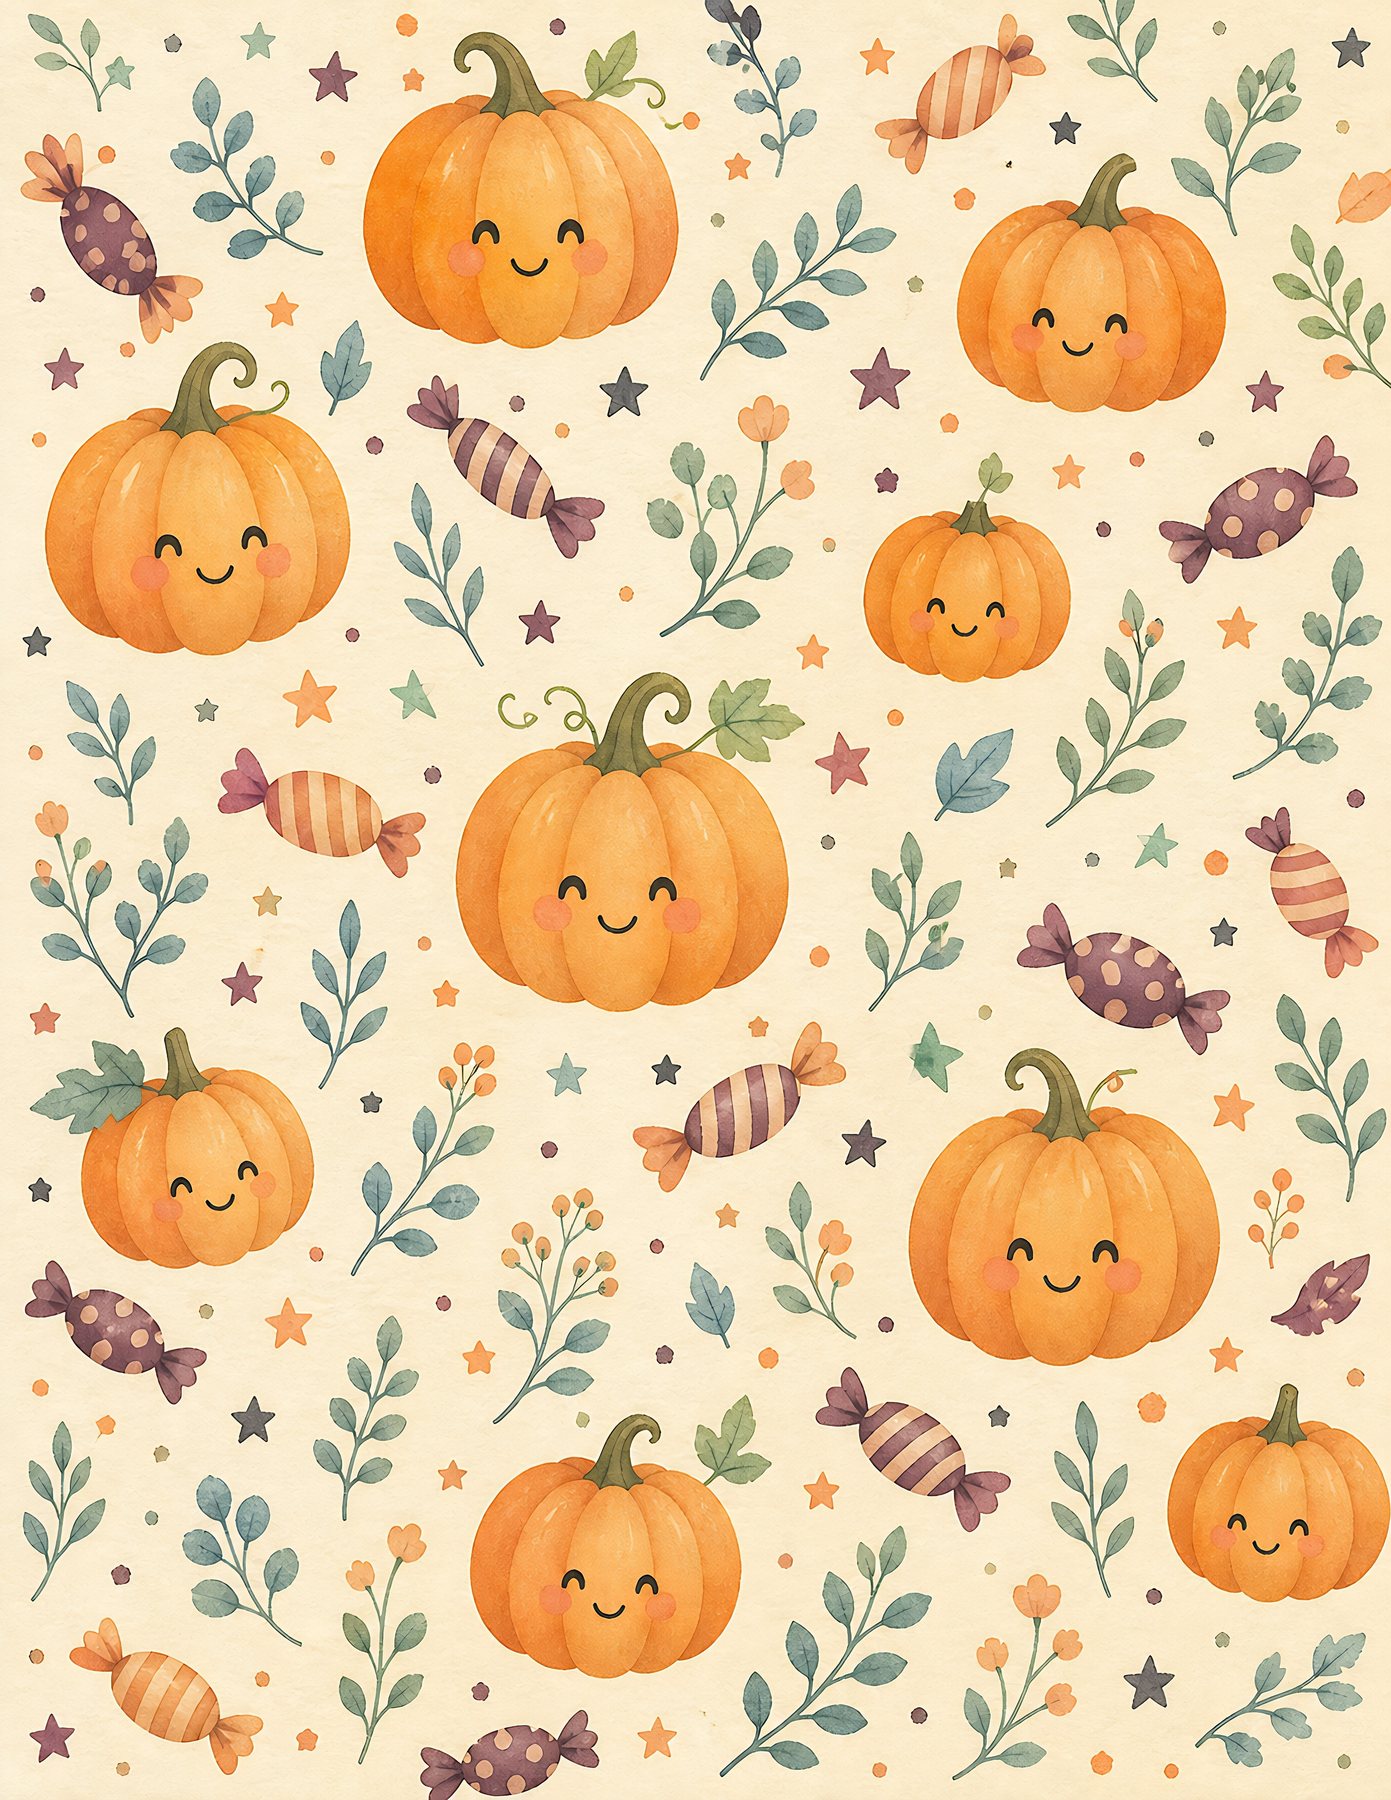
These are current ScrapBujo collection previews, not substitute artwork. They show the paper surfaces and formats discussed below.
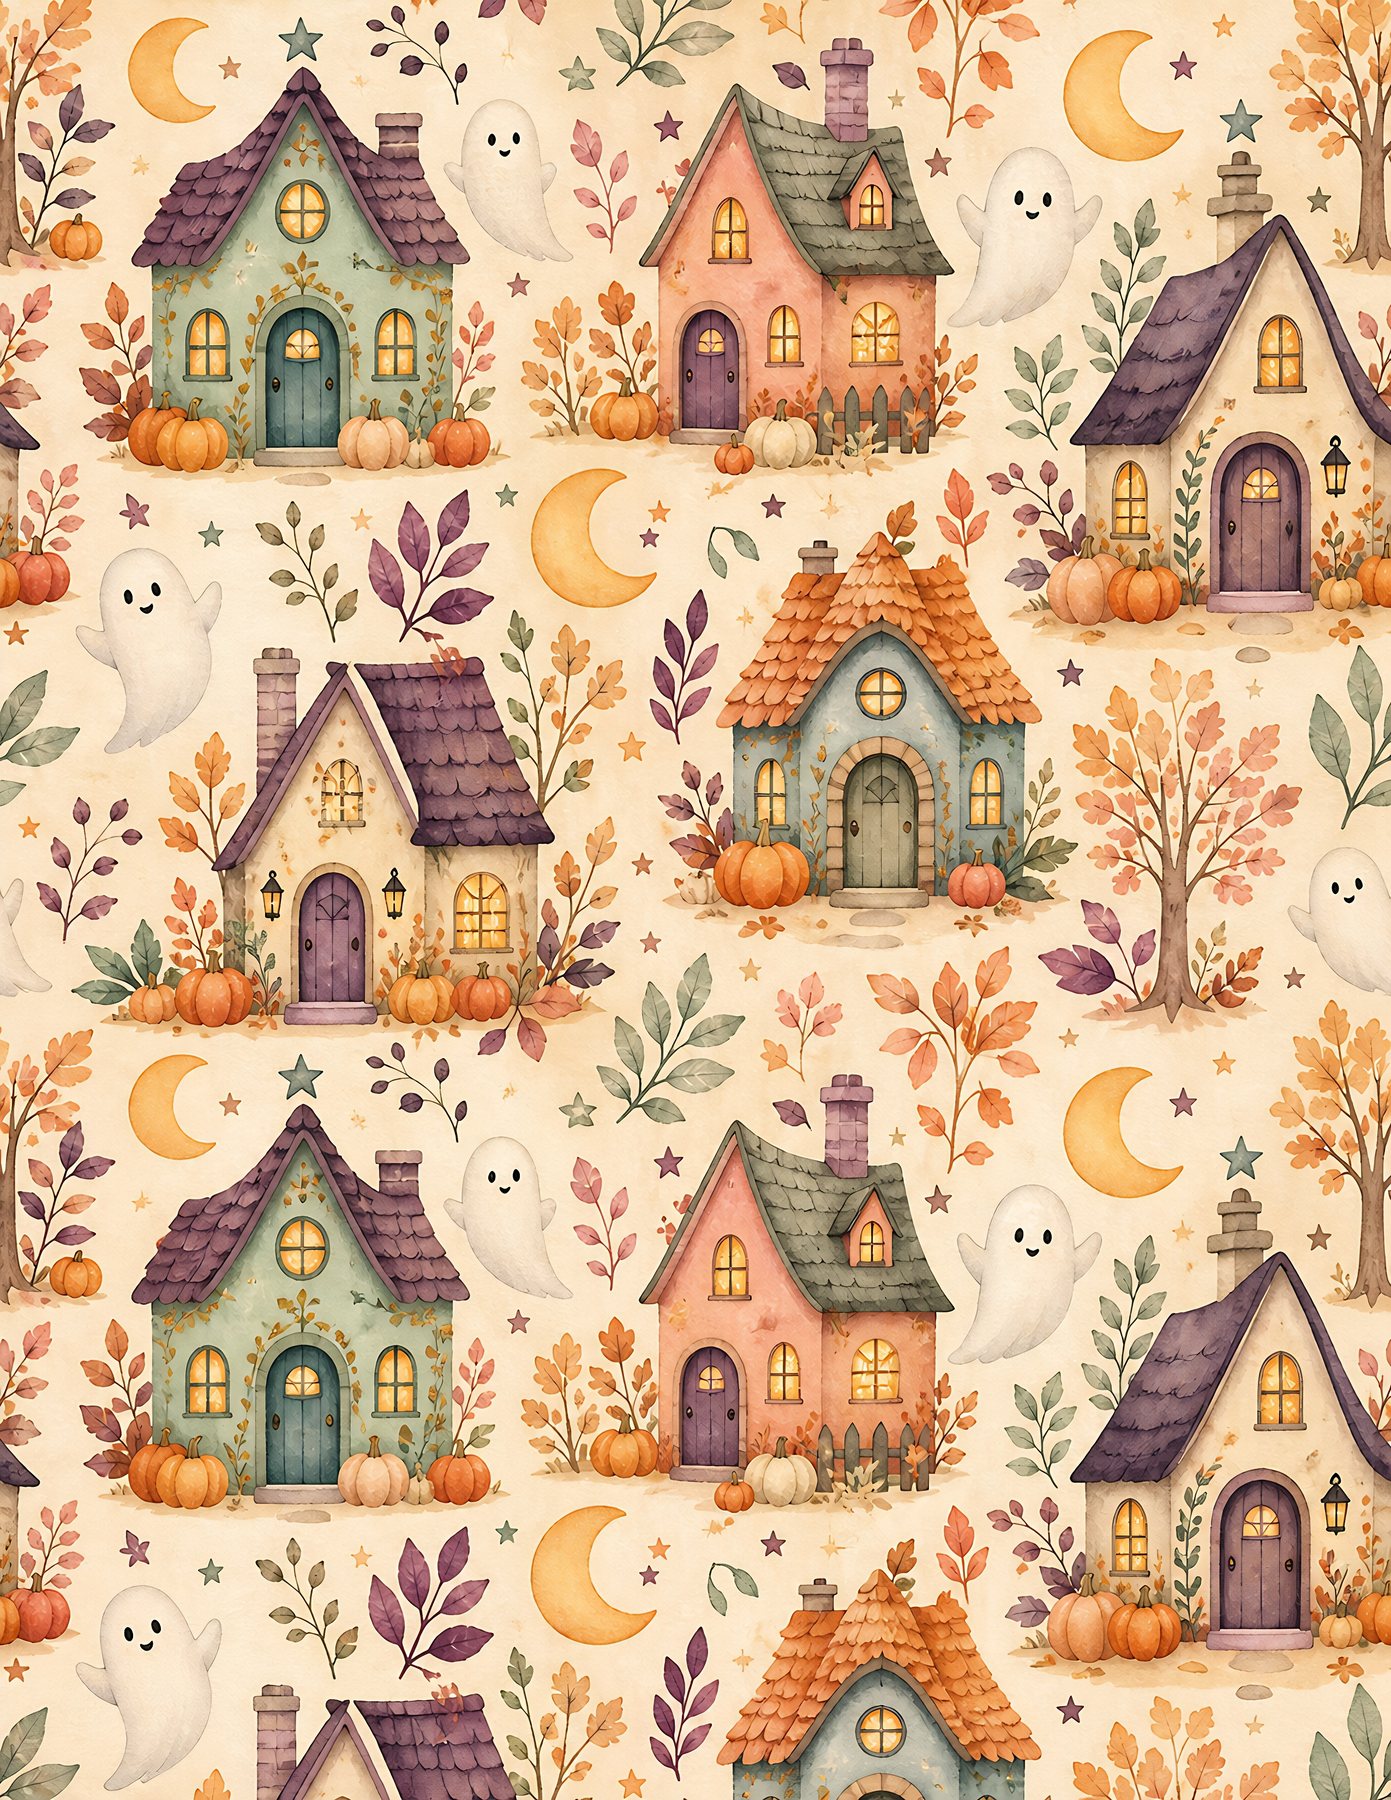
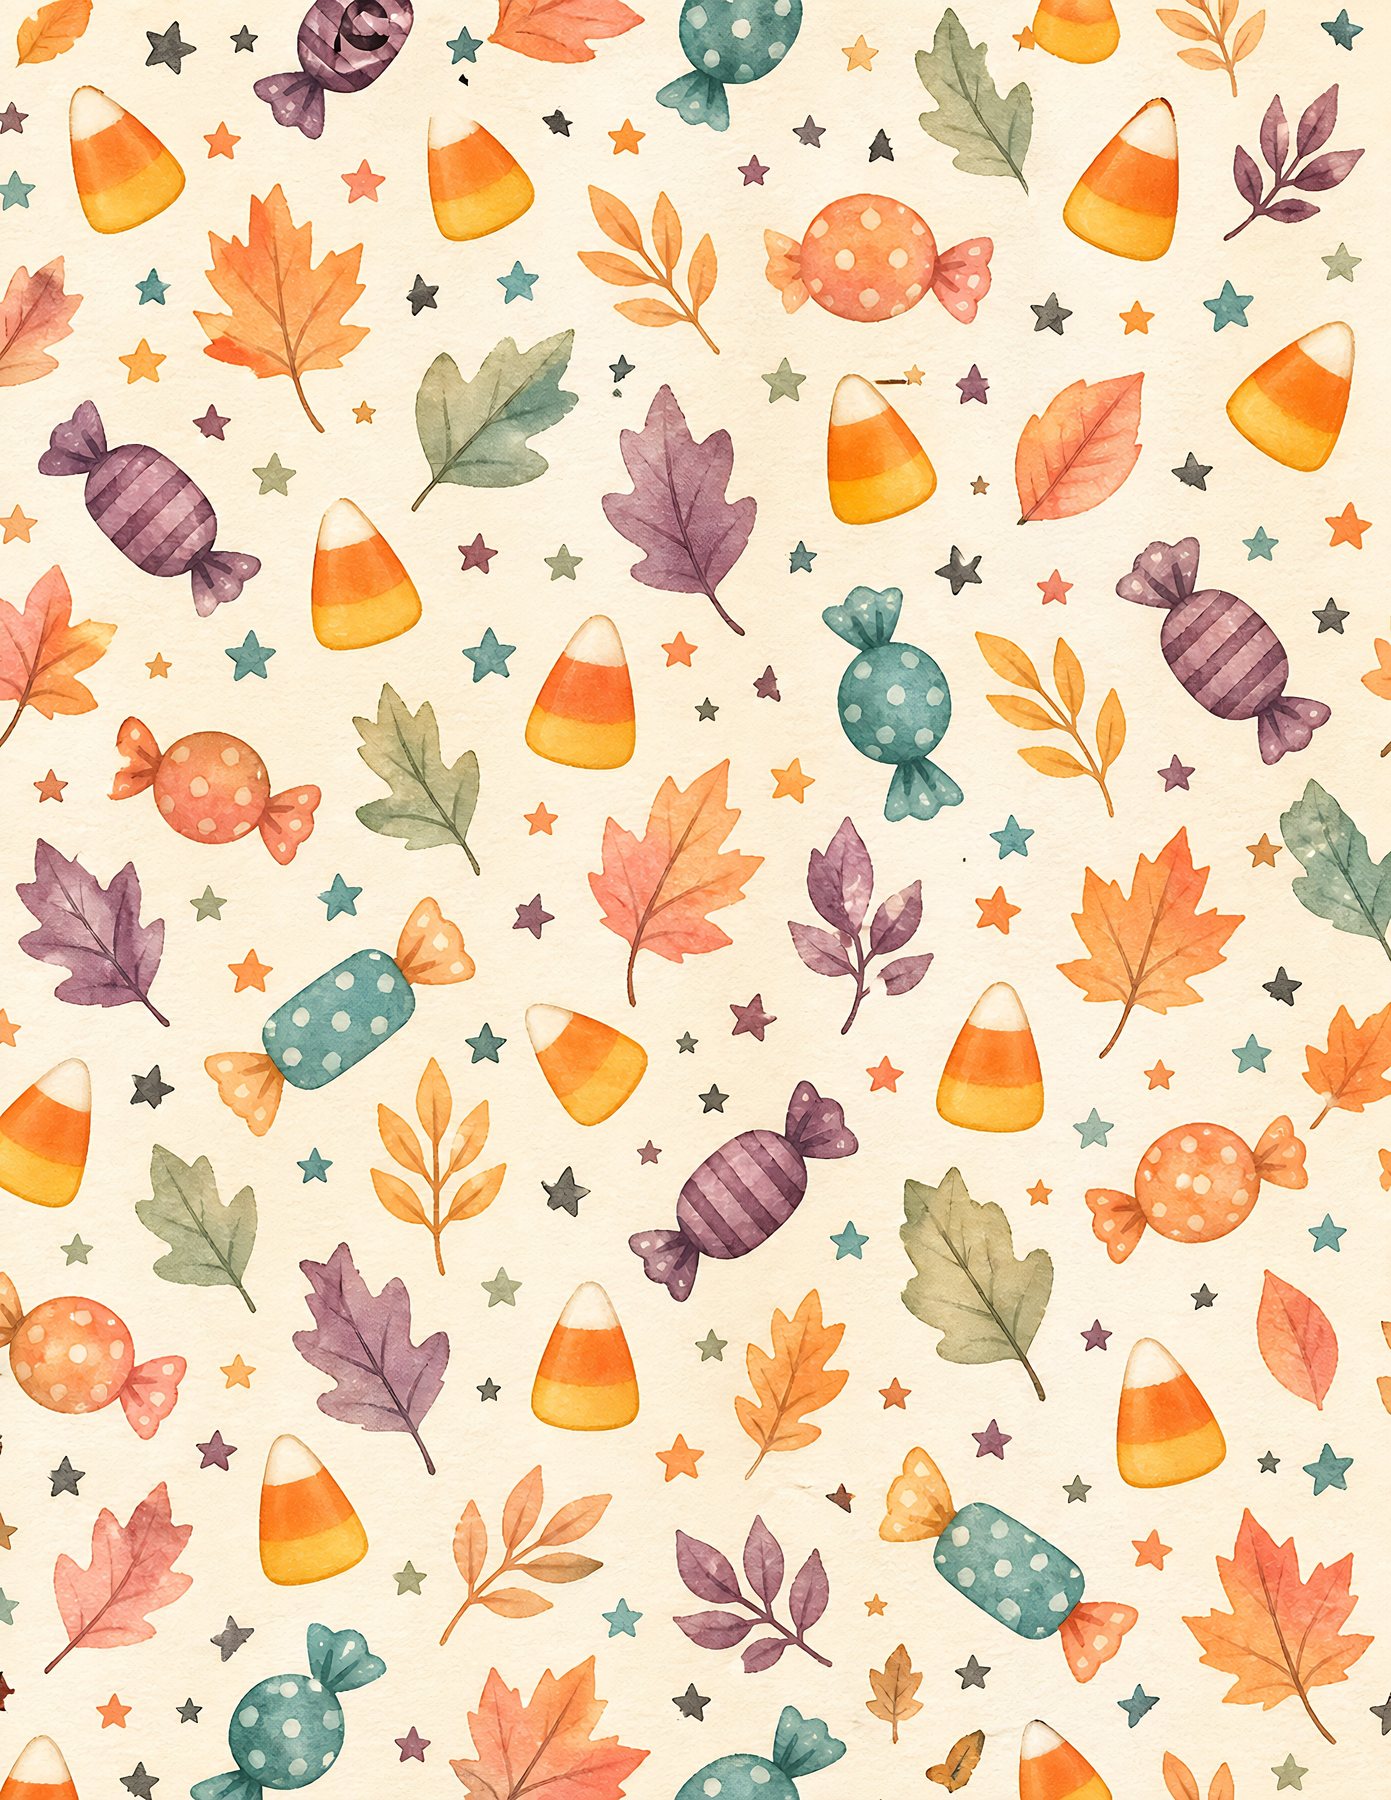
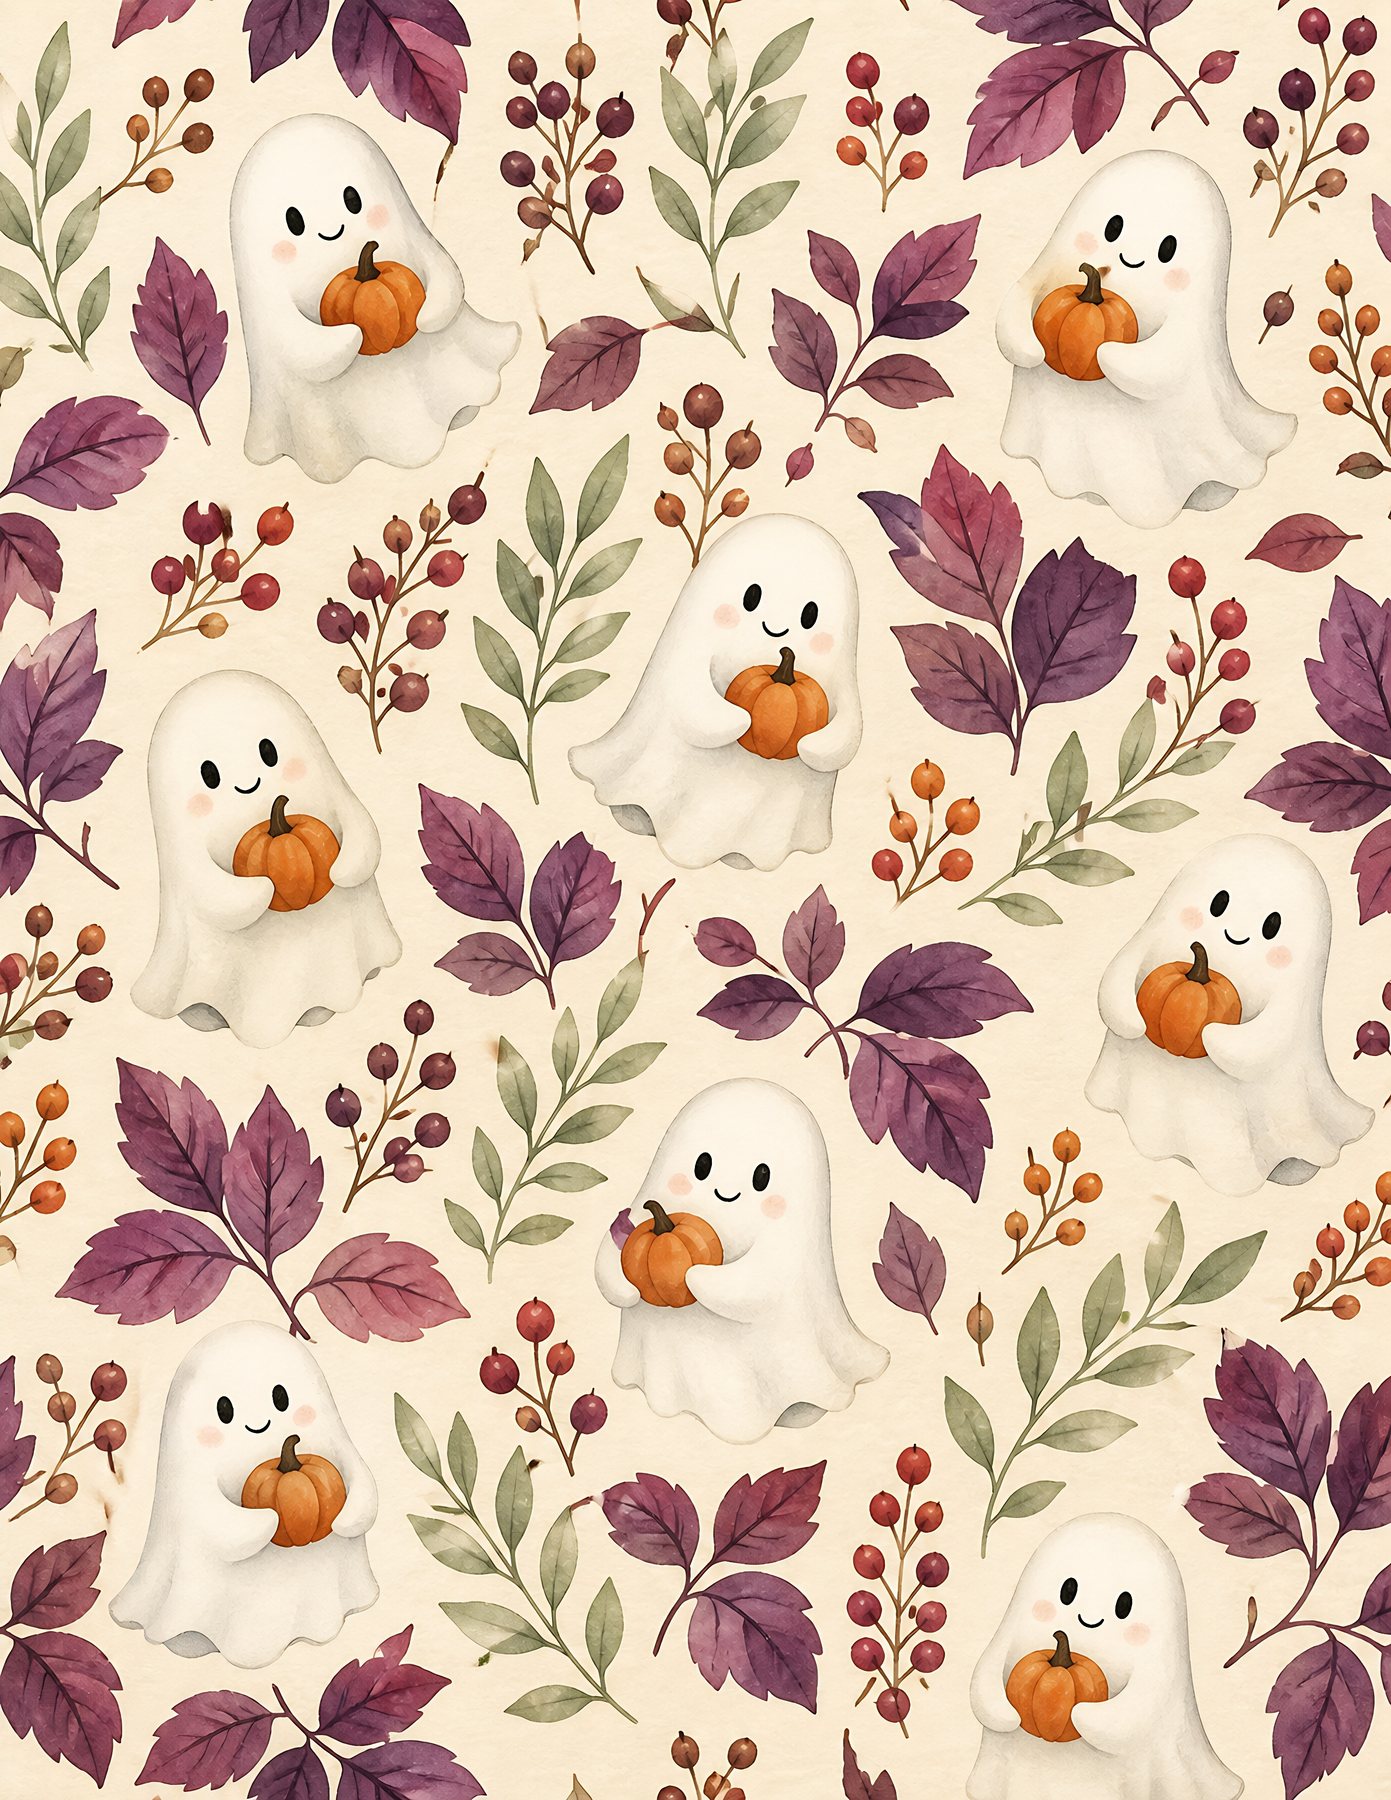
Related free samples: Browse free printable samples before choosing a full pack.
Explore ScrapBujo digital collections
Digital paper collections for your next project
Explore coordinated digital collections on ScrapBujo, compare formats, and follow the checkout shown for the product you choose.
12×12 in 300 DPI Digital download
Digital Scrapbook Papers
November Harvest Gratitude Digital
Explore 20 coordinated digital scrapbook papers from the ScrapBujo November Harvest Gratitude Digital…
300 DPI Digital download
Digital Scrapbook Papers
Ratoncito Perez Tooth Fairy
Explore 111 US Letter JPG scrapbook papers and 20 transparent PNG cliparts from…

12×12 in 300 DPI Digital download
Digital Scrapbook Papers
Equestrian Horse Barn Life Scrapbook
Explore 50 coordinated digital scrapbook papers from the ScrapBujo Equestrian Horse Barn Life…
Each product page identifies its checkout, current price, and digital delivery details.