A Calm Classroom Reset: 7 Pages for Teacher Planners and Student Notes
Quick answer: A teacher planner is useful when it reduces decisions during a busy week: one place for the lesson, the materials, the follow-up and the note you do not want to lose.
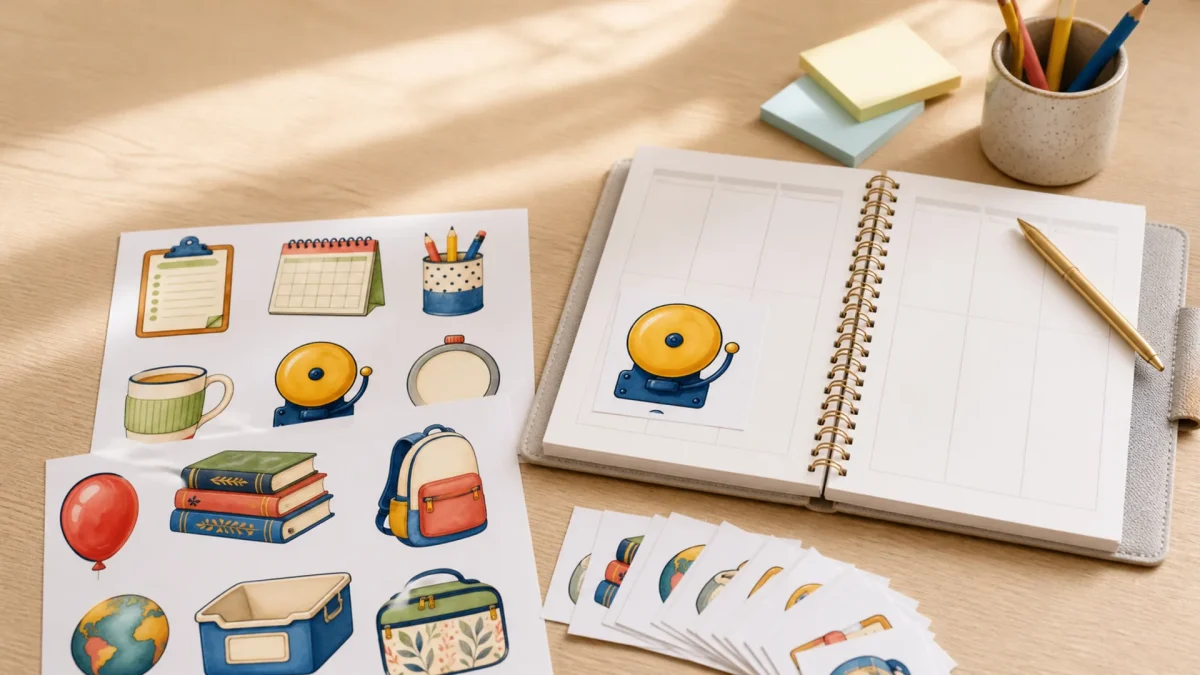
Editorial note: This guide is based on the current ScrapBujo catalog and practical craft-planning principles. The featured image is an AI-assisted editorial mockup built from the actual collection previews shown below; it is not presented as a photograph of a completed print test.
Who this helps
This structure is for teachers, tutors and caregivers who need practical organization rather than a decorative planner that creates another maintenance task.
What to gather before you start
- A weekly overview page
- A short list of repeating routines
- Blank student-note spaces
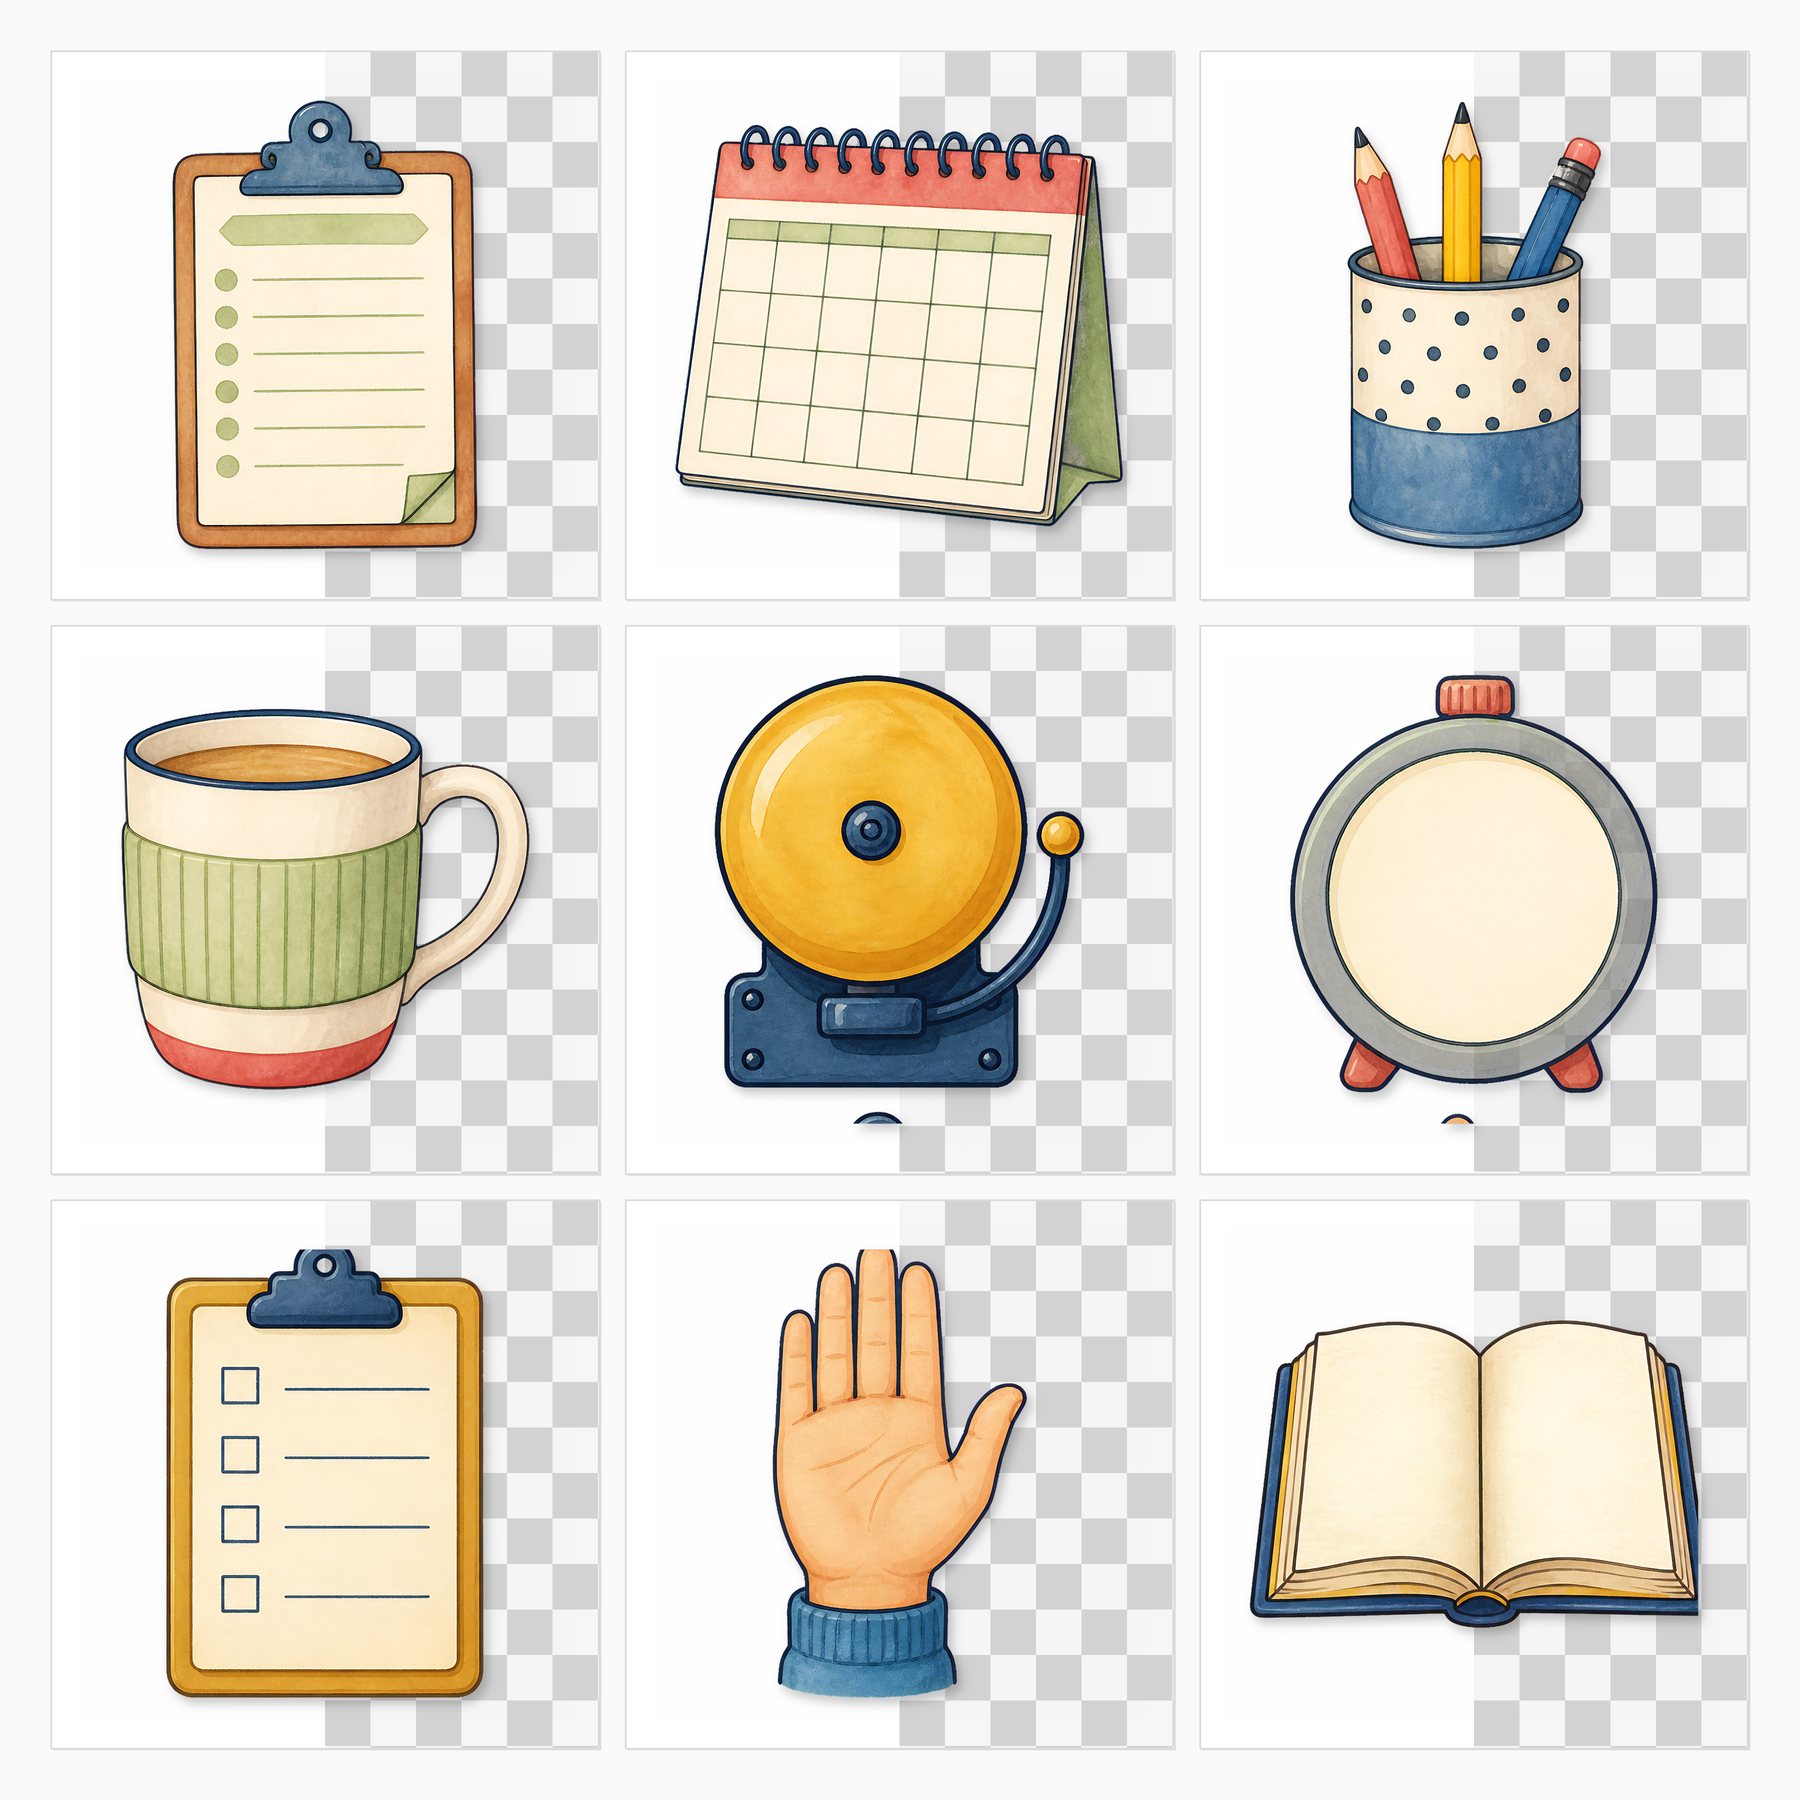
- The actual classroom sticker and planner previews shown below
- A pencil or erasable pen for changes
A practical plan
Start with the week at a glance
Reserve one small block for each day and write only the fixed points first. This prevents optional ideas from crowding out the schedule that must actually happen.
Separate lesson from materials
Keep the lesson objective in one place and the required paper, books or tools in another. The separation makes it easier to notice what is missing before students arrive.
Make a student note actionable
Use a short prompt: what happened, what support is needed and when to revisit it. Avoid writing a long narrative that cannot be used later.
Give routines their own lane
Arrival, cleanup, transitions and preparation are not side notes; they are part of the week. A repeated visual marker can make them quicker to scan.
Use stickers as retrieval cues
Place a classroom icon only where it changes how you find information. Decoration is fine, but a cue that means “materials” or “follow-up” should remain consistent.
Leave a recovery block
Keep one small area for tasks that moved, supplies that ran out or questions that need a second conversation. A plan that allows recovery is more useful than a plan that pretends every day is identical.
Common mistake to avoid
The common mistake is tracking too many categories. Start with lesson, materials, student note and follow-up; add another only when the first version shows a real gap.
Questions to answer before buying
- Can I find tomorrow’s materials in under a minute?
- Does each note say what happens next?
- Which visual cue means the same thing every time?
- Where do I record a change without rewriting the whole page?
Make the first session small
Start with one finished surface, not the entire project. For this guide, begin with a weekly overview page and one clear memory or use case. A small first session makes it easier to notice whether the paper, scale and writing space are doing their jobs before you spend time trimming every piece.
Run a useful quality check
After one sample or one assembled page, check four things: the main subject is visible, the writing can be read at normal size, the edges are not accidentally cropped and the page still makes sense without an explanation from the maker. If the project is printed, compare the result with the screen and record the printer, paper and scale setting. Colors can vary with screen, printer, ink, paper and print settings.
Keep a project note for next time
- Record the collection name and exact format used.
- Note which paper became the background and which became the accent.
- Write down the size of the photograph, card or tag that fit comfortably.
- Save one sentence describing what you would change on the next page.
- Keep the source link with the finished project so file details and current offers can be checked later.
Mini FAQ
Can I find tomorrow’s materials in under a minute?
Answer it before you buy or print. The collection page and the exact Etsy listing should confirm the file count, size, delivery method and current eligibility; a styled mockup can show a possible arrangement but cannot confirm those commercial details.
What if the first layout feels too busy?
Remove one layer before adding another. Keep the focal photograph, the most useful writing area and one paper surface; store the remaining pieces for the facing page or a later project.
What if the project changes halfway through?
That is normal. Keep the original source files and note the change rather than forcing the page to match the first idea. A documented adjustment is more useful than a polished page whose process cannot be repeated. Add the date, format and reason for the change so another person can understand the decision later.
Collection previews used in this guide
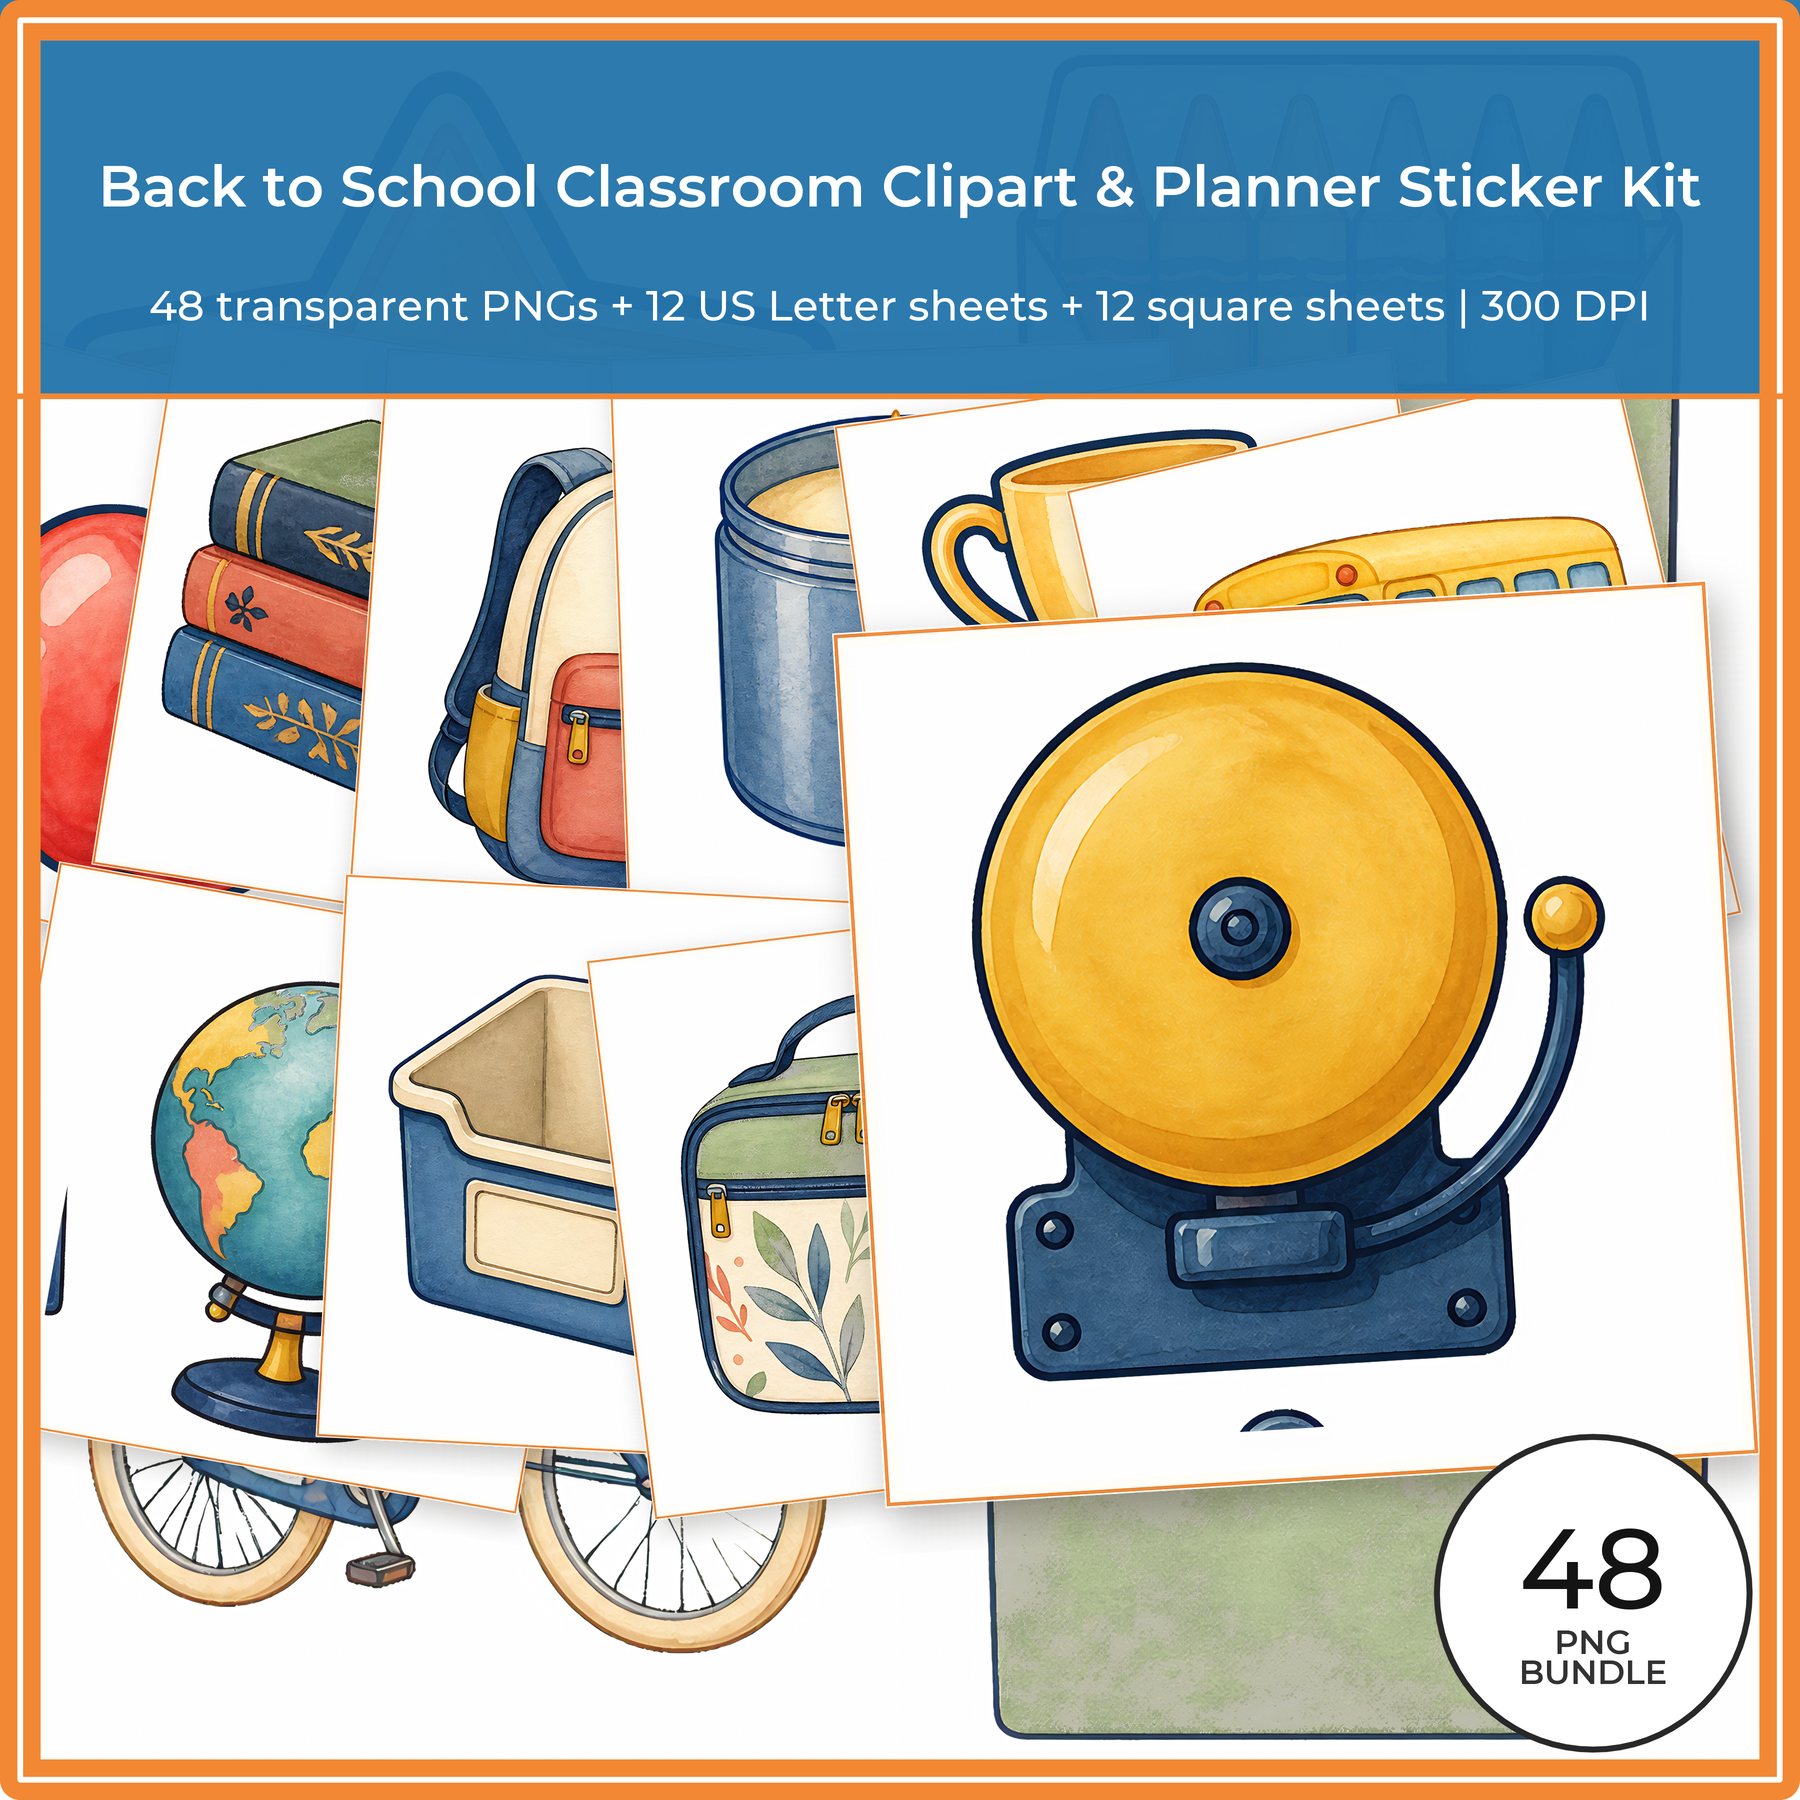
These are current ScrapBujo collection previews, not substitute artwork. They show the paper surfaces and formats discussed below.
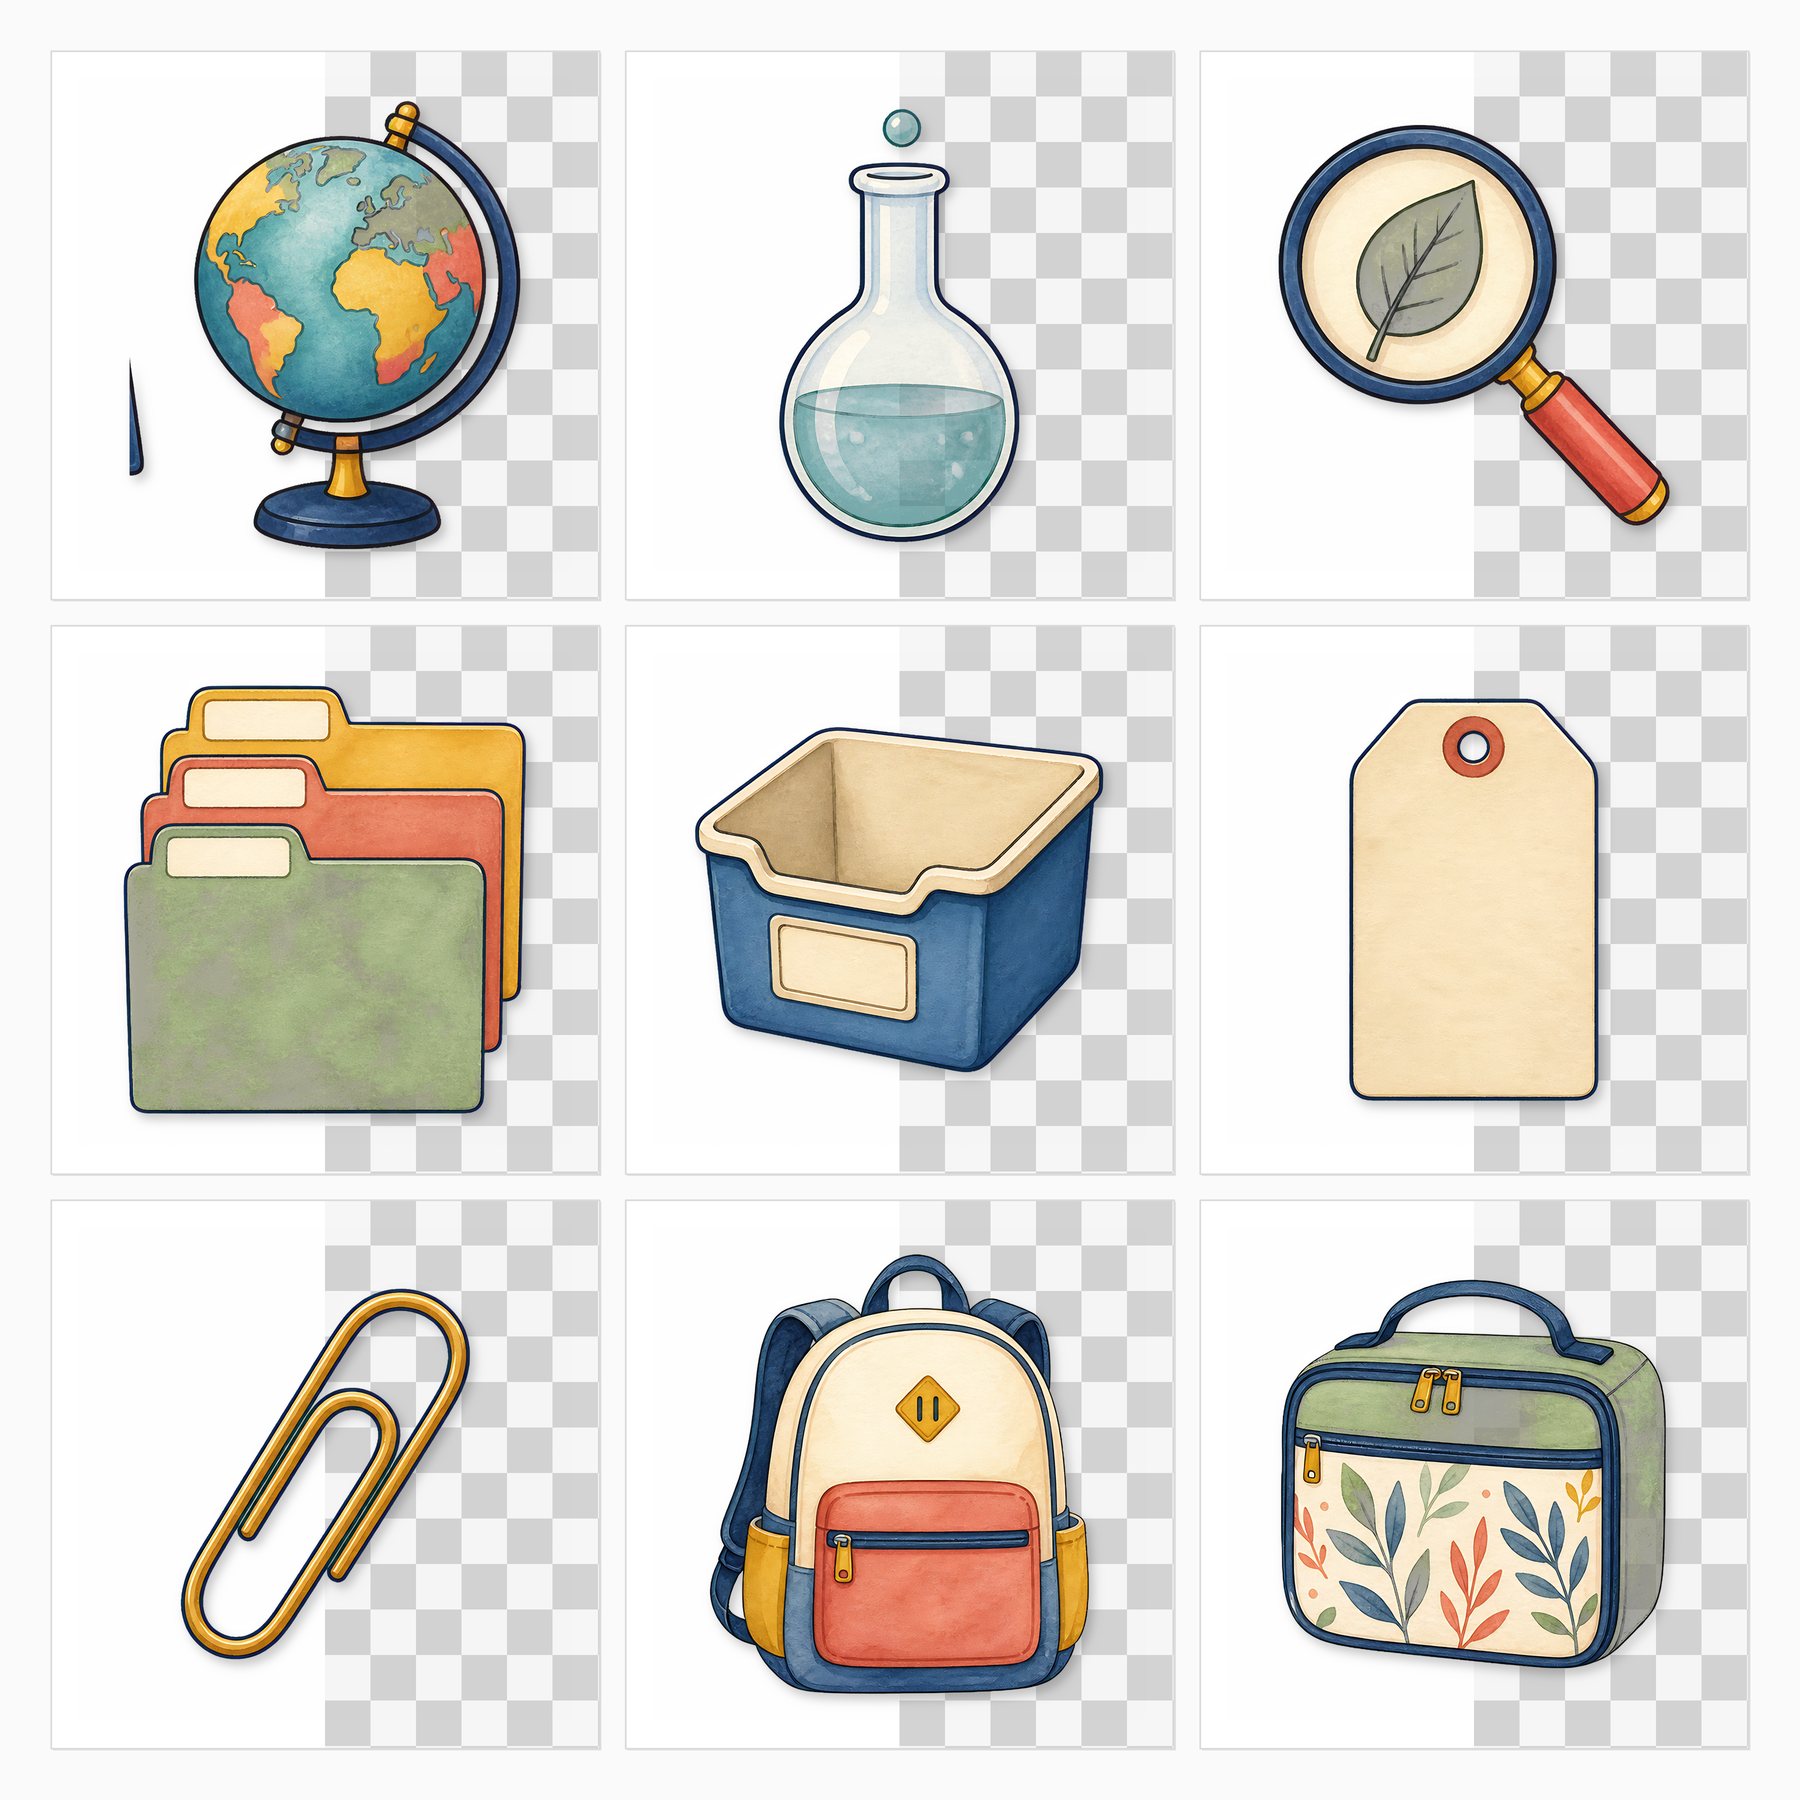
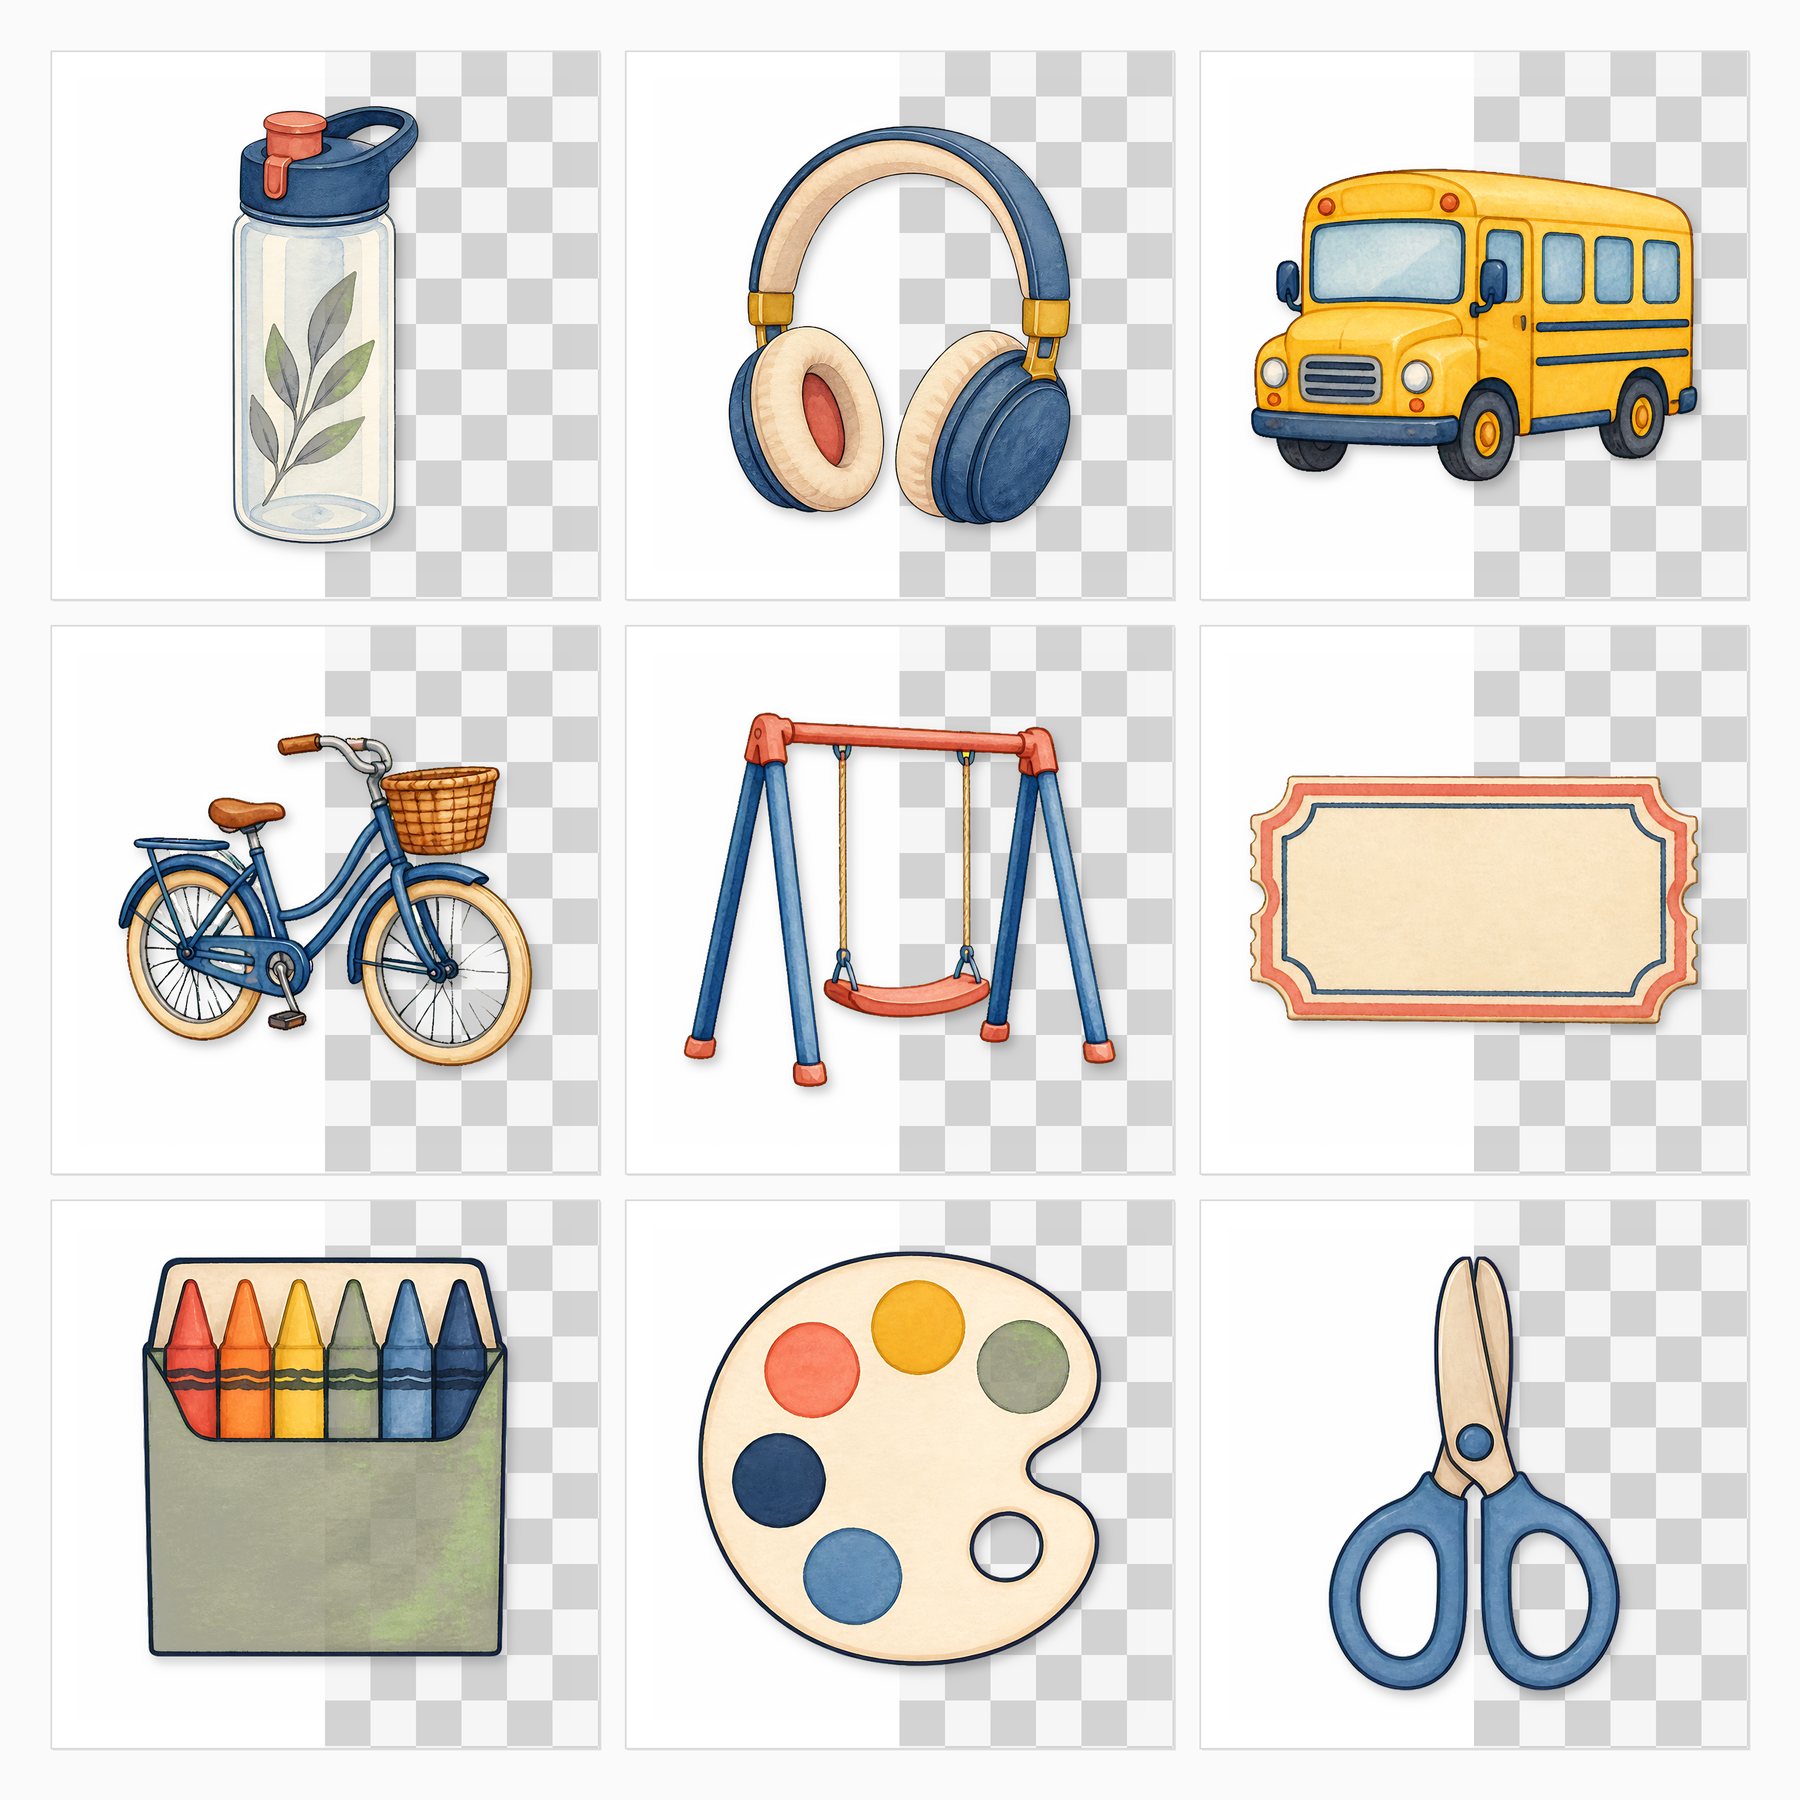
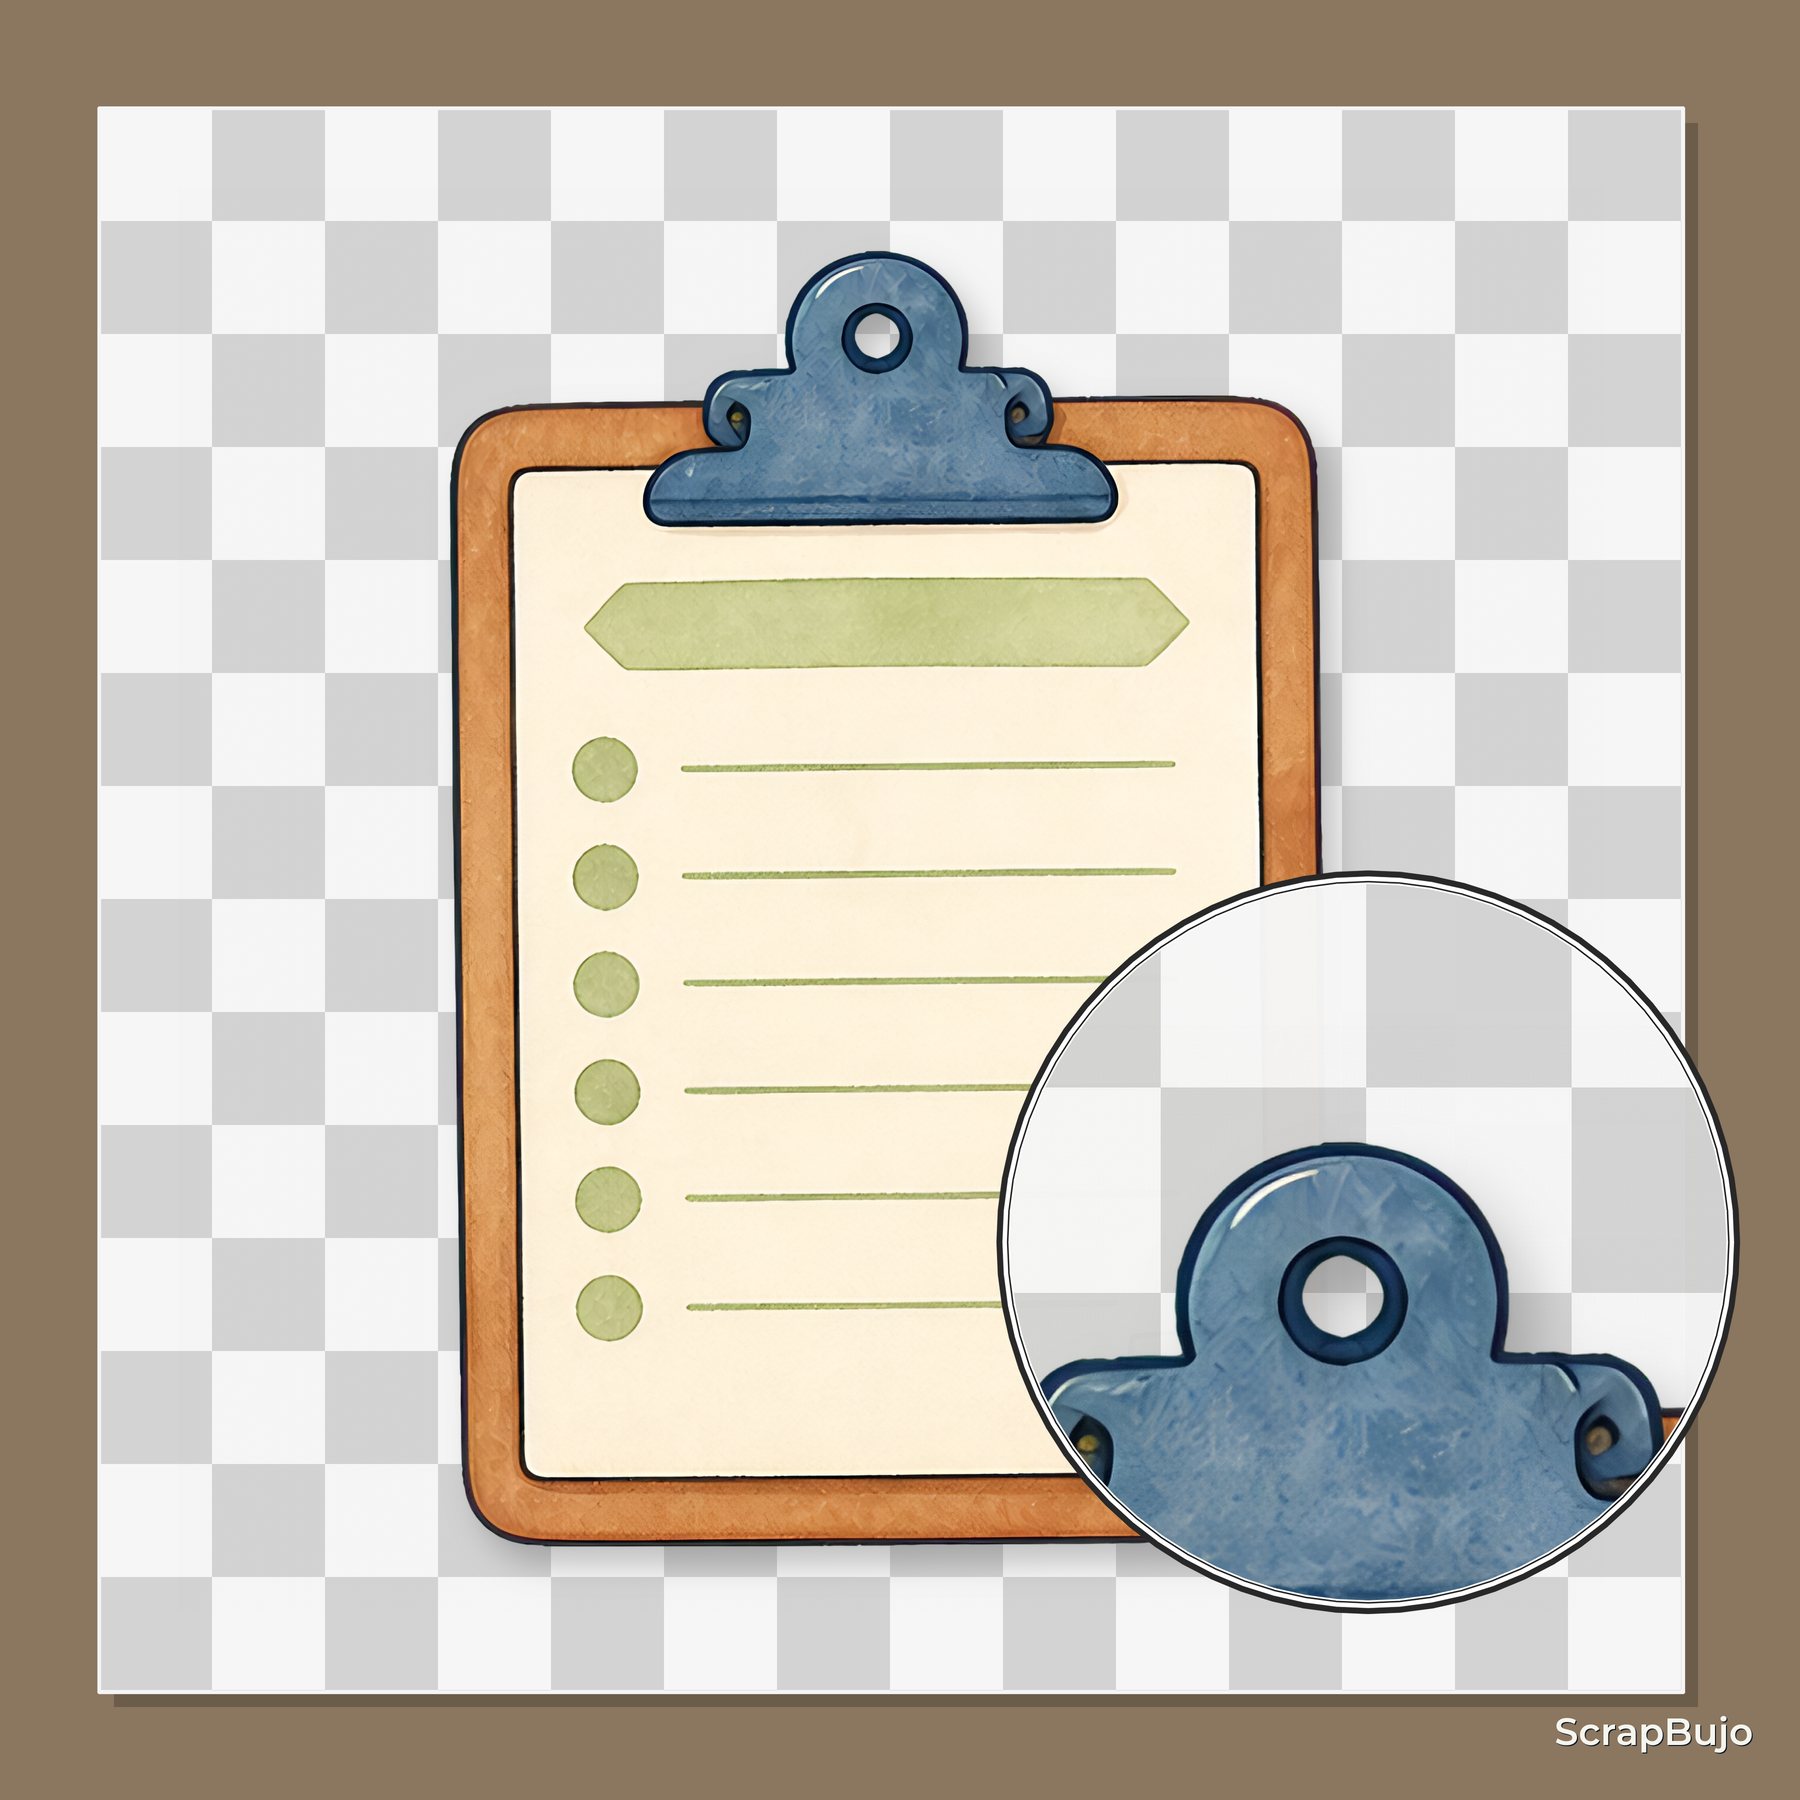
Related free samples: Browse free printable samples before choosing a full pack.
Explore ScrapBujo digital collections
Explore the related digital collection
Review the collection previews and current file details before choosing a format.
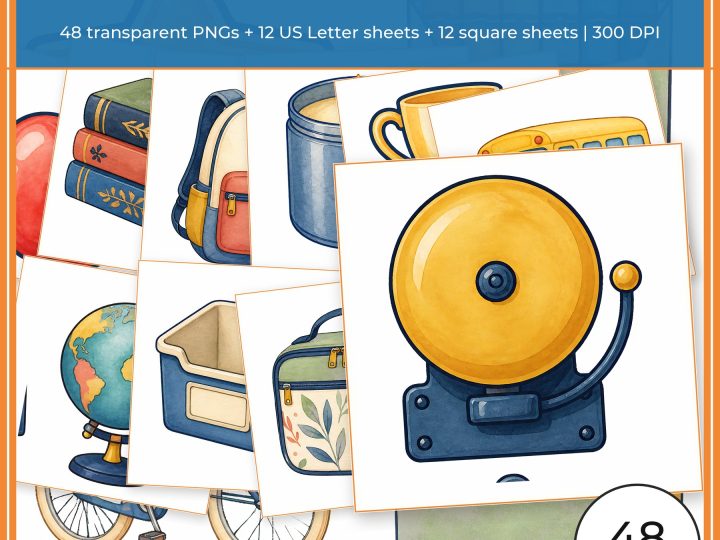
12×12 in 300 DPI Digital download
School & Kids
Back to School Classroom Clipart & Planner Sticker Kit
Build teacher planners, classroom pages and school crafts with 48 coordinated transparent PNG…
Each product page identifies its checkout, current price, and digital delivery details.