
5 Teacher Planner Layouts for a Smoother School Week
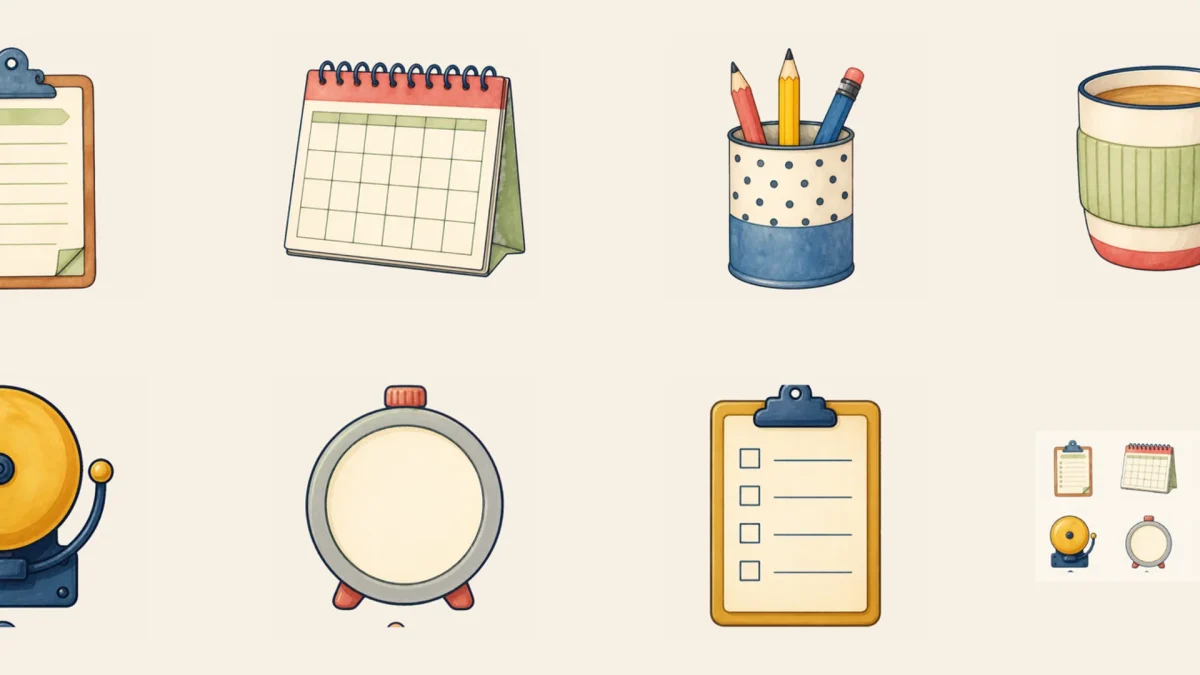
A teacher planner should reduce decisions during the week, not become another project to maintain. These five layouts separate lessons, materials, communication and follow-up so the information needed next is visible at a glance.
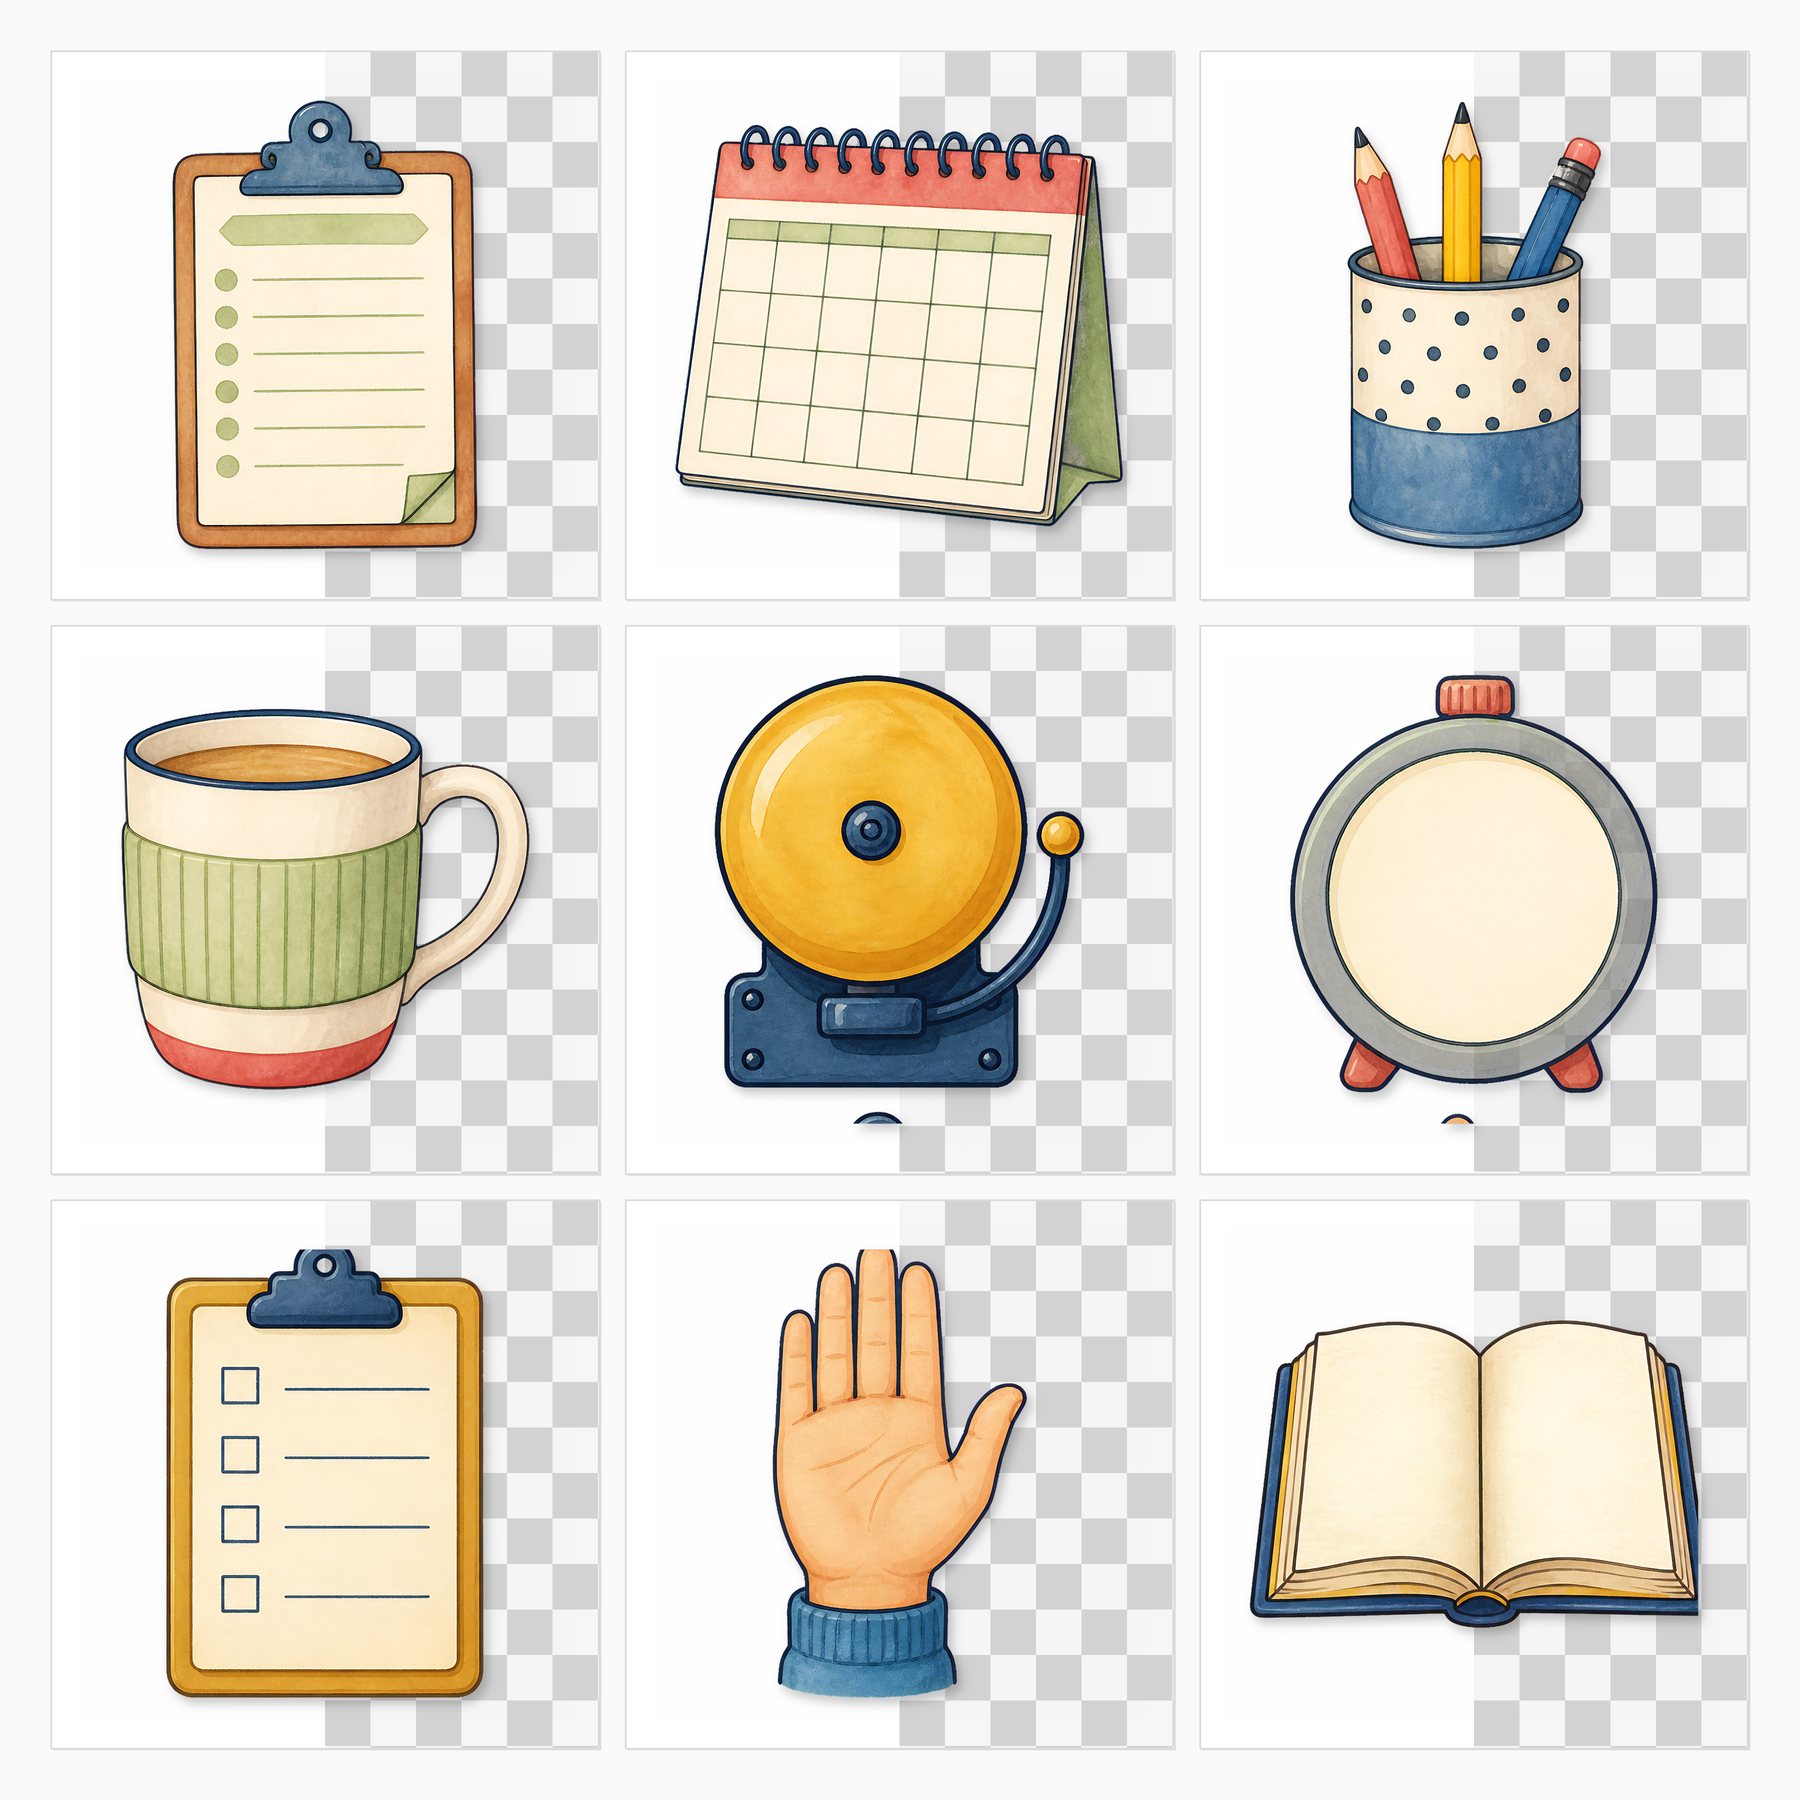
Give each page one job and repeat the same symbols every week. A calendar icon can mean deadlines, a clipboard can mean copies and a small star can mark a pupil follow-up; consistency matters more than decoration.
At a glance
- The five-day lesson map: Use columns for Monday through Friday and rows for subject blocks.
- Materials and copies dashboard: Separate items to gather, print, charge or borrow.
- Communication parking lot: Reserve one page for messages to send, replies to wait for and families to contact.
Before you start
List the information you check daily and remove everything that belongs in the school’s official system. Print test pages on US Letter, 8.5 × 11 inches, and leave room for binding or disc-punch holes. Use a dark pen and keep decorative stickers outside writing boxes.
1. The five-day lesson map
Use columns for Monday through Friday and rows for subject blocks. Write only the lesson goal and resource code, then keep full plans elsewhere.
Build the composition in three passes: place the largest photograph or writing card first, add one medium supporting shape, then stop after a few small accents. This order protects the focal point and makes it easier to remove decoration before adhesive turns an experiment into a permanent decision.
2. Materials and copies dashboard
Separate items to gather, print, charge or borrow. Add checkboxes large enough to mark while standing at the copier.
Keep dates, names and the main sentence together in one clear reading zone. Decorative labels should support that information rather than split it across the page. Write a rough caption on scrap paper first so the final space matches what you genuinely want to remember.
3. Communication parking lot
Reserve one page for messages to send, replies to wait for and families to contact. Record sensitive details only in approved secure systems.
Repeat one color or shape from an earlier spread to make the album feel connected. Repetition does not require identical pages: a small leaf, rounded corner or narrow border can carry the visual rhythm while photographs and stories remain different.
4. Assessment follow-up grid
List skills rather than scores and mark the small group or next step. A simple key keeps the page useful without turning it into a permanent student record.
If you print the elements, make one inexpensive test on the exact paper before producing multiples. Check small text, shadow detail and cut lines in normal room light. Keep the original proportions and avoid enlarging a low-resolution preview beyond the size it can support.
5. Friday reset page
End the week with three prompts: carry forward, prepare Monday and let go. Ten focused minutes can make the next opening routine noticeably calmer.
Photograph the loose arrangement before gluing it. The quick reference helps when pieces shift and gives you a record of alternatives. It also makes it easier to move the entire idea into a different album size without rebuilding from memory.
What to avoid
Avoid covering the main photograph, shrinking journaling until it is uncomfortable to read, or using every pattern simply because it belongs to the same kit. Do not invent dates, quotations, print results or family details to make a page feel finished. Mark uncertain information honestly and protect addresses, children’s identifying details and private messages before publishing images online.
How to start today
Choose one idea from this guide, one photograph or writing prompt, and two coordinating papers. Make a loose arrangement without adhesive, write the factual caption, then decide whether the page needs anything else. One completed, readable page is a better beginning than twelve elaborate bases waiting for the “perfect” memory.
Try the style before choosing the full collection
Open Free Teacher Planner — August 2026 to August 2027 to examine a free ScrapBujo sample first. The sample page explains the included files and usage terms and links back to the matching collection when one is available.
Check size before you print
Use the 300 DPI to pixels calculator to confirm the pixel dimensions for your finished size. For full-size square layouts, the 12×12 scrapbook printing guide explains wide-format printers, print services, paper support and true-size settings.
Make the page easier to revisit
Add the full date, place and names while the information is available, then write one sentence explaining why the detail mattered. A future reader should not need to recognize every face or decode an inside joke. Store a digital photograph of the finished page with a useful filename so the memory survives even if the physical album is damaged.
Keep the visual hierarchy simple
Look at the page from several feet away. The main photograph or title should appear first, the supporting detail second and the decoration last. If two areas compete, reduce the contrast or size of the less important one. This quick check is especially useful with detailed printable papers because the screen preview can make every element seem equally strong.
Choose paper for the job
Matte paper is usually comfortable for handwriting and reduces glare in photographs of the finished page. Heavier cardstock supports pockets and covers, while lighter paper folds more cleanly for inserts. Printer limits vary, so confirm the supported weight in the manufacturer’s instructions and test one sheet before feeding a stack.
See the quick visual Story for this guide.
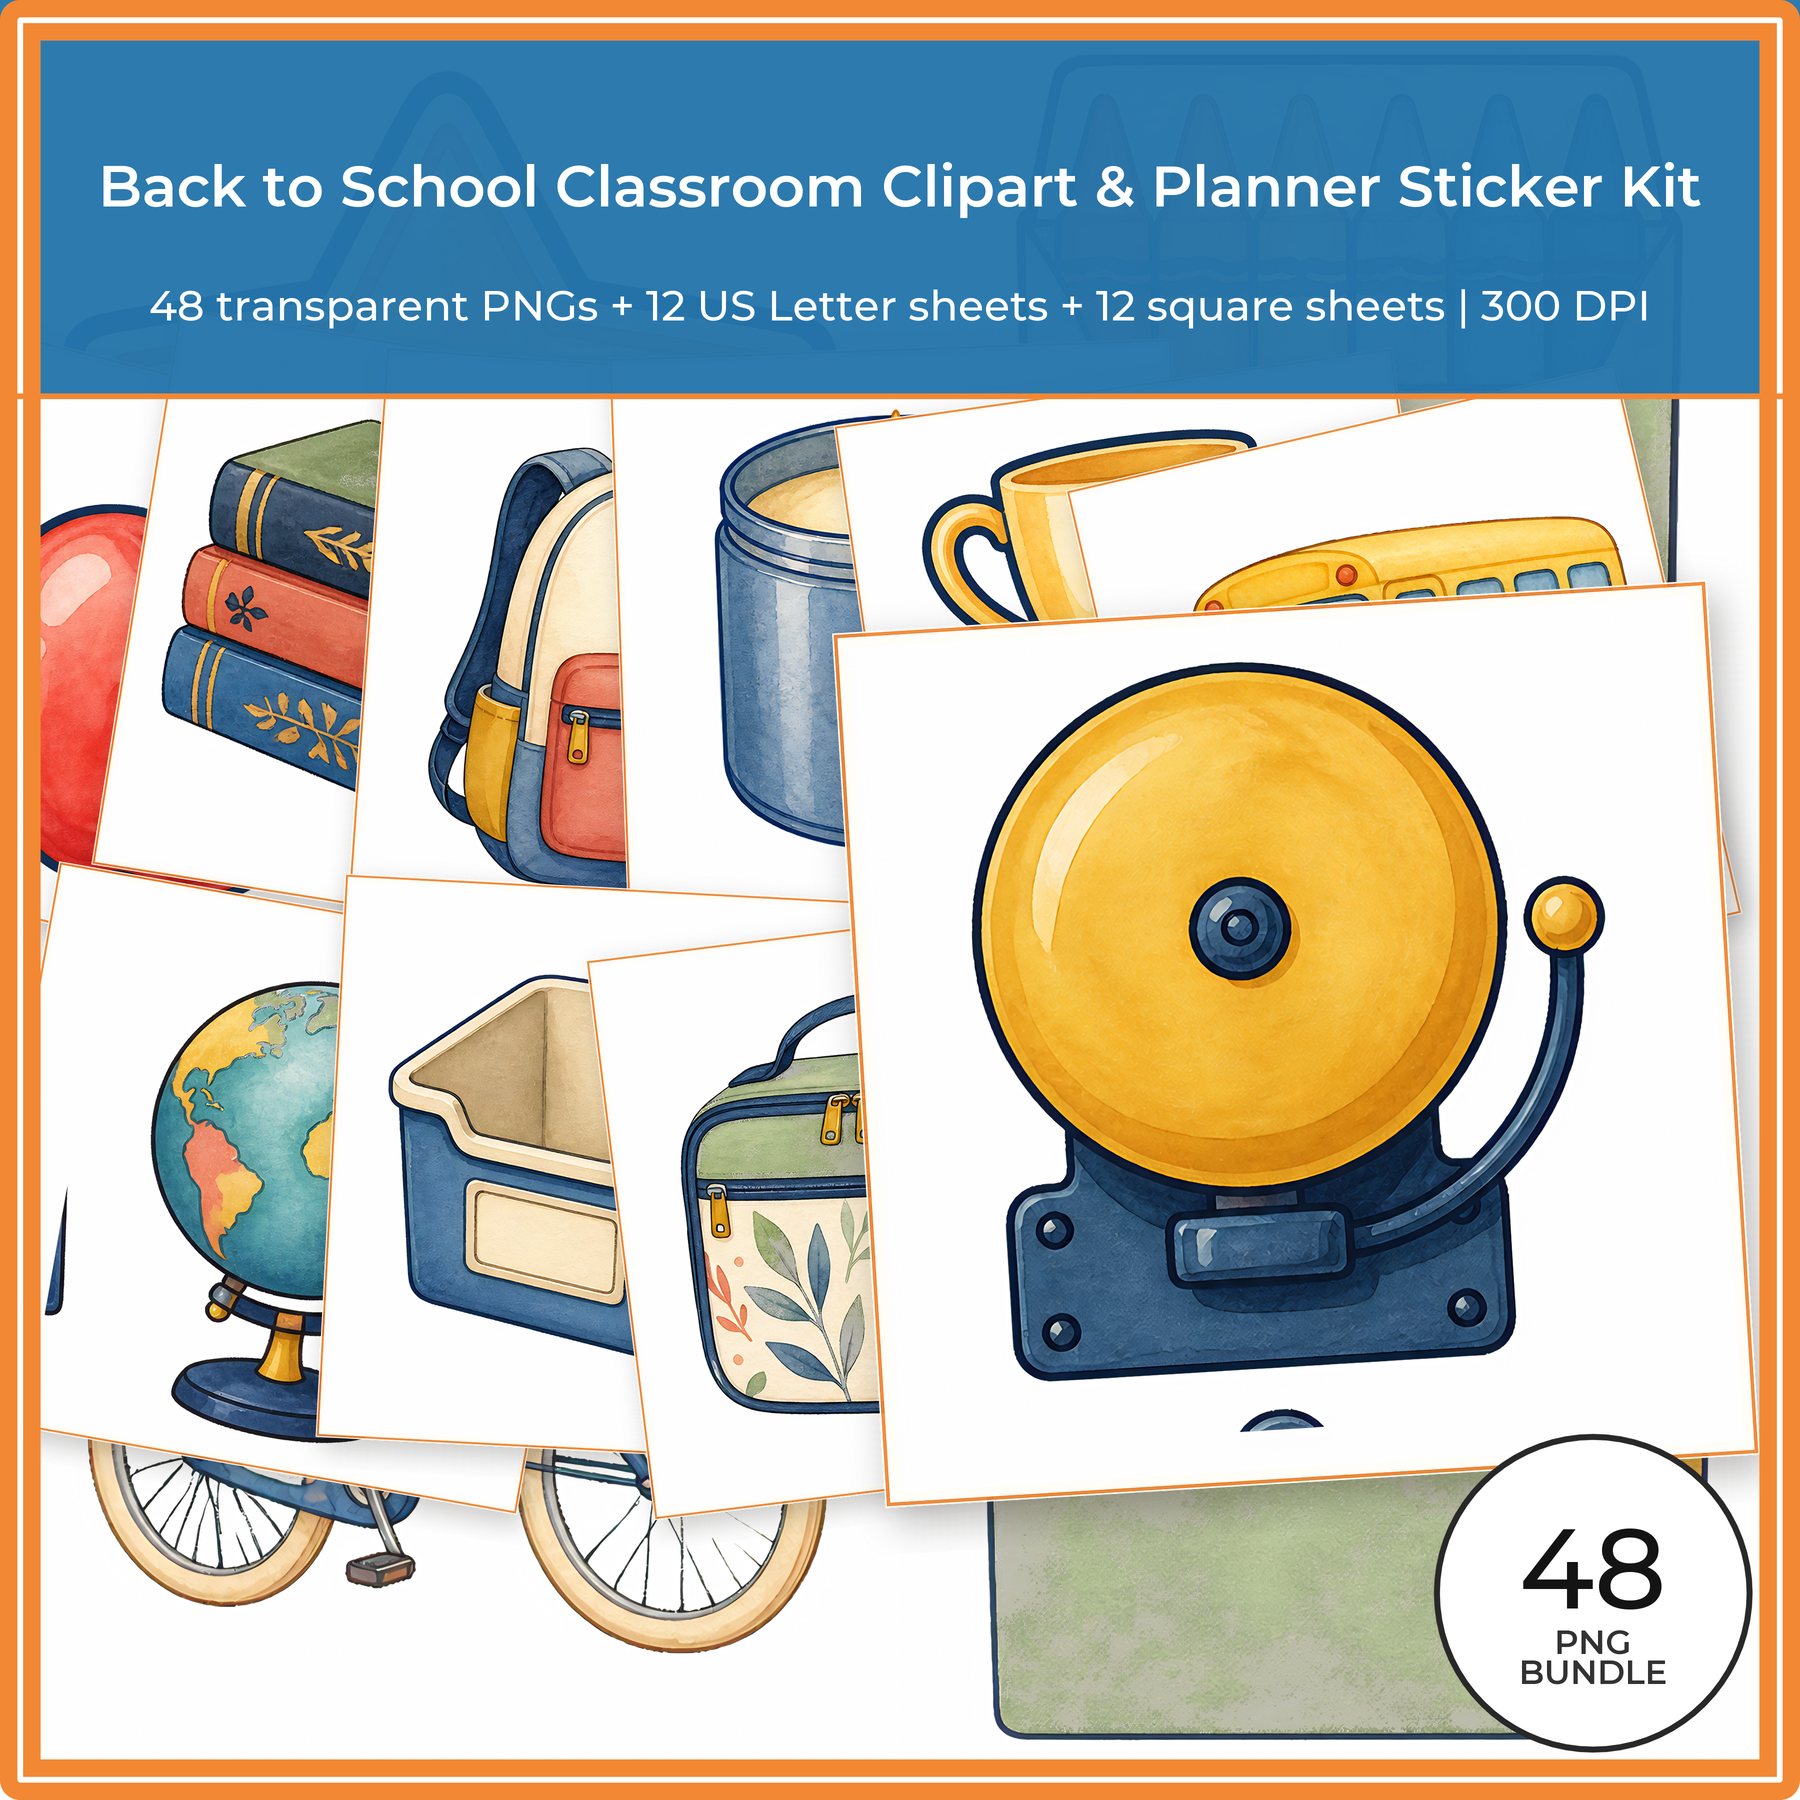
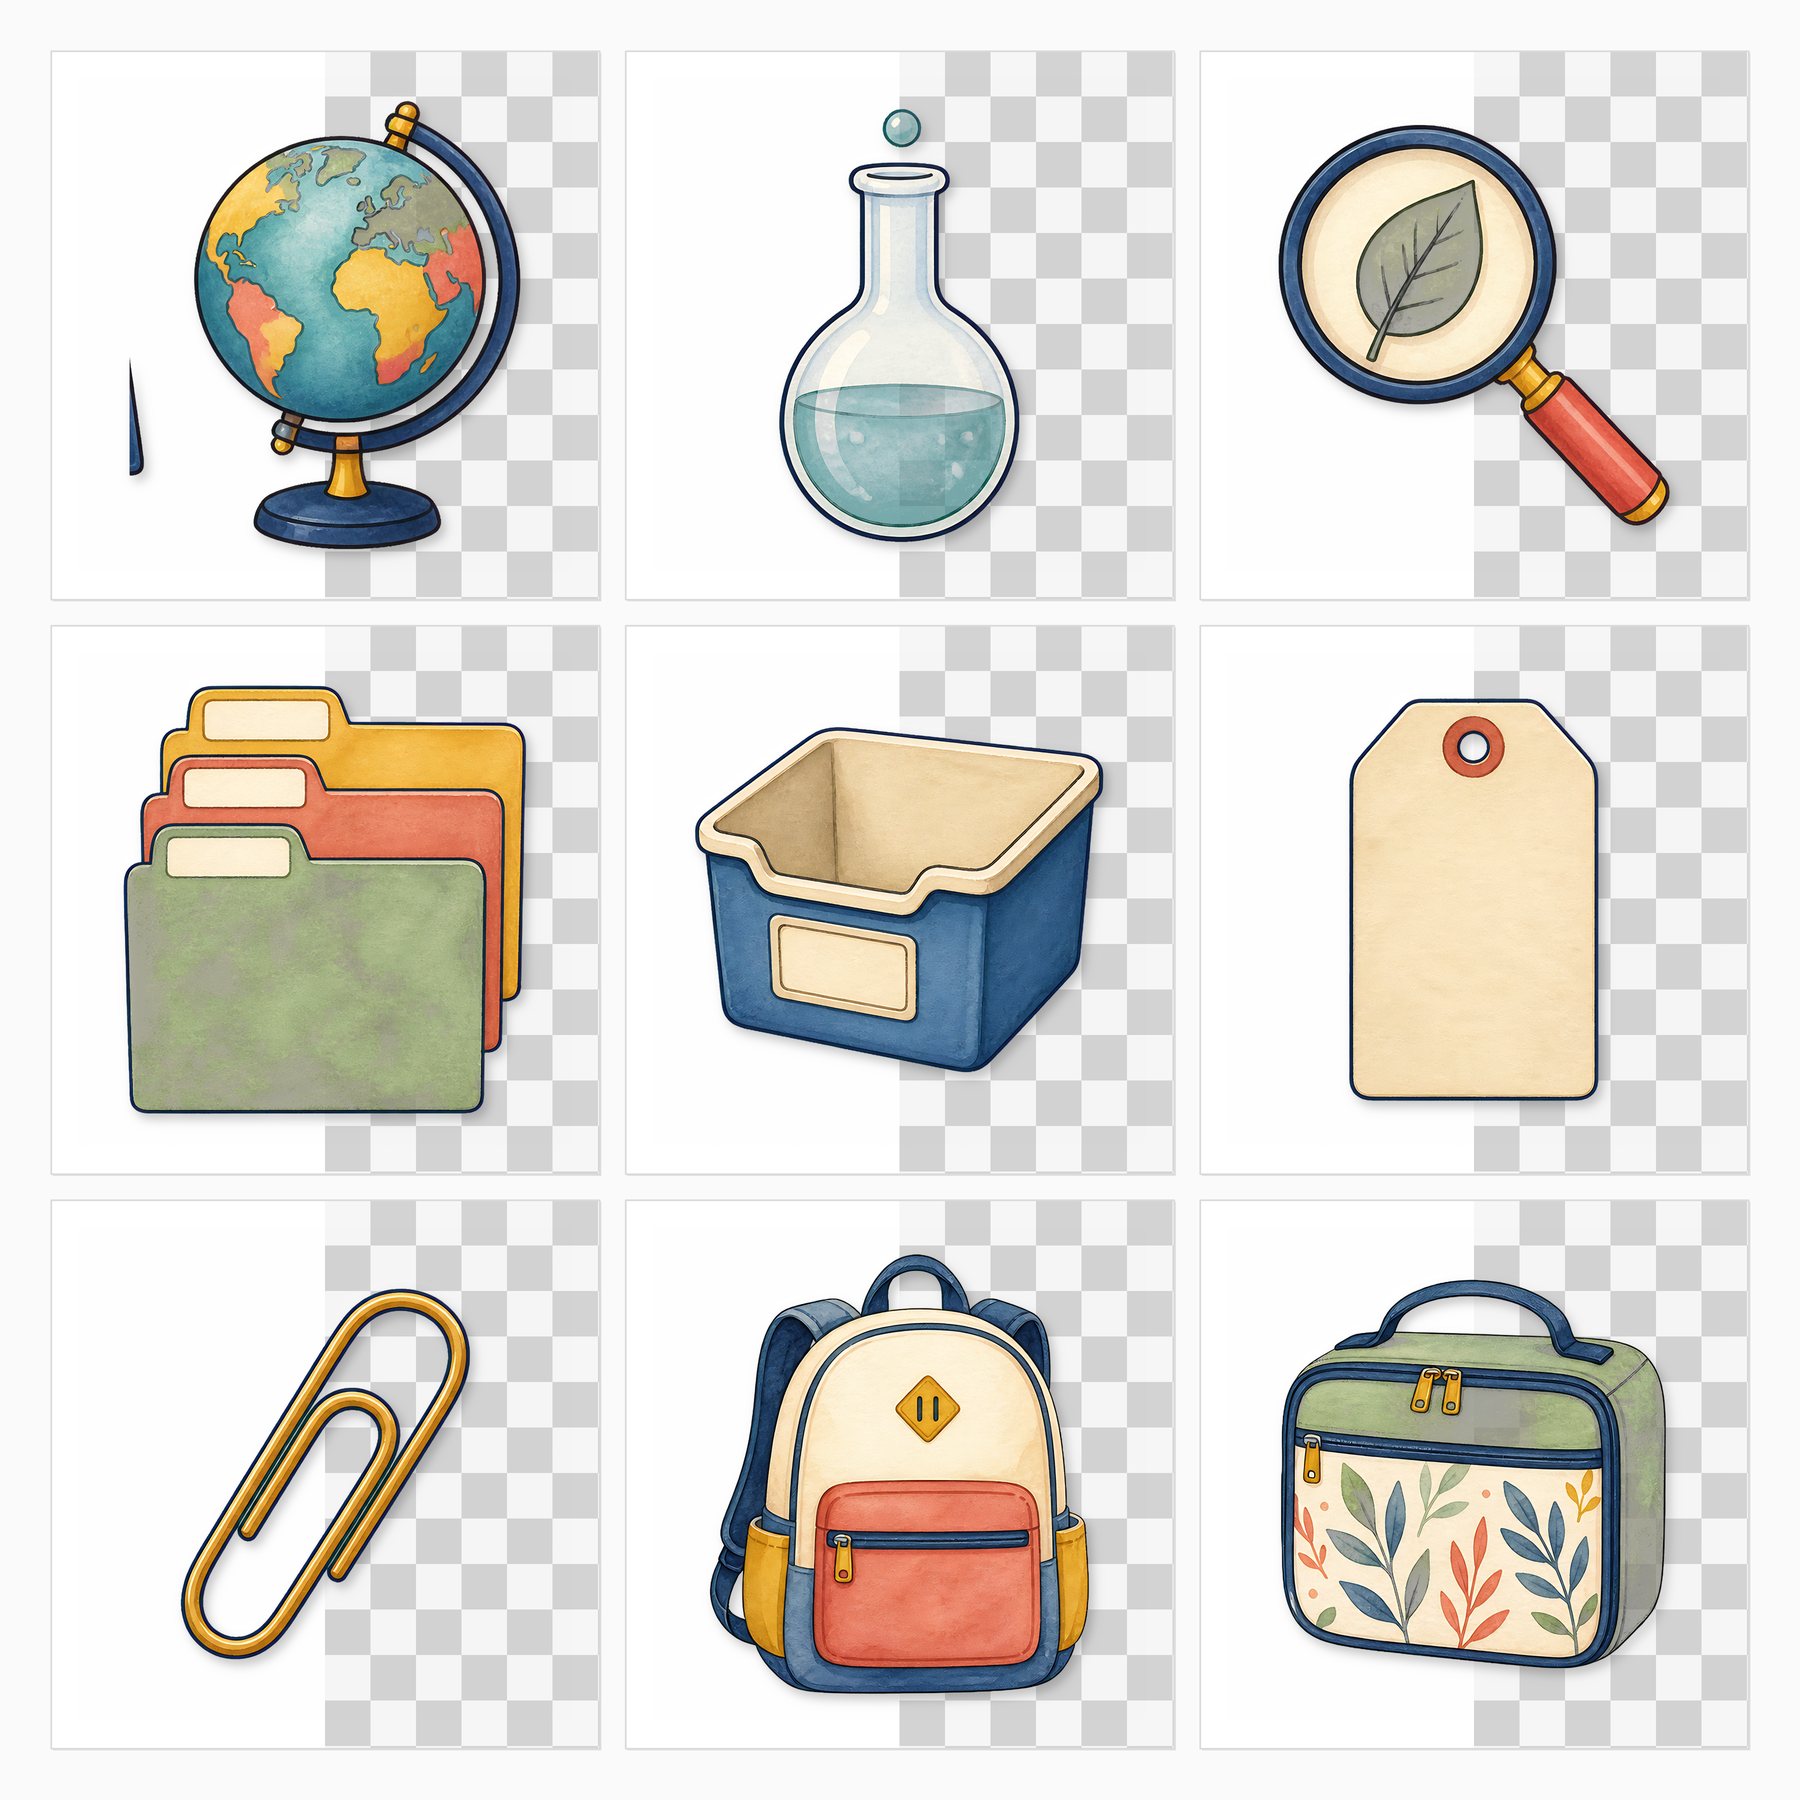
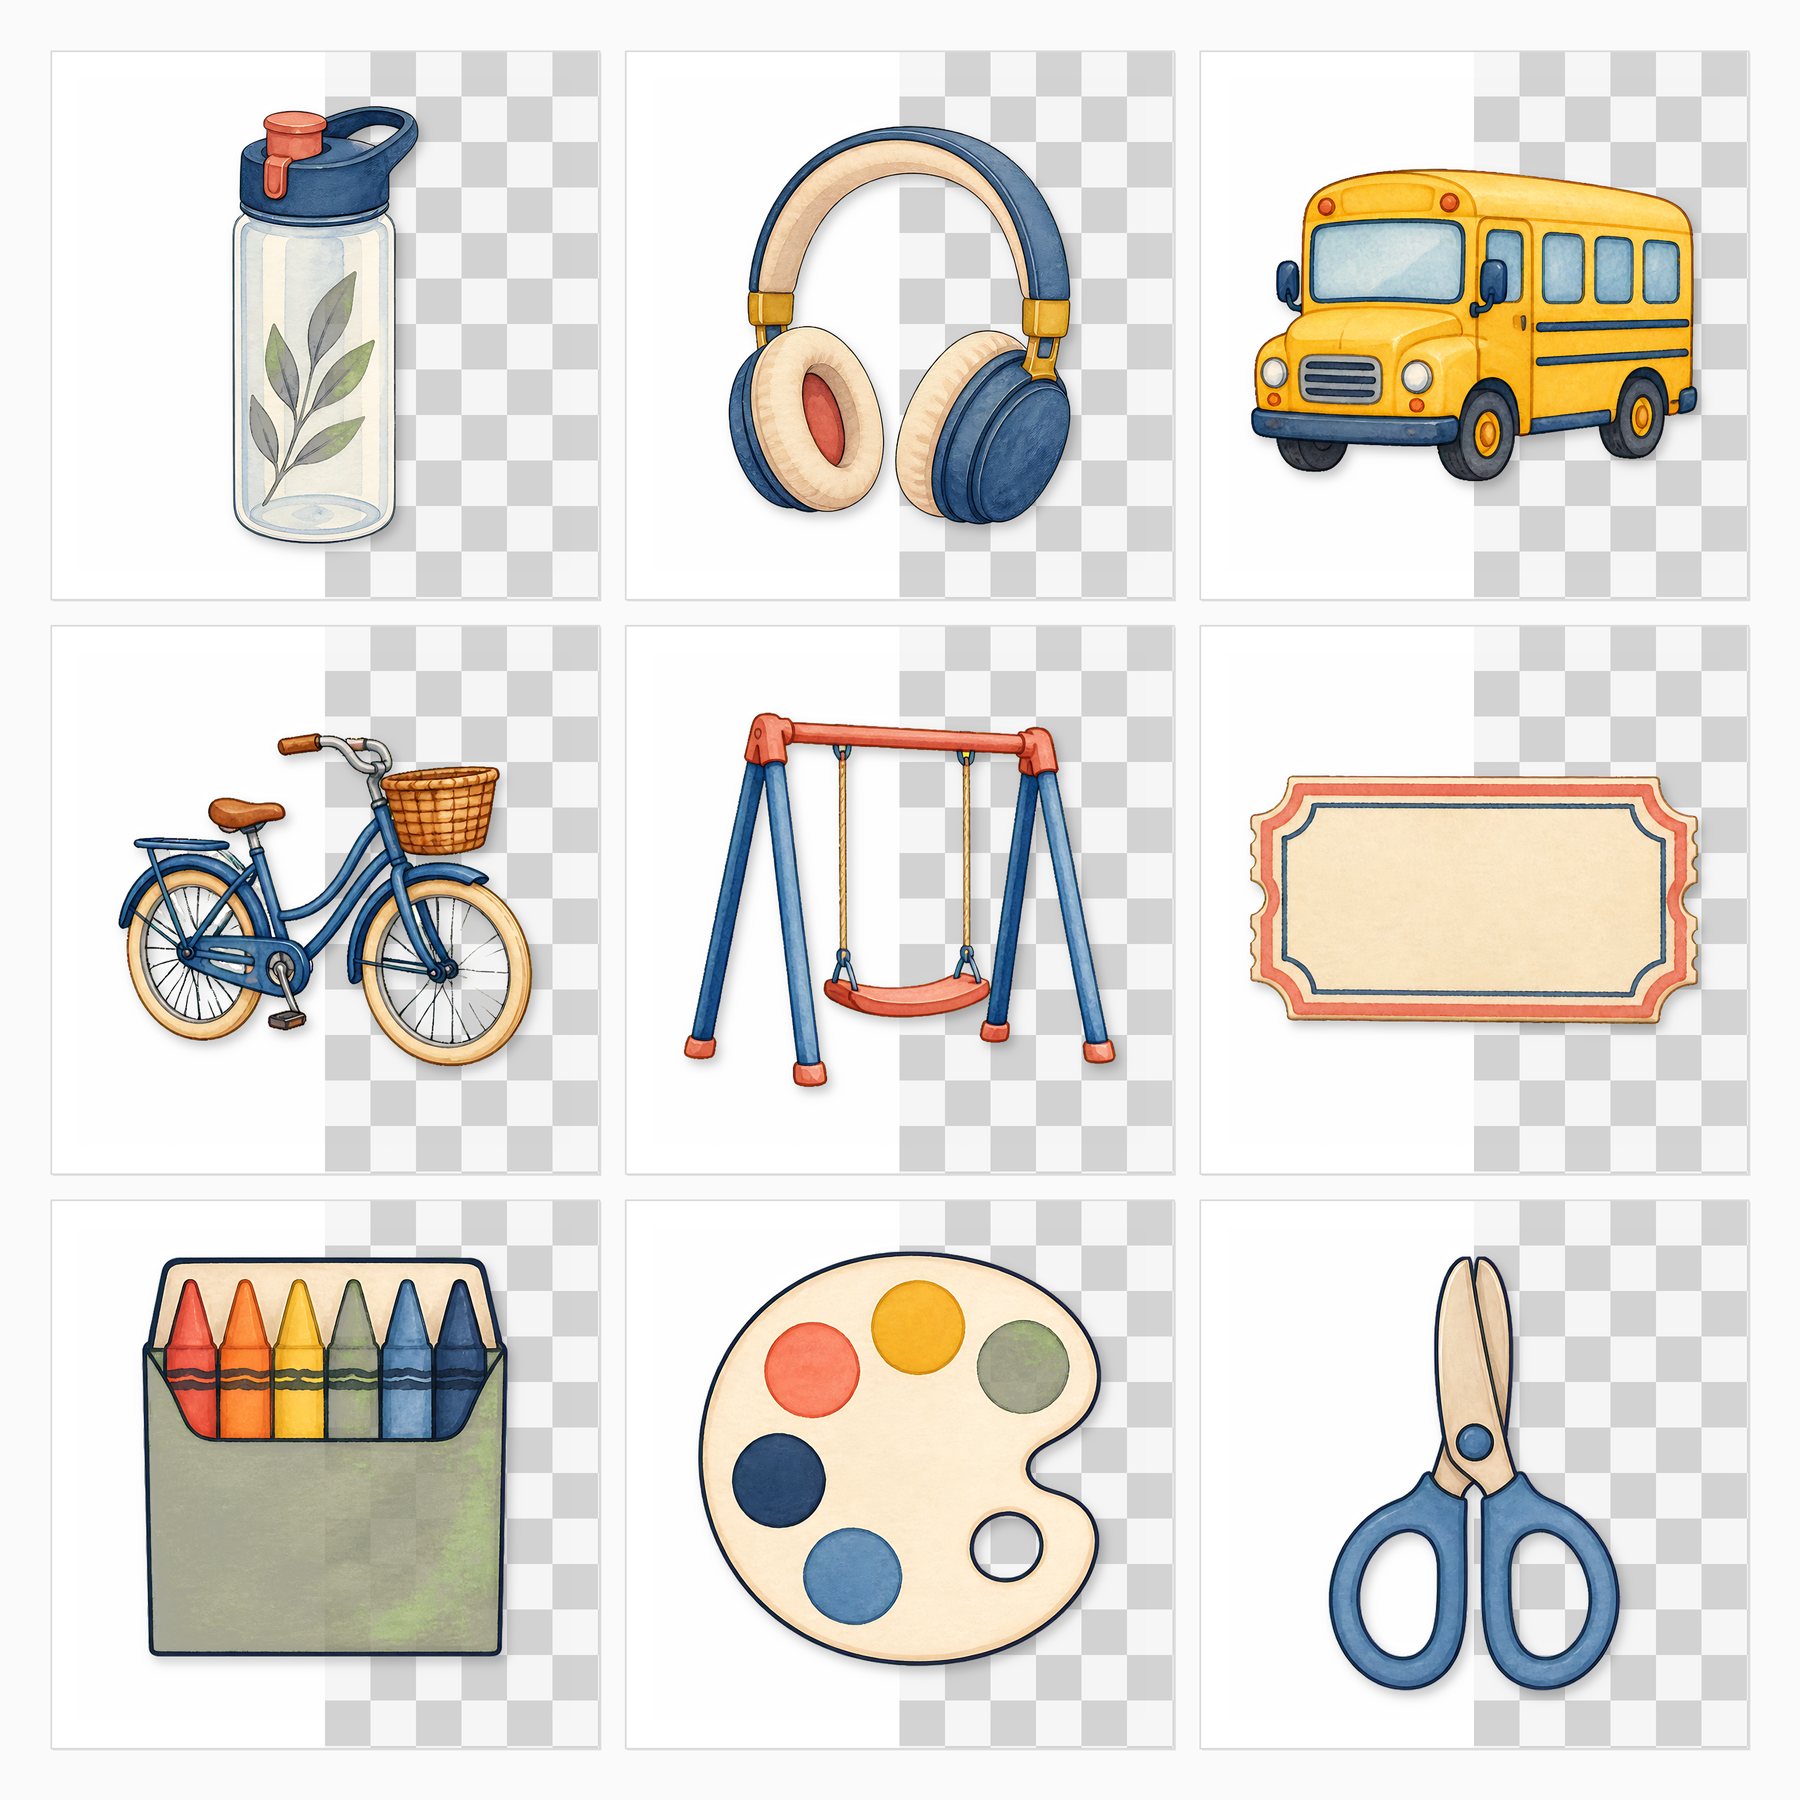
Explore Back to School Classroom Clipart & Planner Sticker Kit on ScrapBujo for the coordinated previews and file details.
View this digital collection on Etsy. This is a digital download; no physical paper is shipped.
ScrapBujo collections from our Etsy shop
Printable collections for calm, useful journal pages
Explore coordinated papers on ScrapBujo, check the format details, and open the matching Etsy listing only when you are ready.
12×12 in 300 DPI Digital download
Coloring & Printables · Floral & Botanical
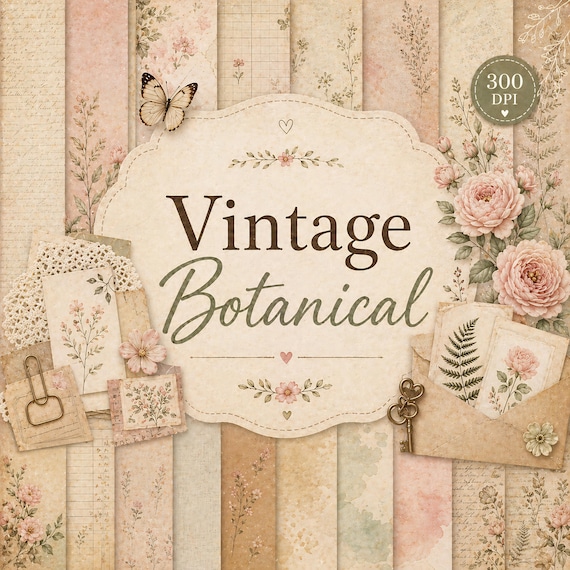
Vintage Botanical Digital Paper Pack
Create beautiful scrapbook pages, junk journals, planners, cards, and printable crafts with this…
12×12 in 300 DPI Digital download
Coloring & Printables · Pastel & Watercolor
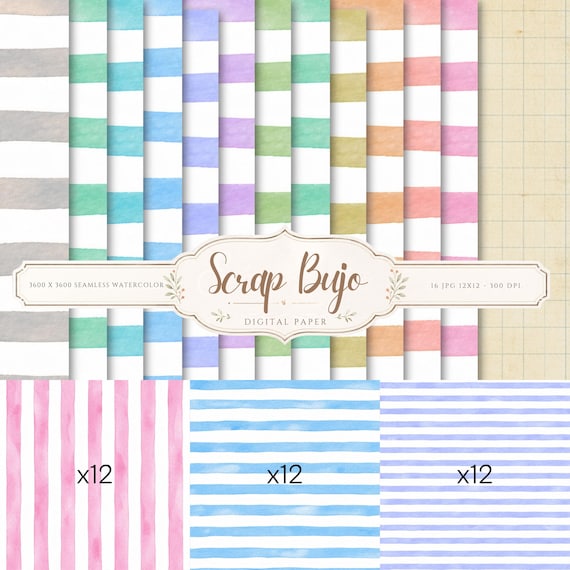
Pastel Watercolor Stripes Digital Paper Pack
This watercolor stripes digital paper pack includes 36 unique designs in soft pastel…
12×12 in 300 DPI Digital download
Coloring & Printables · Vintage & Cottagecore
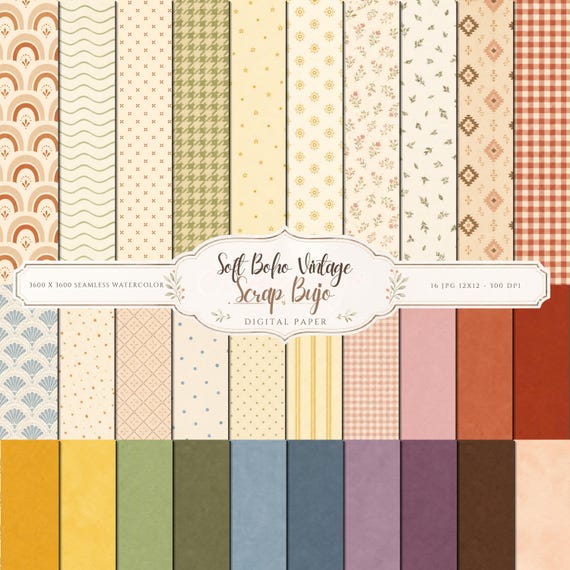
Soft Boho Vintage Digital Paper Pack Patterns, Textured Solids
A soft boho vintage digital paper collection with small patterns and matching textured…
ScrapBujo earns revenue when you purchase our products on Etsy. Etsy shows the current price, file details, and active offers.