
How to Pair Victorian Herbarium and Rosewood Papers on One Page
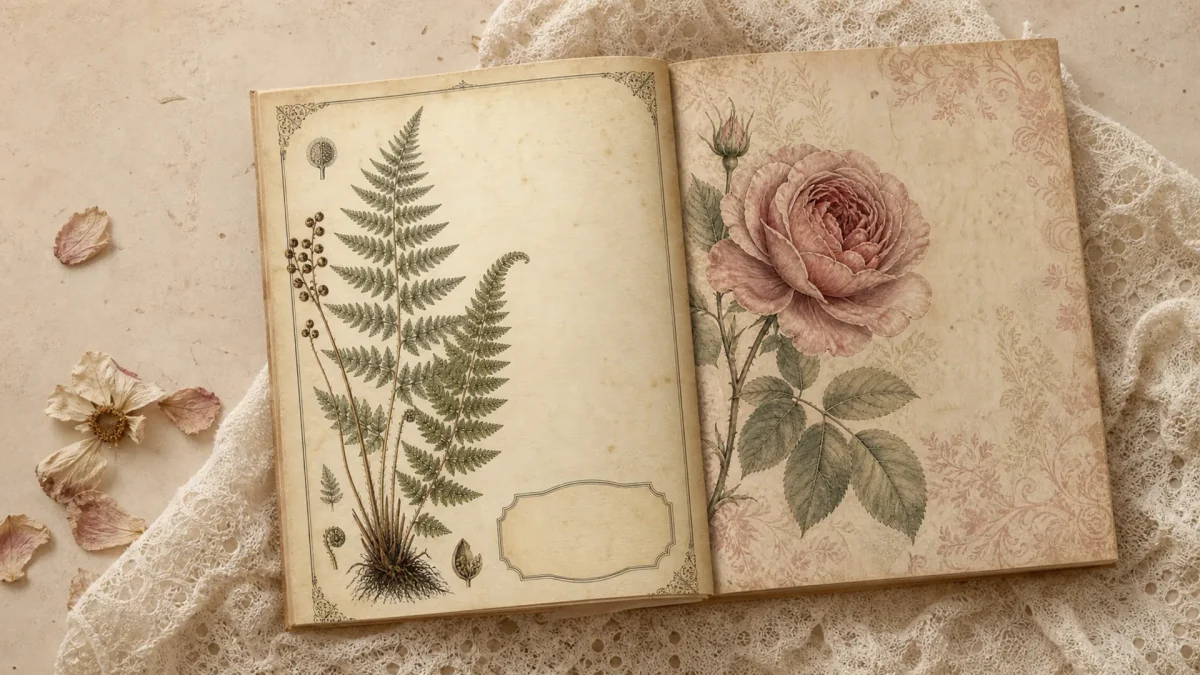
Quick answer: Choose the quieter paper by looking at the actual pattern area behind your photo and writing. Use the other paper in a smaller role only if it adds a detail without competing for attention.
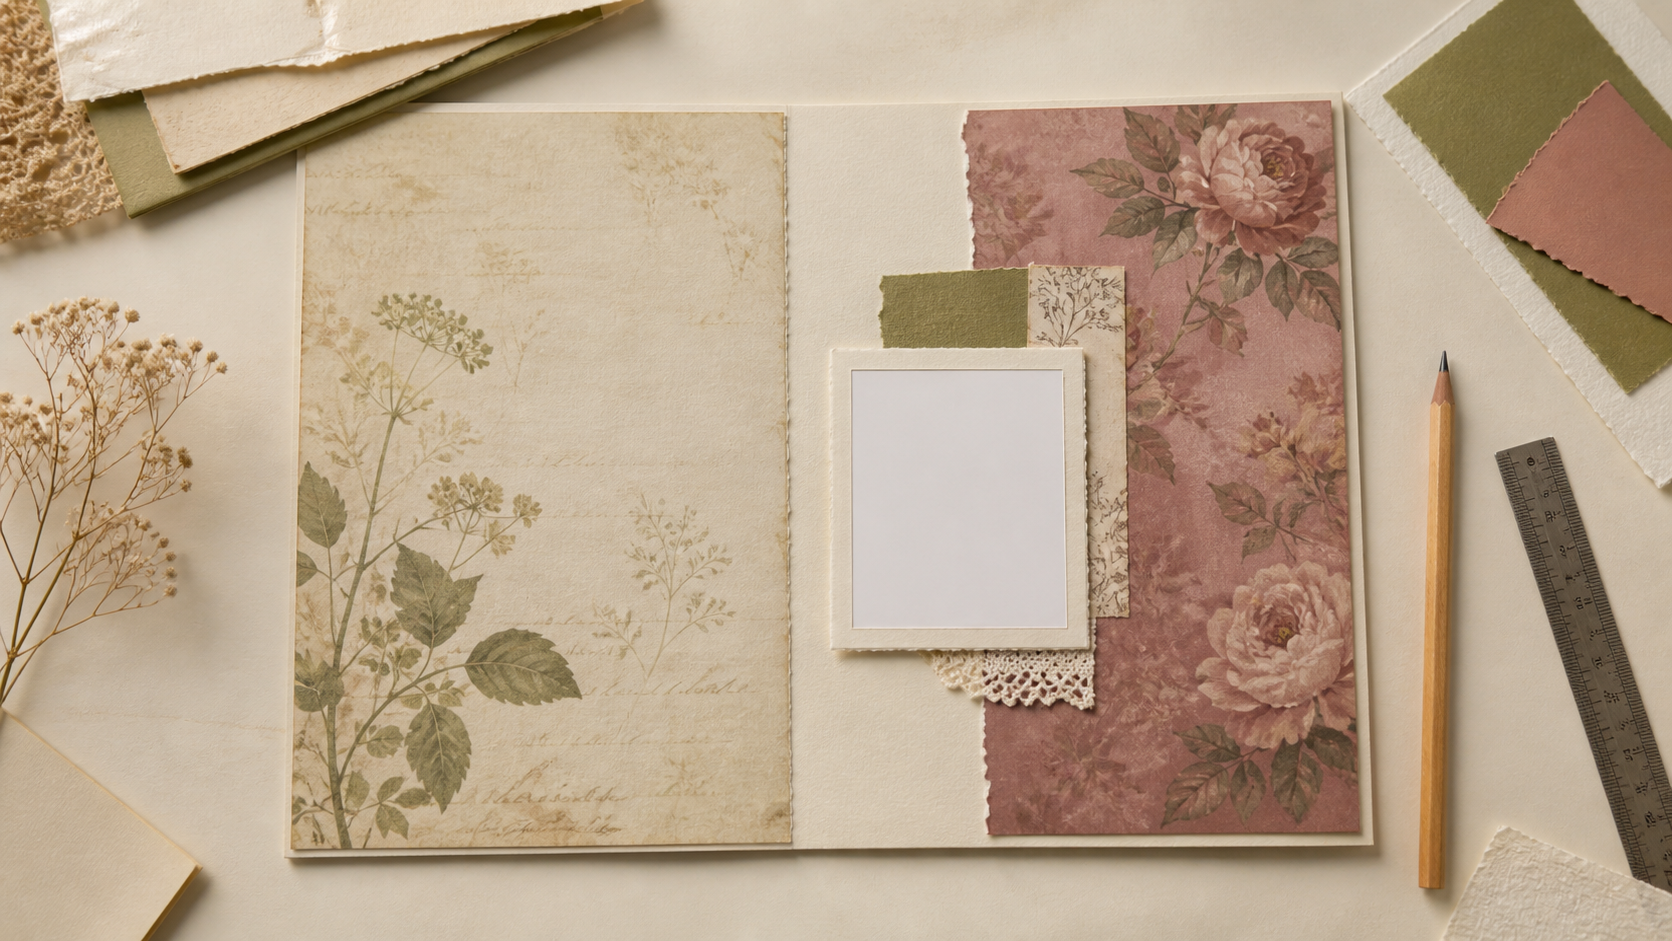
Editorial note: This guide is based on the current ScrapBujo catalog and practical craft-planning principles. The featured image is an AI-assisted editorial mockup built from the actual collection previews shown below; it is not presented as a photograph of a completed print test.
Choose by the space your page needs
Herbarium and rose papers can each be quiet or busy depending on the specific design and the area you use. Before assigning either one a fixed role, place the intended photo, journaling card or handwriting over the candidate backgrounds. The quieter choice is the one that leaves the important content easiest to see at the size you plan to use.
Three practical roles for one botanical page
- Background plus small accent: Use the more open pattern as the main field; cut a small strip or corner from the denser pattern. Keep the photo and caption on the open area.
- Photo mount plus writing panel: Use a patterned piece only as a photo border, then put the caption on a plain or lightly patterned panel. This works when both papers are detailed.
- Two-zone page: Divide the page into a photo area and a note area, using one paper in each zone. Keep the division simple and repeat one color or shape to make the parts feel related.
These are flexible composition options, not a required herbarium/rose structure. Either paper can take either role when its actual print has the more suitable open space, contrast and scale.
Check contrast and pattern scale
Set a sample caption over each candidate area. If small letters disappear against leaves, labels or rose details, move the writing to a calmer panel. If a large flower is cropped into fragments or tiny motifs merge at the intended size, use that design as a narrow accent instead. A quick paper mock-up can reveal awkward crops before you trim the final pieces.
Troubleshoot a busy pairing
- Both papers compete: Keep one as a small border or pocket and let a plain panel carry the writing.
- The photo disappears: Add a simple mat with enough contrast around the image, or move it to a less detailed area.
- The page looks split in two: Repeat one shared color in the caption panel or a small paper strip, then remove any extra accent that does not help the reading order.
- The caption is hard to read: Increase the clear space around it, use a plain backing, or shorten the note to the detail that identifies the memory.
Questions about a botanical page
Does the herbarium paper always need to be the background?
No. Check the actual pattern and the job the page needs to do. If a particular herbarium design is dense while a rose paper has open space, reverse the roles or use both as accents around a plain writing area.
Can I combine two detailed patterns?
Yes, if they occupy different amounts of space or serve different jobs. Try one as the dominant field and the other as a border, mount or small corner; keep the caption on a calmer panel.
How can I keep handwriting legible?
Test the writing area at its final size. Look for contrast between the pen and background, avoid placing words over fine details, and leave a little breathing room around the text.
What should I check before choosing a collection?
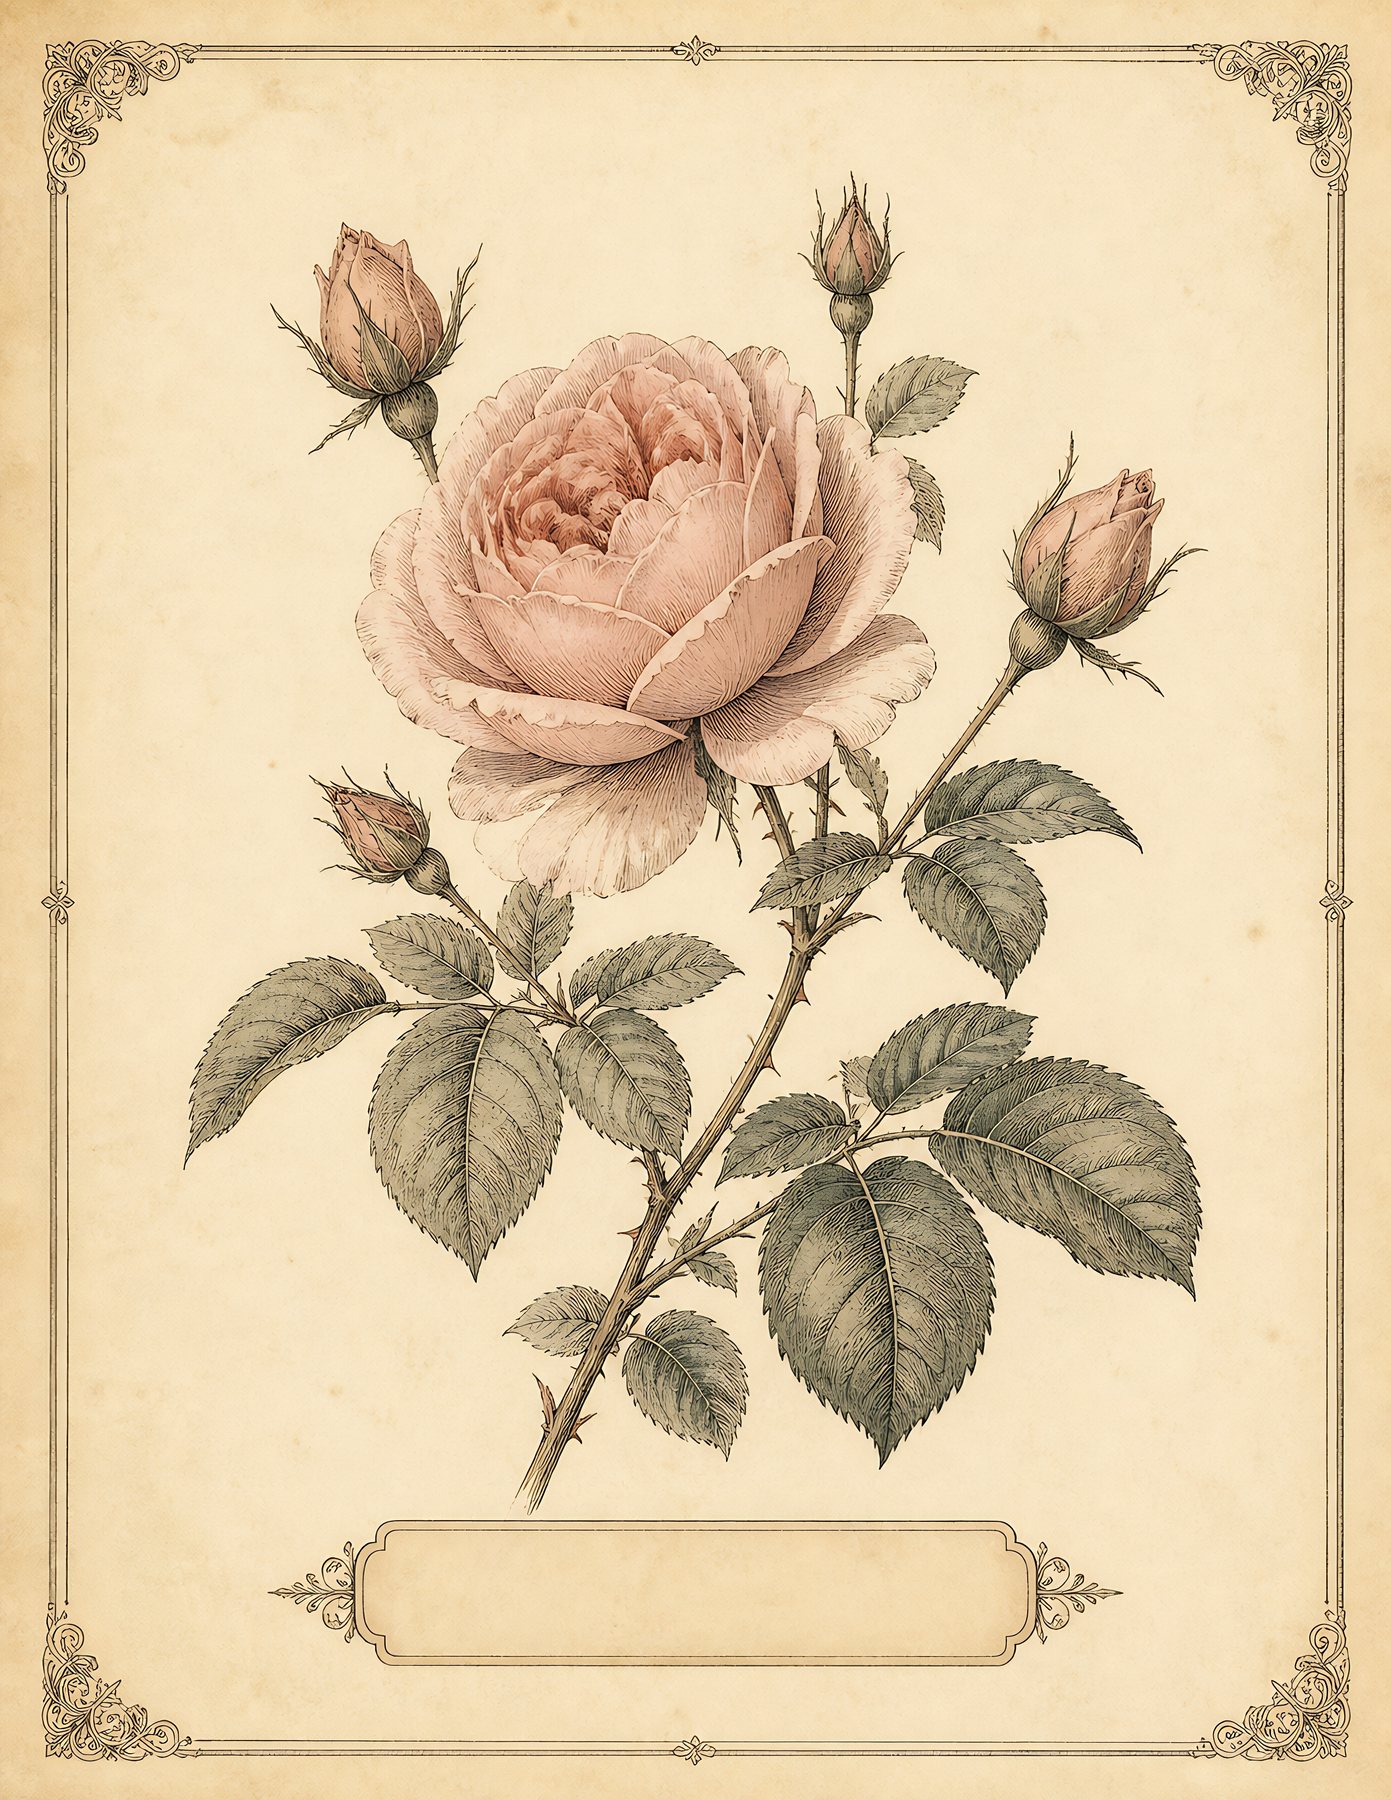
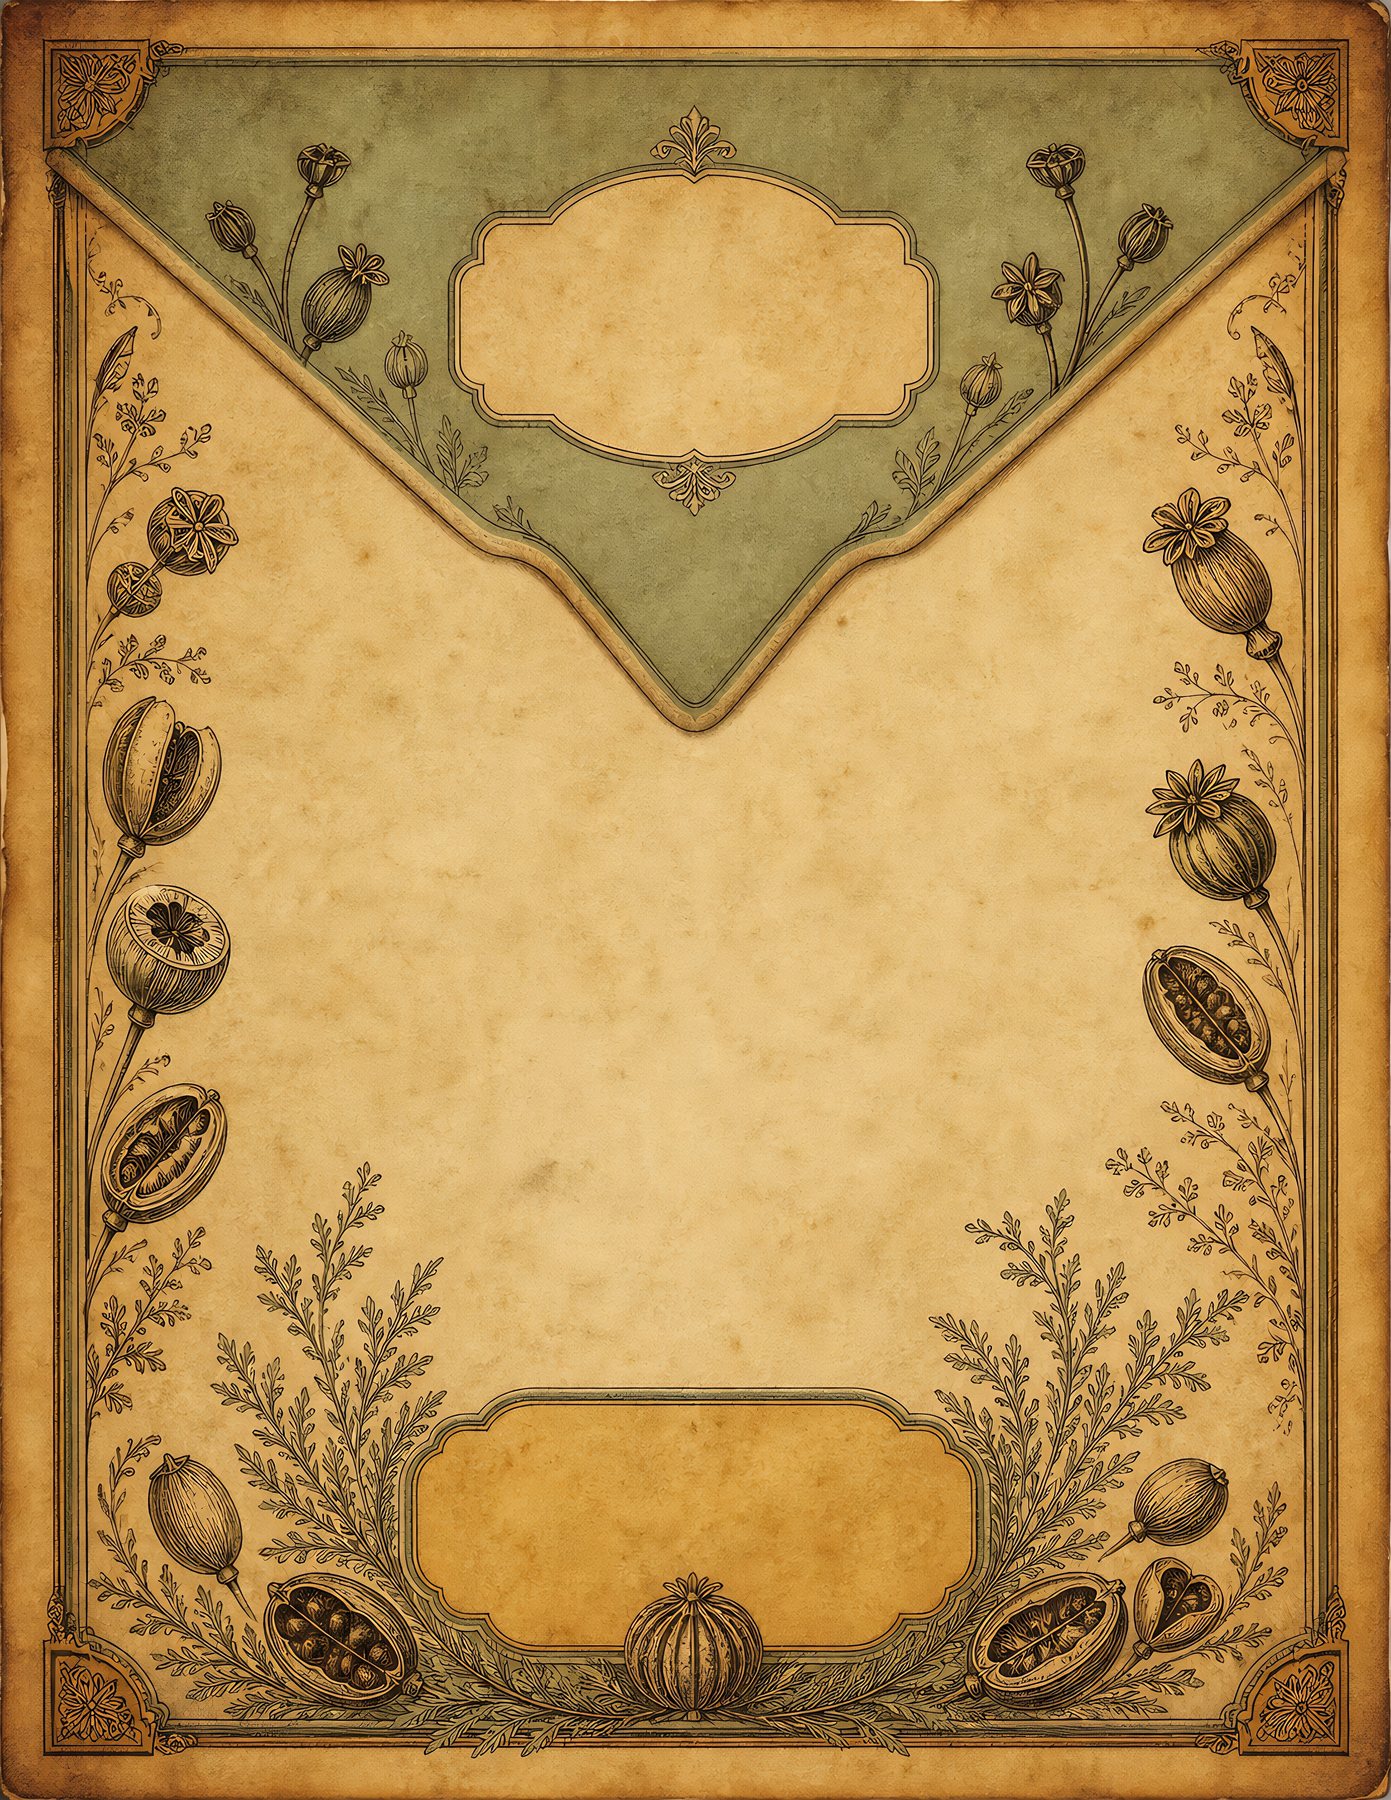
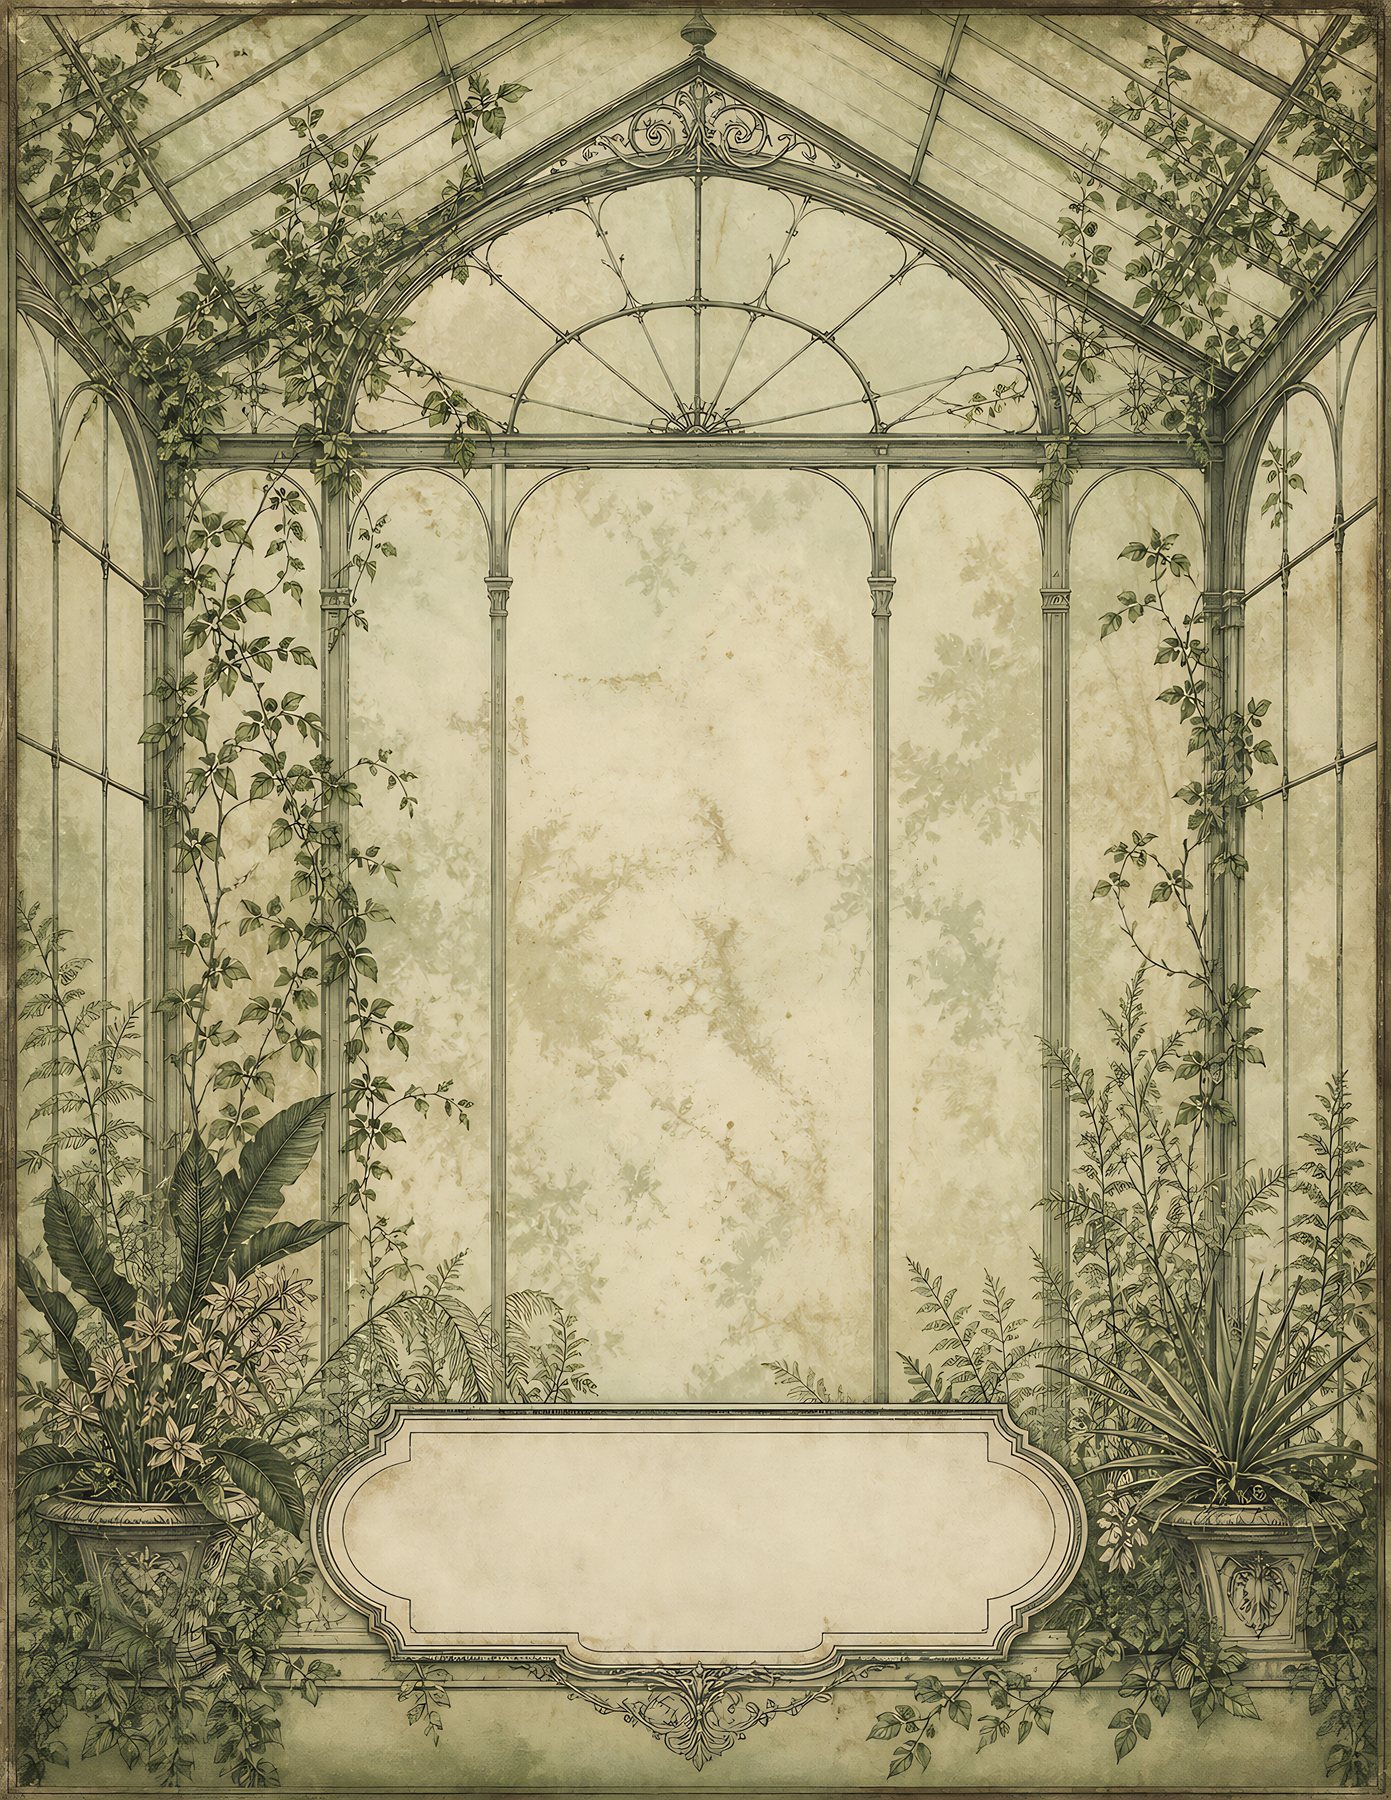
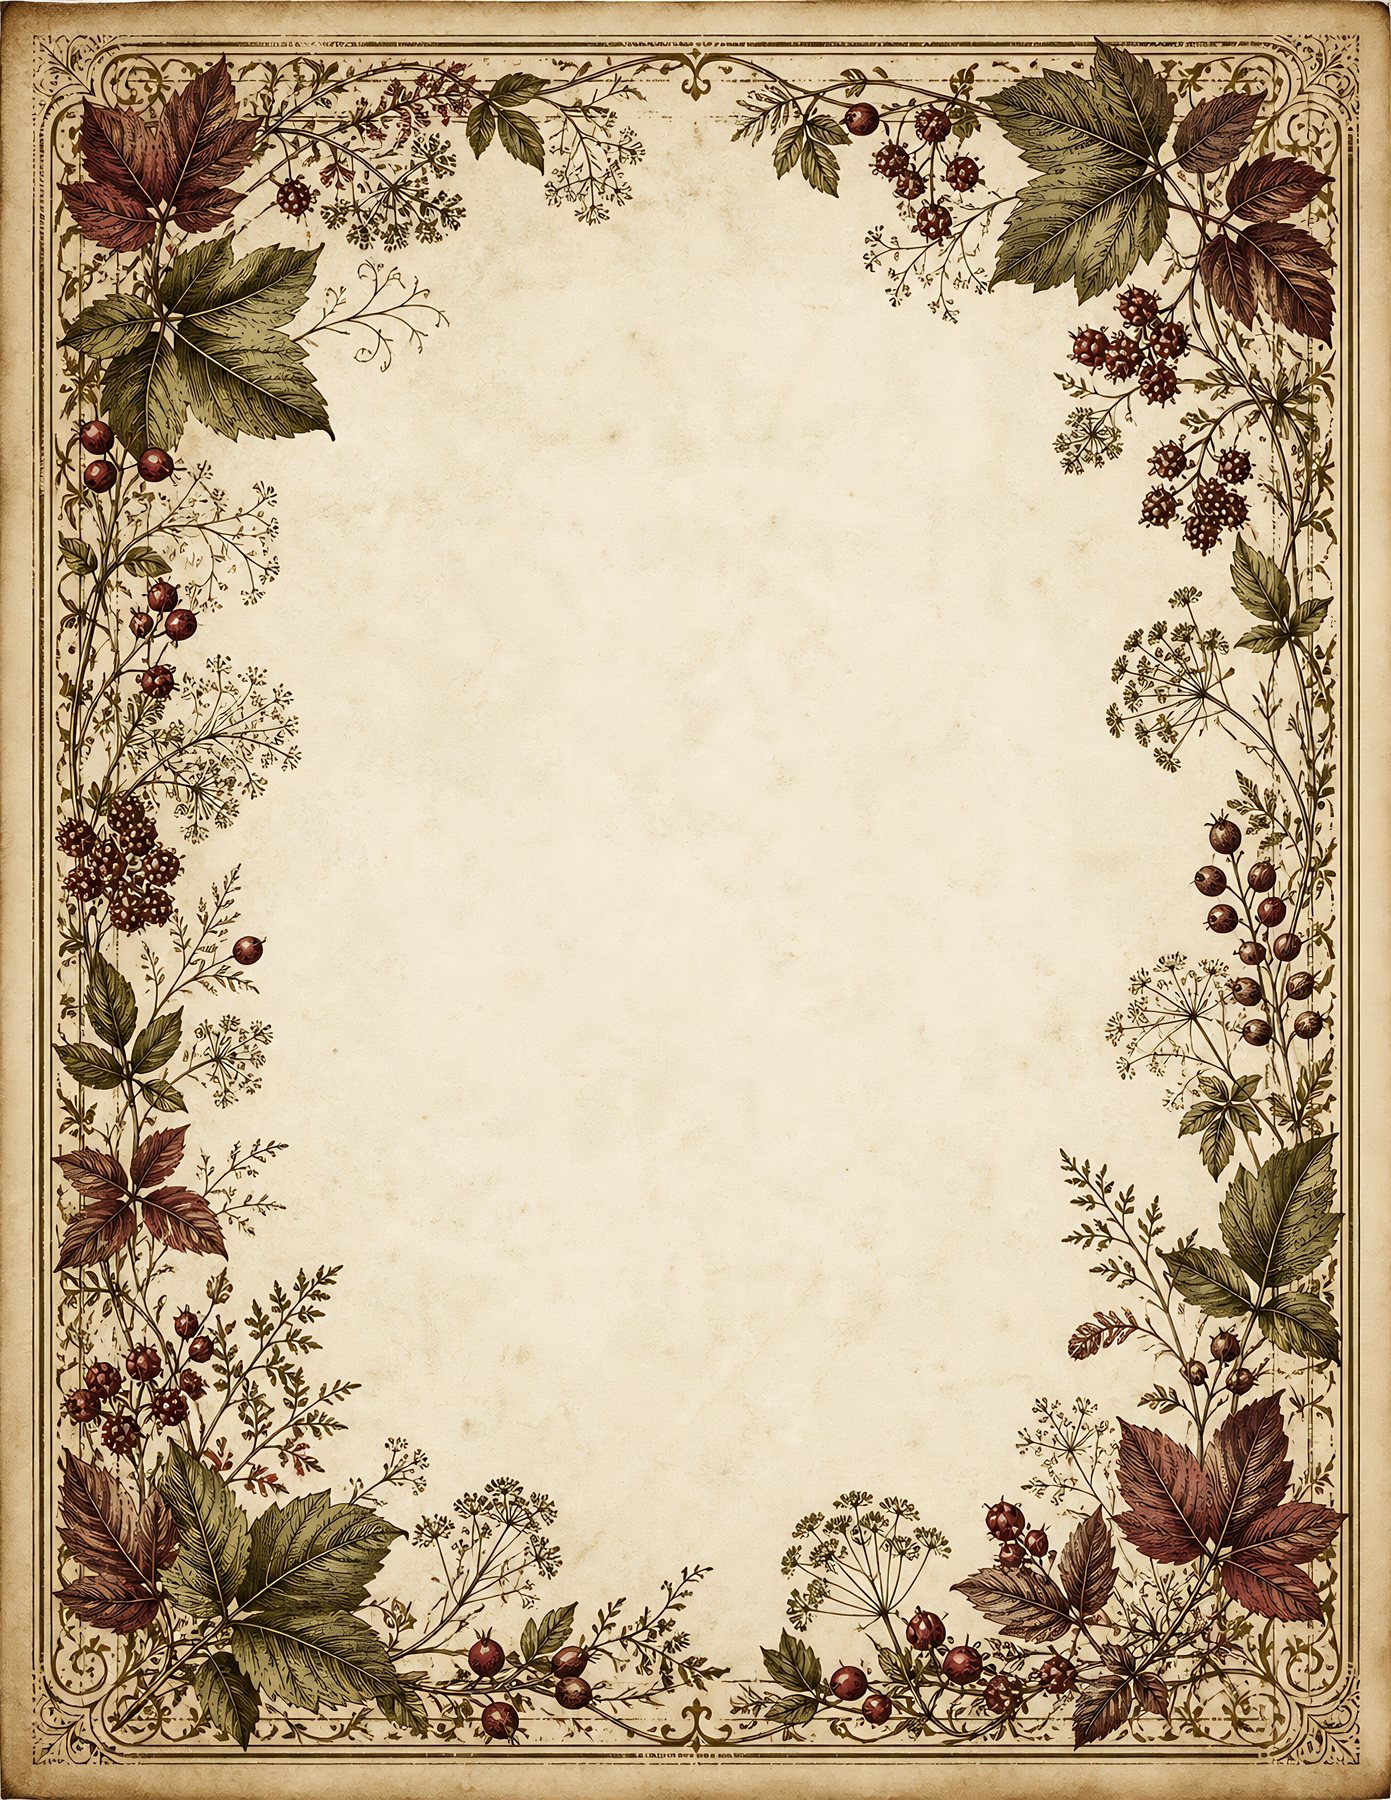
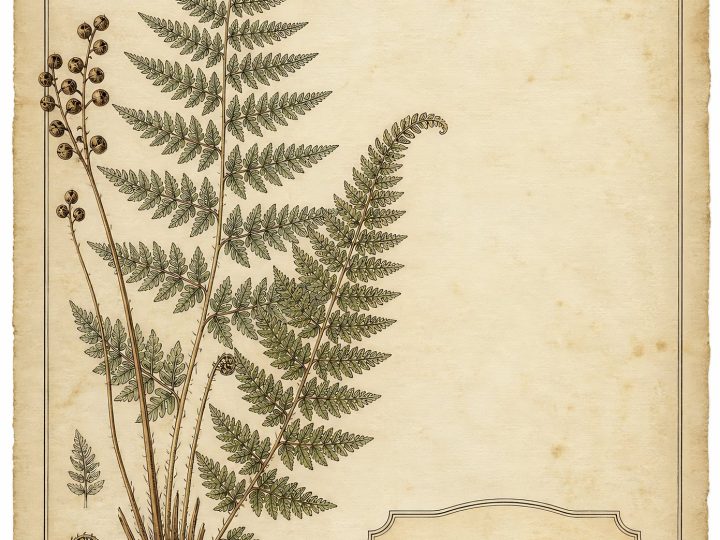
Use the live Victorian Botanical Herbarium and Rosewood Heirloom Vintage Rose pages for current collection details. The illustration shows one possible arrangement; choose each paper role from the actual pattern and the content you need to fit.
Collection previews used in this guide
These are current ScrapBujo collection previews, not substitute artwork. They show the paper surfaces and formats discussed below.
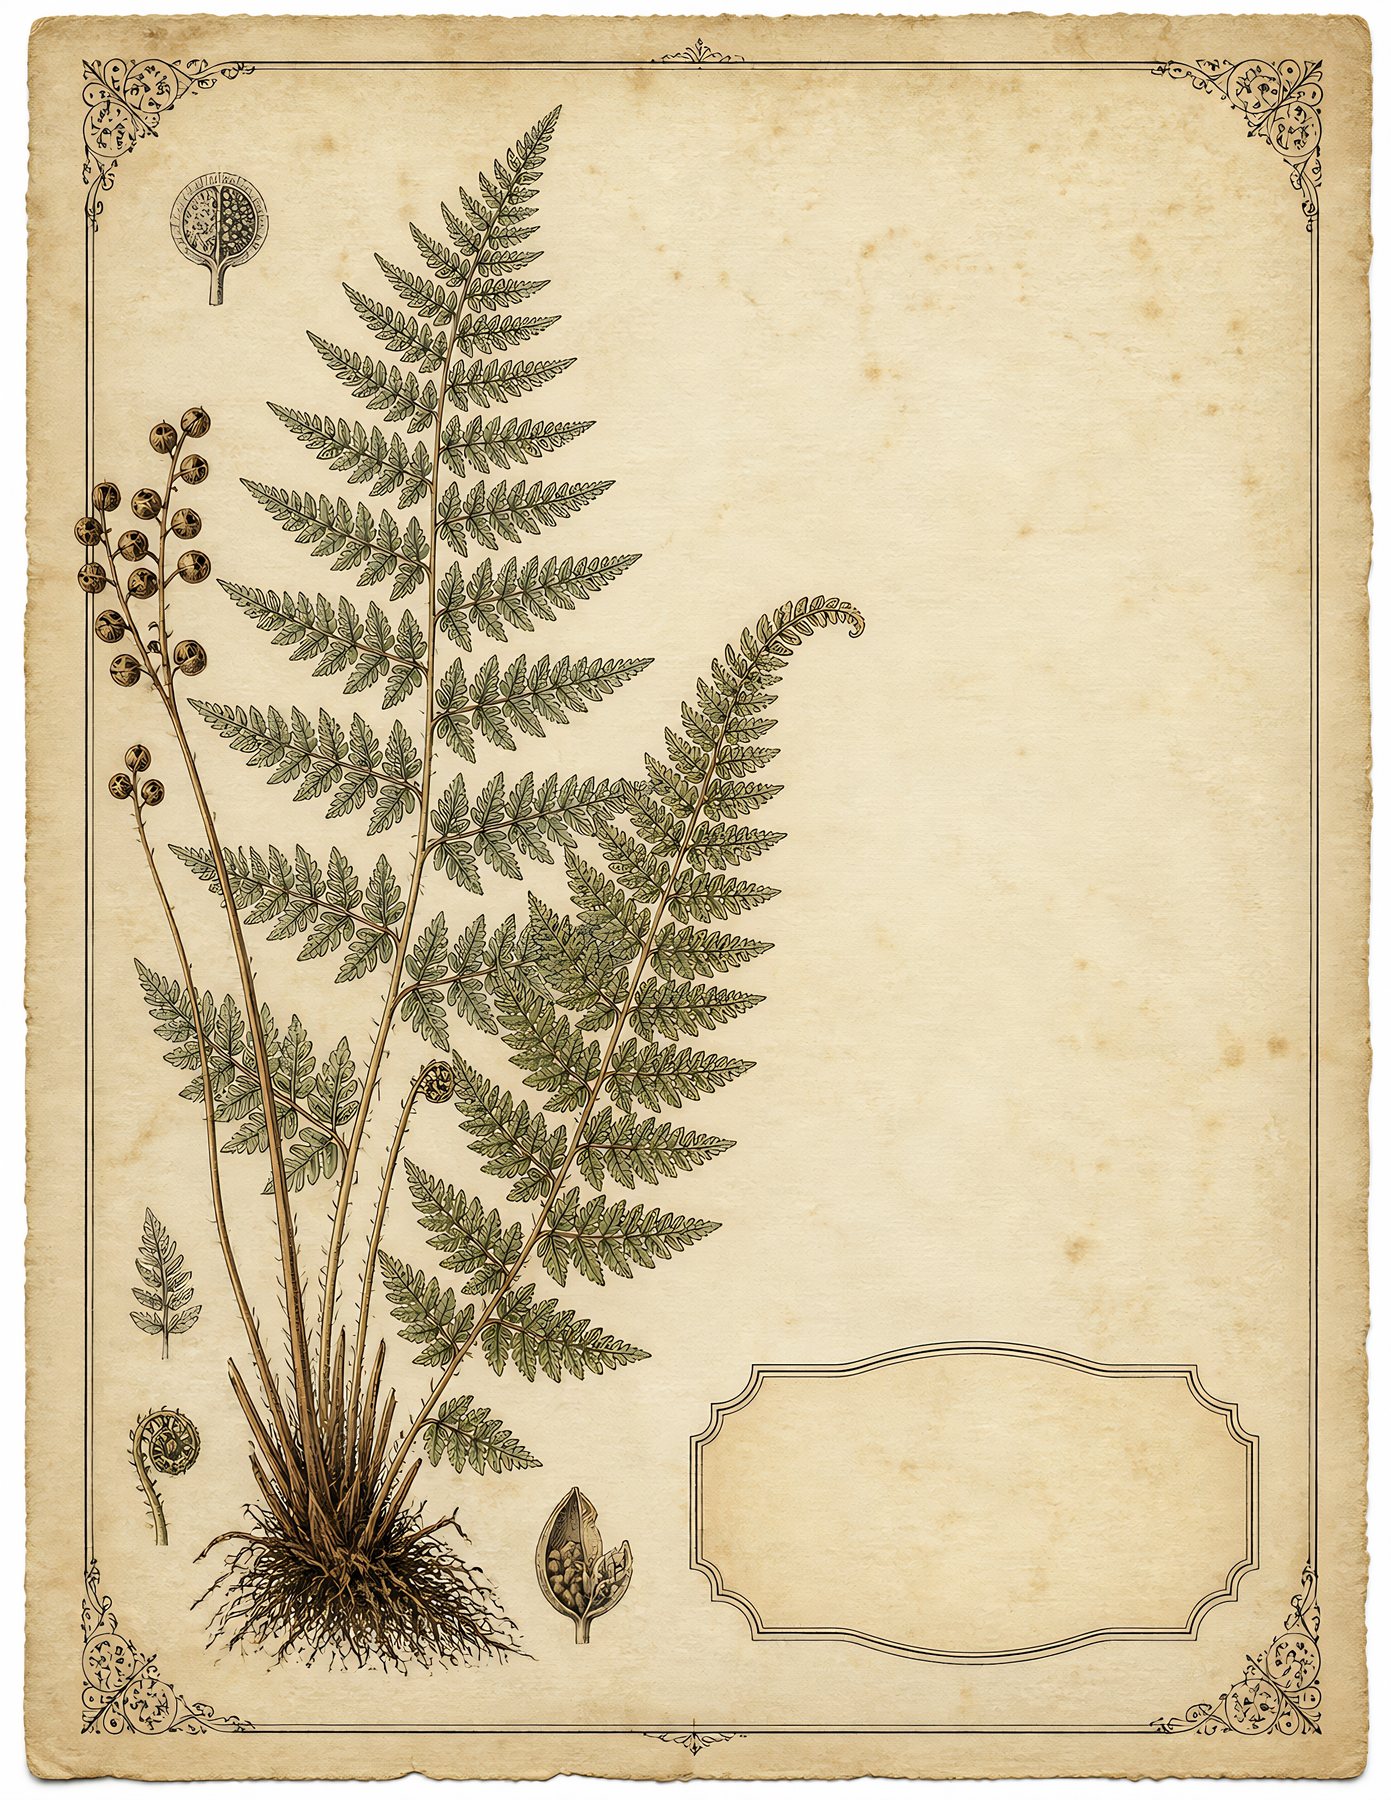
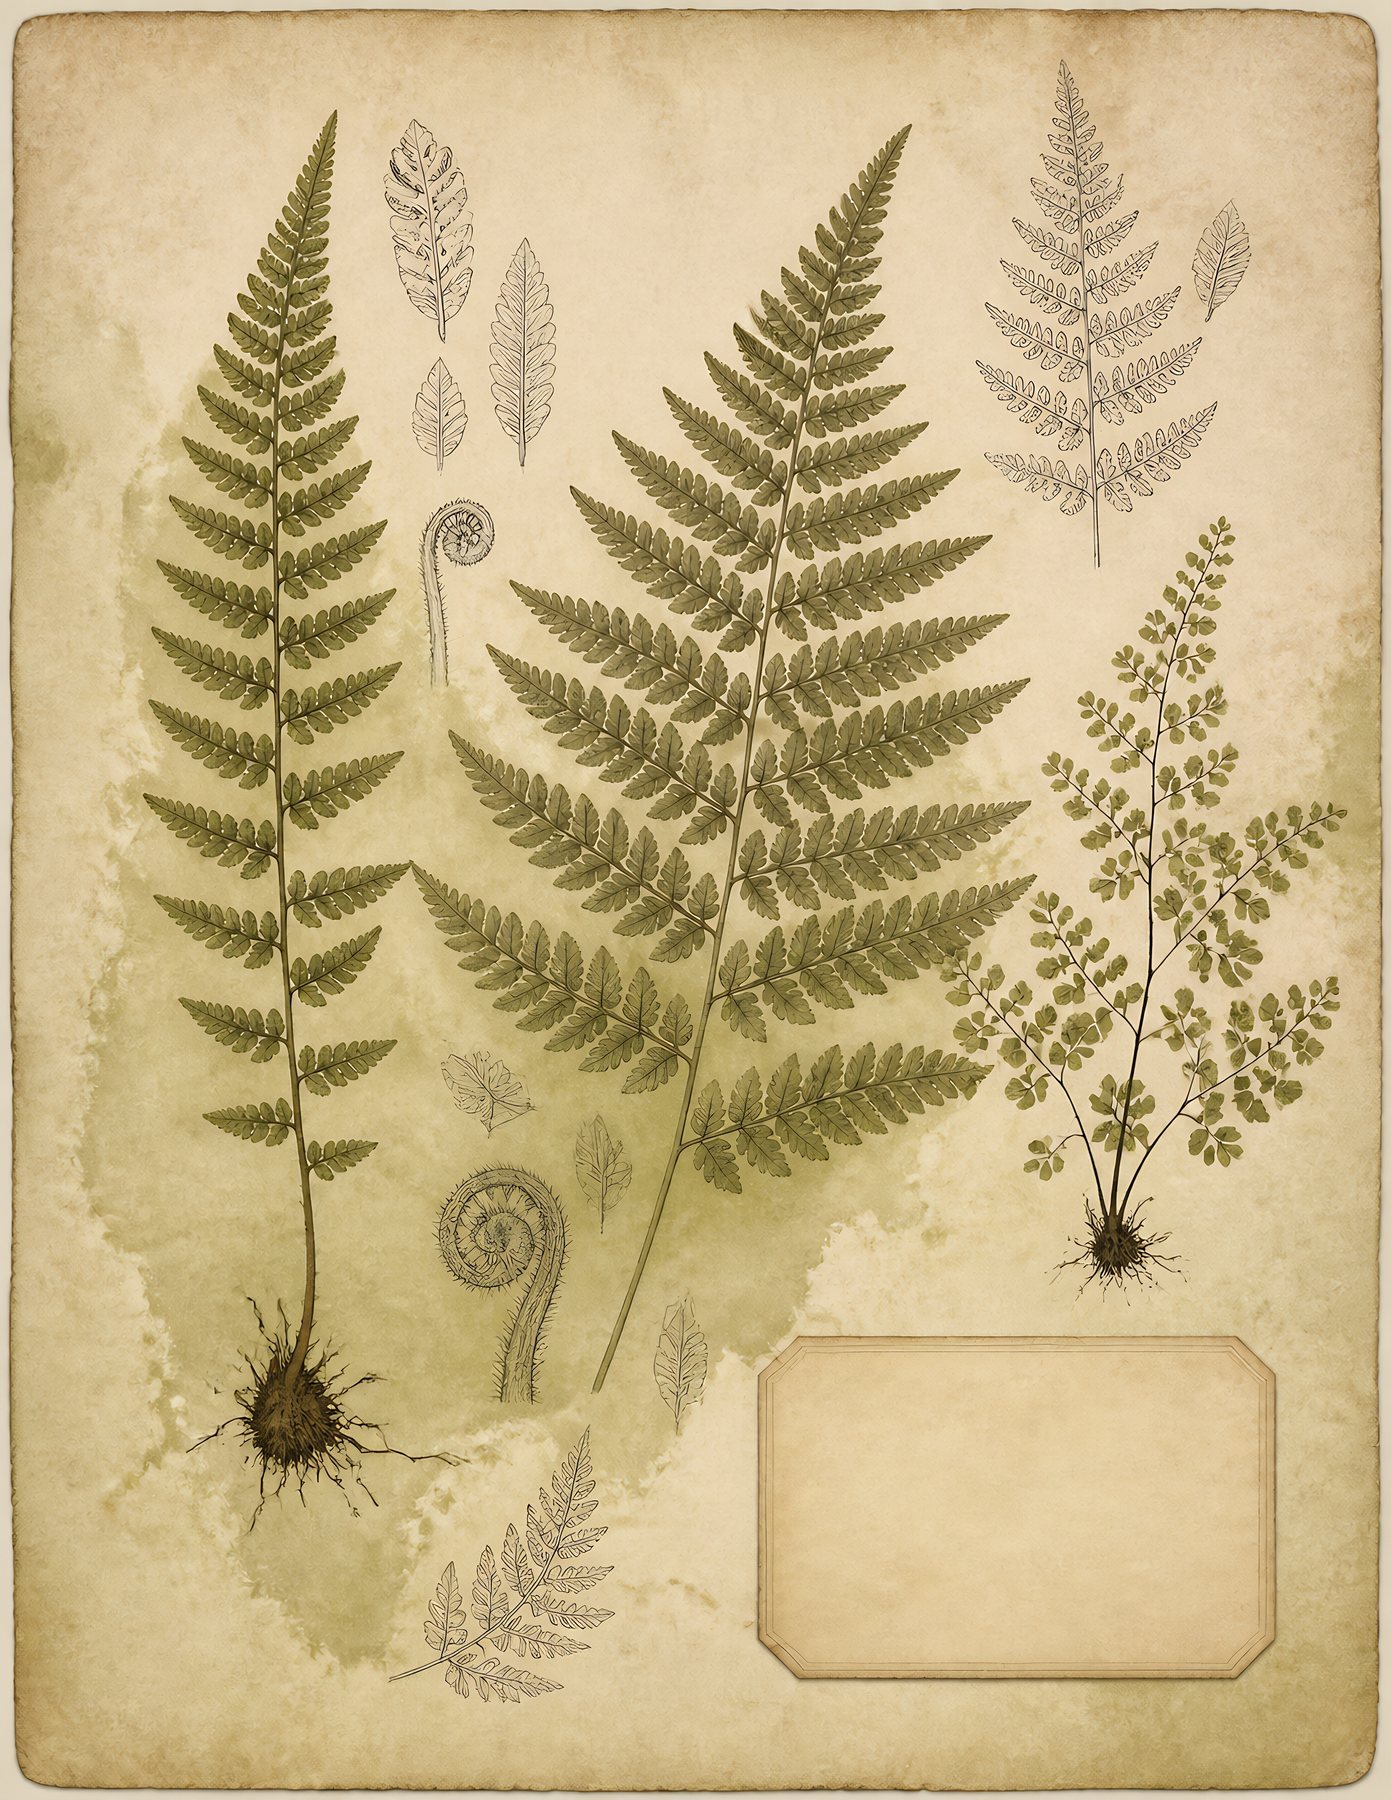
Related free samples: Browse free printable samples before choosing a full pack.
Explore ScrapBujo digital collections
Explore the related digital collection
Review the collection previews and current file details before choosing a format.
300 DPI Digital download
Floral & Botanical · Junk Journals
Victorian Botanical Herbarium
Explore Victorian botanical papers, herbarium ephemera and transparent PNGs for cohesive junk journals,…
Each product page identifies its checkout, current price, and digital delivery details.