
How to Scan 12×12 Scrapbook Pages: Capture, Stitch, and Save
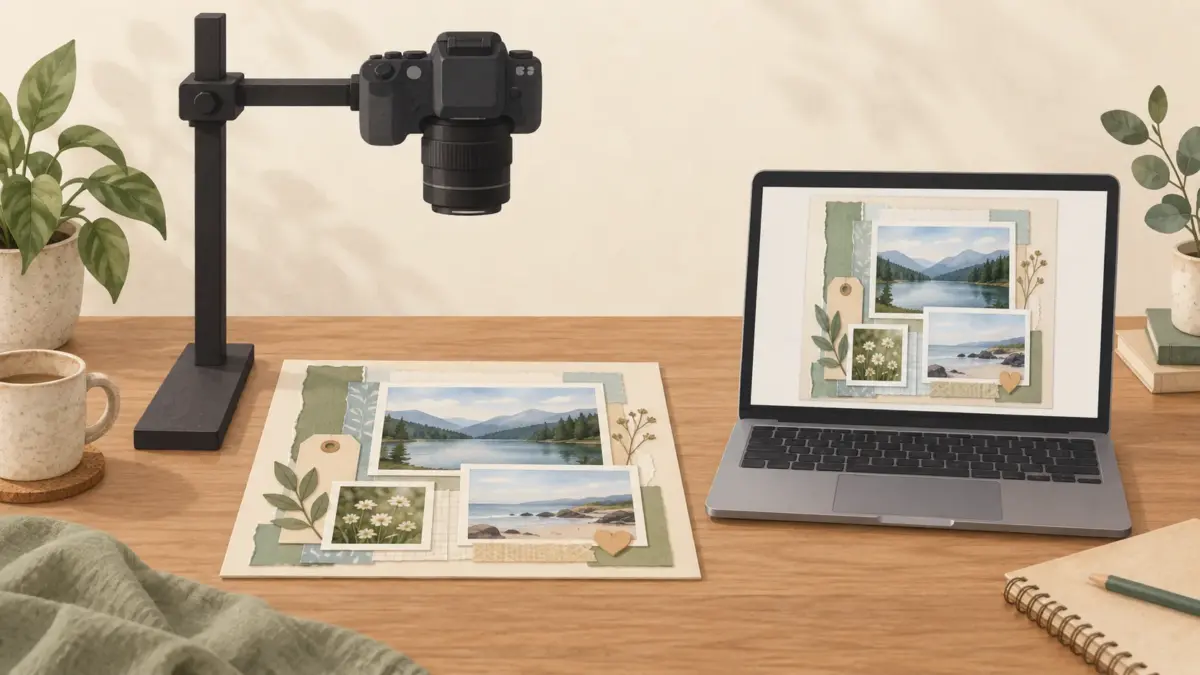
AI-generated illustration of an overhead capture setup; this is not a photographed scanning test.
A 12×12-inch (30.48 × 30.48 cm) scrapbook page may be too large for an everyday scanner to capture in one pass. If your page is loose and can rest flat without pressure, use a scanner bed large enough for the whole page. If it will not fit, capture overlapping sections and join copies. For a bound, fragile, or raised page, avoid forcing it against a scanner lid; use a non-contact camera setup or ask a digitization or preservation professional.
Before you begin, decide whether you need a faithful preservation copy or a smaller image to share. Keep the complete, unaltered capture as your master. Make any crop, color adjustment, or sharing export from a separate copy.
Choose a capture method
| Your page | A practical starting point | Check first |
|---|---|---|
| Loose page that lies flat safely | One flatbed scan, if the scan area covers the page | The bed must include the full 12-inch square. Do not force the lid closed over raised embellishments. |
| Loose page larger than the scanner bed | Several overlapping flatbed captures, joined in image software | Keep shared details visible between frames, and inspect every seam before treating the joined file as complete. |
| Page is bound, delicate, or has raised pieces | Non-contact overhead photography, or advice from a digitization or preservation service | Face the camera squarely toward the page, use even light, and do not press the album open. |
| The page is irreplaceable or difficult to handle | Ask a qualified preservation or digitization service about its handling process | Confirm how the original will be supported, captured, returned, and protected. |
This is a method-selection guide, not a scanner recommendation. Equipment specifications differ; compare the actual usable scan area with the page and leave room for the whole edge when possible.
Prepare the page and capture setup
- Protect the original. Do not detach a page, flatten a binding, remove an embellishment, or apply cleaner to the page to make it easier to scan. If the page resists opening or has loose, brittle, raised, or valuable parts, stop and seek preservation advice. The Library of Congress scrapbook-care guide provides preservation context for handling albums and pages.
- Clean the equipment safely. Follow the scanner or camera manual for the glass or lens. Dust and fingerprints on equipment can appear in the capture; keep cleaning products away from the scrapbook itself.
- Preserve the full edges. Place a loose page square to the scanner guides, or frame it with a little space around the border in a camera shot. Keep corners and any writing near the edge in view.
- Choose color and resolution for the page. A color page generally calls for a color capture. Do not choose a larger DPI number just because it is available: the useful setting depends on the source detail and what you need the file to do. More pixels cannot recover detail the capture never resolved.
- Keep frames consistent. For a page that needs multiple captures, use the same orientation, distance, focus, lighting, and exposure where possible. Include repeated detail between neighboring frames so stitching software has something to align. Keep the original frames until you have inspected the finished file.
For scale, a 12-inch side sampled at 300 pixels per inch corresponds to 3,600 pixels on that side, or a nominal 3,600 × 3,600 square. That calculation describes pixel dimensions only. It does not certify scanner quality, color accuracy, sharpness, or print results; a larger DPI setting also cannot create detail absent from the paper capture.
Join overlapping captures without inventing missing details
If one scan covers the whole page, keep that file as the complete capture and skip stitching. If you captured sections, load the original frames into stitching software and choose a layout that moves frames into alignment without warping them when that option is available. Adobe Photoshop’s Photomerge guide documents a Reposition layout that aligns matching overlap without resizing or warping.
Keep every original frame and save the joined result as a separate file. Check the border, corners, lettering, faces, and small embellishments across every join. Look for doubled lines, shifted writing, missing strips, uneven scale, or empty wedges. If a seam lost any part of the original, recapture that area and join the new frame. Do not use Content-Aware Fill or generative fill to replace missing page edges or details in a preservation master: the filled pixels would no longer be a faithful record of what was on the page.
Keep a master and make a working copy
Save the complete, unedited scan or stitched file before cropping, sharpening, adjusting color, or reducing its dimensions. Use a clear filename with the page or album name and date. Keep a second copy in a separate storage location.
The Library of Congress consumer scanning guide recommends keeping a master and working copy; it describes TIFF as a preferred photo-preservation master and JPEG as a smaller, convenient working copy. Your scanner and software may offer different formats. If your tool can save a TIFF master, keep it unchanged and create a separate JPEG or other sharing copy. If it cannot, preserve the highest-quality original file it produces and do not overwrite it while editing.
Before sharing or printing a copy, reopen the saved file and confirm:
- the full page, including all four corners, is present and upright;
- small writing and details are in focus at a useful viewing size;
- colors and exposure look consistent across the page and any stitched joins;
- no seam doubled, shifted, or removed a line, face, or embellishment;
- the file dimensions match the intended use, without relying on interpolation to add detail; and
- the unchanged master and original frames are still stored separately from the edited copy.
Digitizing a page preserves a view of it; it does not replace the original or guarantee an identical print. If your next task is printing a digital scrapbook page, see How to Print 12×12 Scrapbook Pages: Home Printer or Print Shop? for that separate question.
If your page is attached to a binding, fragile, or too valuable to risk, ask a preservation professional about handling options for that item before opening it wider or placing it on a scanner bed.
Explore ScrapBujo digital collections
Digital paper collections for your next project
Explore coordinated digital collections on ScrapBujo, compare formats, and follow the checkout shown for the product you choose.
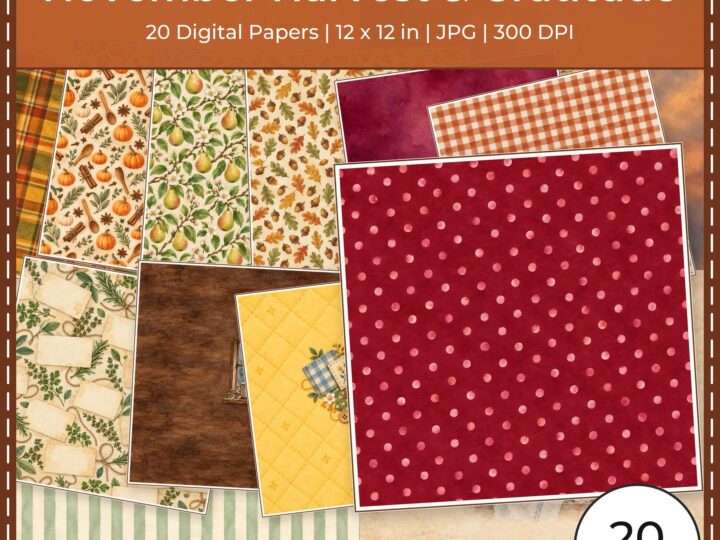
12×12 in 300 DPI Digital download
Digital Scrapbook Papers
November Harvest Gratitude Digital
Explore 20 coordinated digital scrapbook papers from the ScrapBujo November Harvest Gratitude Digital…

300 DPI Digital download
Digital Scrapbook Papers
Ratoncito Perez Tooth Fairy
Explore 111 US Letter JPG scrapbook papers and 20 transparent PNG cliparts from…

12×12 in 300 DPI Digital download
Digital Scrapbook Papers
Equestrian Horse Barn Life Scrapbook
Explore 50 coordinated digital scrapbook papers from the ScrapBujo Equestrian Horse Barn Life…
Each product page identifies its checkout, current price, and digital delivery details.