
Blush and Sage Wedding Album Pages: Plan the Keepsake Before the Photos Arrive
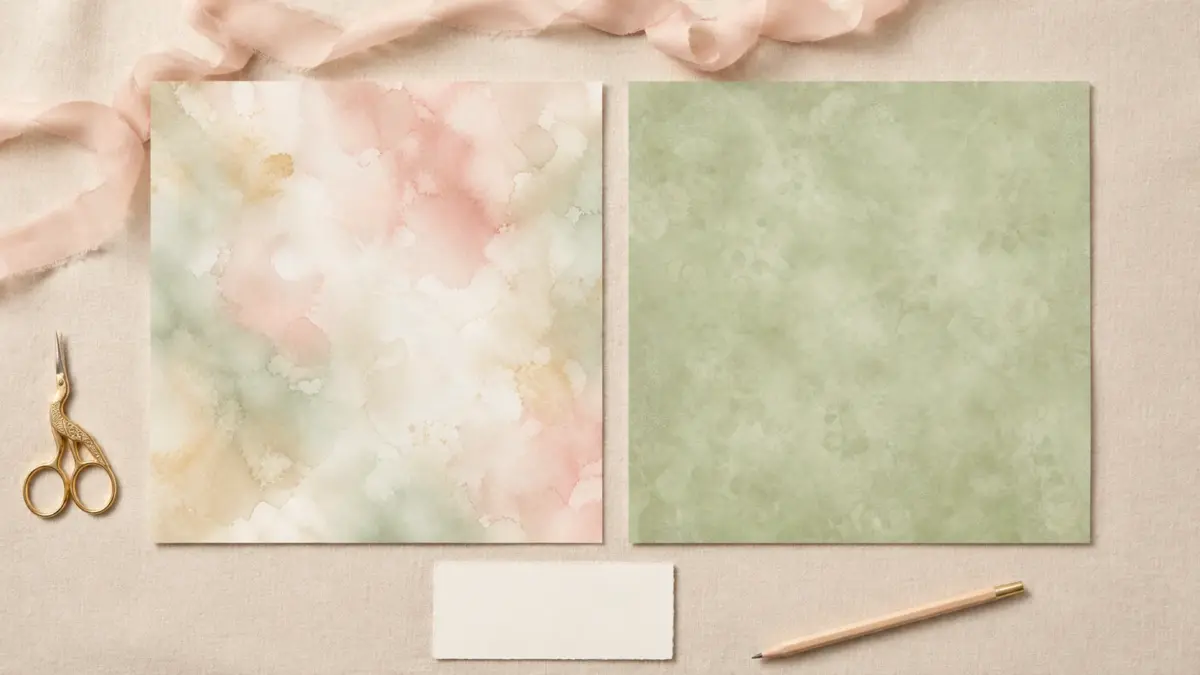
Quick answer: Plan one wedding spread around a portrait, a short passage from your vows and a guest note. Use a quiet blush or sage paper as the background, then repeat one stronger pattern in small accents. Leave the photo spaces unglued until the final gallery arrives.
About this guide: This is a suggested album layout, not a completed print test. The featured image is an AI-assisted editorial mockup; the gallery below shows the named collection’s paper previews. The measurements below are planning examples, not a cutting template included with the download.
Gather the memories before choosing the decoration
Set aside a portrait, a copy of your vows or ceremony reading, one guest message and a small detail such as the invitation or a photograph of the bouquet. Write the date, venue and names on a separate note while they are easy to remember. Keep original documents safe and use copies for cutting and arranging.
You will also need an album base, plain cardstock for writing, a ruler, pencil, scissors or paper trimmer, and adhesive appropriate for your photographs. Begin with the matching free wedding paper samples to inspect the designs and try your printer before choosing a full set.
Plan a two-page wedding spread
Left page: a portrait and the words you promised
For a suggested 12 × 12 inch page, reserve a 5 × 7 inch portrait space and a separate 3 × 5 inch writing card. Place them side by side with approximately half an inch between them. These two areas use 8½ inches of width, leaving room to adjust the margins and the album’s binding clearance. Use loose paper placeholders first; your album and photo crop may need a different arrangement.
Choose the quietest background so faces remain the focal point. Mount the portrait on plain cardstock if its edges blend into the pattern. On the writing card, copy a short passage from the vows, then add who said it and the ceremony date. Save the full text on a separate page if it will not fit comfortably.
Right page: a guest’s voice and one small detail
Use a 4 × 6 inch detail-photo placeholder near the top and a guest-message card below. Repeat the same background or accent color from the facing page, but leave the writing area plain. Keep floral details away from faces and handwriting rather than placing decoration in every empty space.
Keep the guest message flat on the spread, below the detail-photo placeholder. If the original is on a card, use a copy on the page and store the original separately. Arrange loose paper placeholders first and adjust the space to your album.
Make blush and sage support the photographs
Lay your portrait beside two paper previews before printing. Choose one paper for the larger background and the other for a narrow strip, photo mat or flat note panel. If the photograph already contains pink flowers, try sage around it; if the scene is mostly greenery, try a pale blush surface. Compare both arrangements rather than assuming the wedding colors must fill every layer. For a related look at placing blush and sage around wedding photos, see How to Balance Blush and Sage Papers Around Wedding Photos.
If the spread feels busy, remove the patterned photo mat first. Keep the photograph, the readable writing card and one decorative accent. A small repeat of the same accent on the facing page can connect the spread without competing with the memories.
Check size and printing before cutting
The linked collection page lists square 12 × 12 inch papers at 300 DPI. A US Letter or A4 printer cannot print a full 12 × 12 inch square at its original size. You can print a smaller square to mount on a larger plain base, use selected sections for accents, or use a printer or print service that supports the required paper size.
Keep the square proportions when resizing. Check the print preview for cropping and printer margins; do not stretch a square design into a rectangle. For dimensions you have deliberately set in your layout software, check the print scaling and measure a test piece before cutting the rest. See our 12 × 12 printing guide for the format decision.
Test your pen on the writing cardstock and allow it to dry before stacking the pages. Colors can vary with your screen, printer, ink, paper and print settings. We have not physically tested this proposed spread.
Questions that come up while planning
Which photograph should be the anchor?
Choose the image that carries the memory you want this spread to tell: the two of you together, the ceremony or a moment with someone important. Favor a crop that keeps faces and meaningful details intact. Use smaller supporting photographs elsewhere instead of squeezing every scene onto this spread.
What if the final crop does not fit the placeholder?
If the chosen photo is landscape or its crop no longer suits the portrait placeholder, reorient the photo area before attaching anything. If it still crowds the vow card or binding margin, use it as a smaller supporting photo and keep the writing area clear. The suggested 5 × 7 and 4 × 6 spaces are layout examples, not required dimensions.
What can I write beside a wedding photo?
Try a short prompt: “Where were we? What happened just before or after this moment?” Add the place and date if you know them, and name the speaker when you include a vow or guest excerpt. Put a longer passage on a separate card so the photo still has room.
Finish one spread before planning the whole album
Check that you can read the message at normal viewing distance, that the loose placeholders leave room for the album binding, and that the page turns without catching its decorations. Note the photo sizes and papers you used. Then plan the next spread around a different part of the day: getting ready, the ceremony, the gathering or the people who helped.
Collection previews used in this guide
These are current ScrapBujo collection previews, not substitute artwork. They show the paper surfaces and formats discussed below.
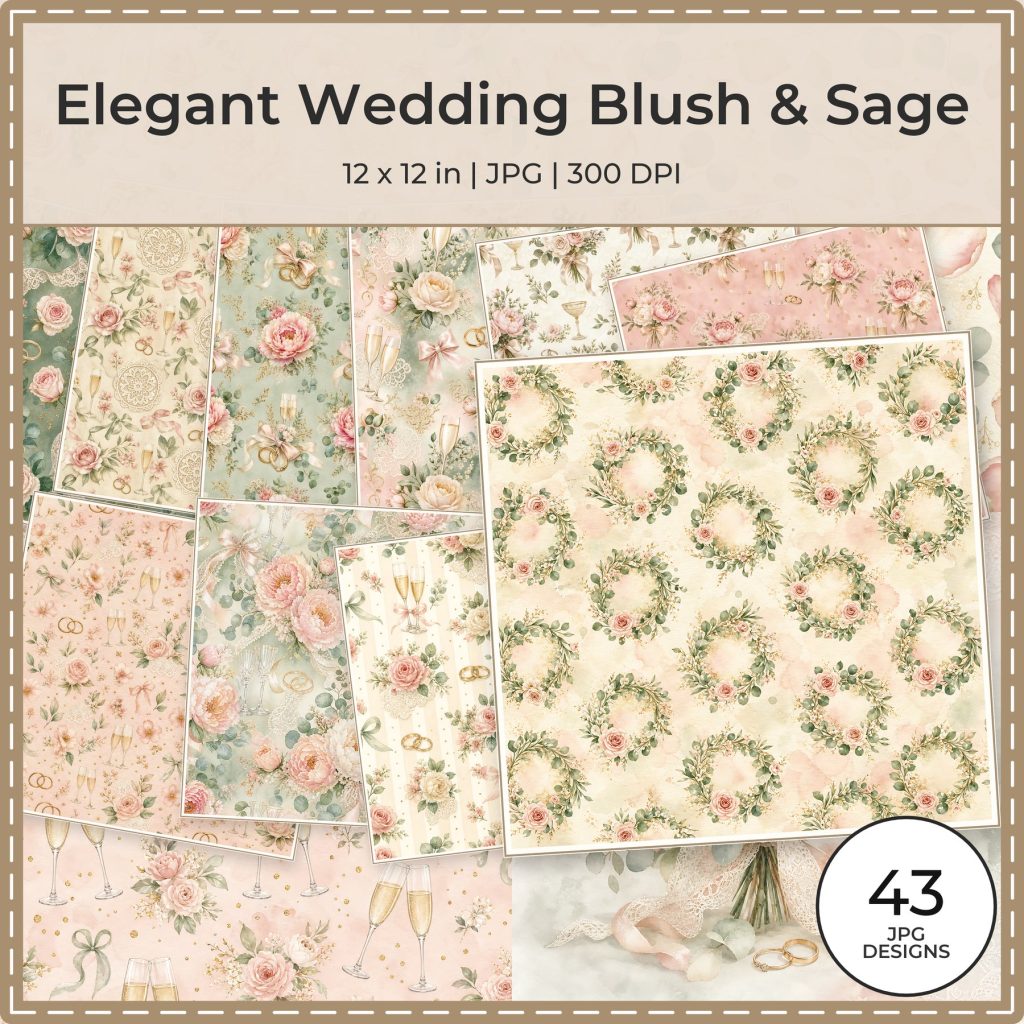
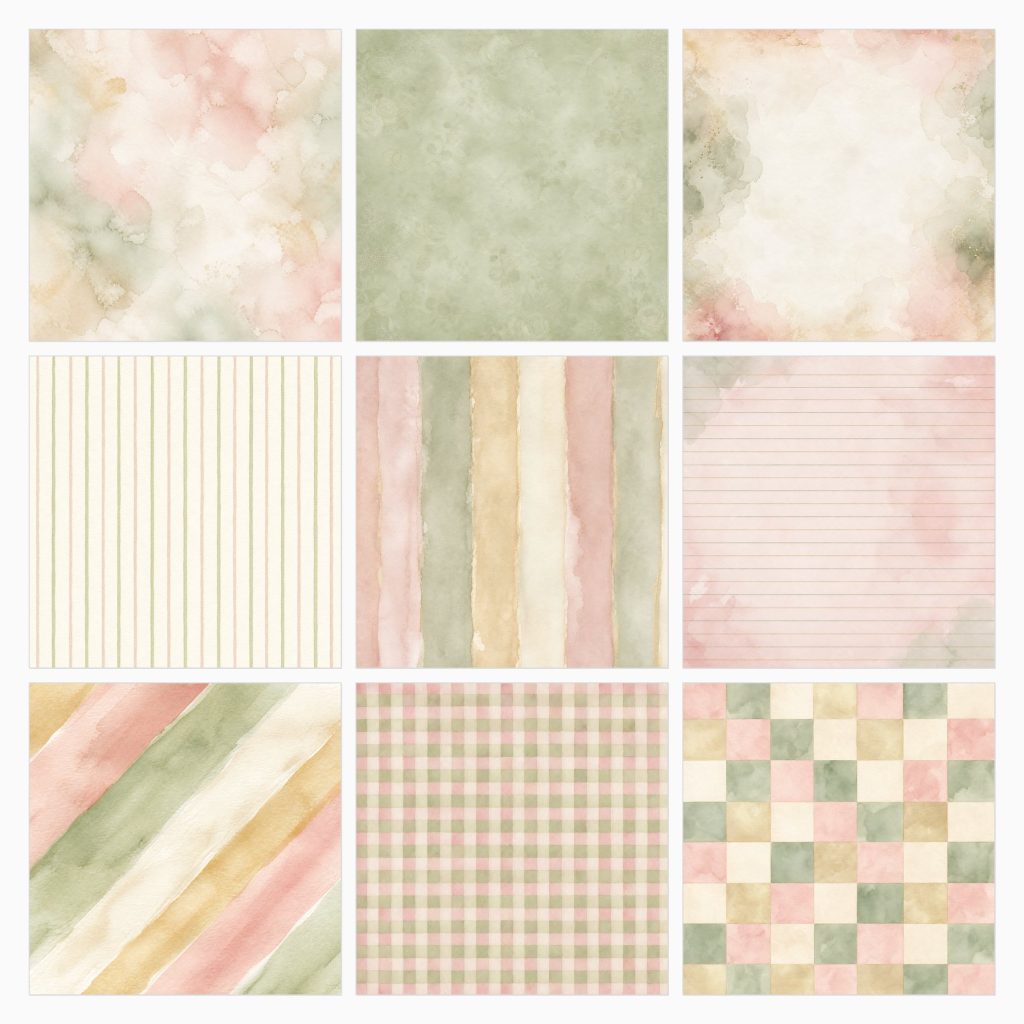
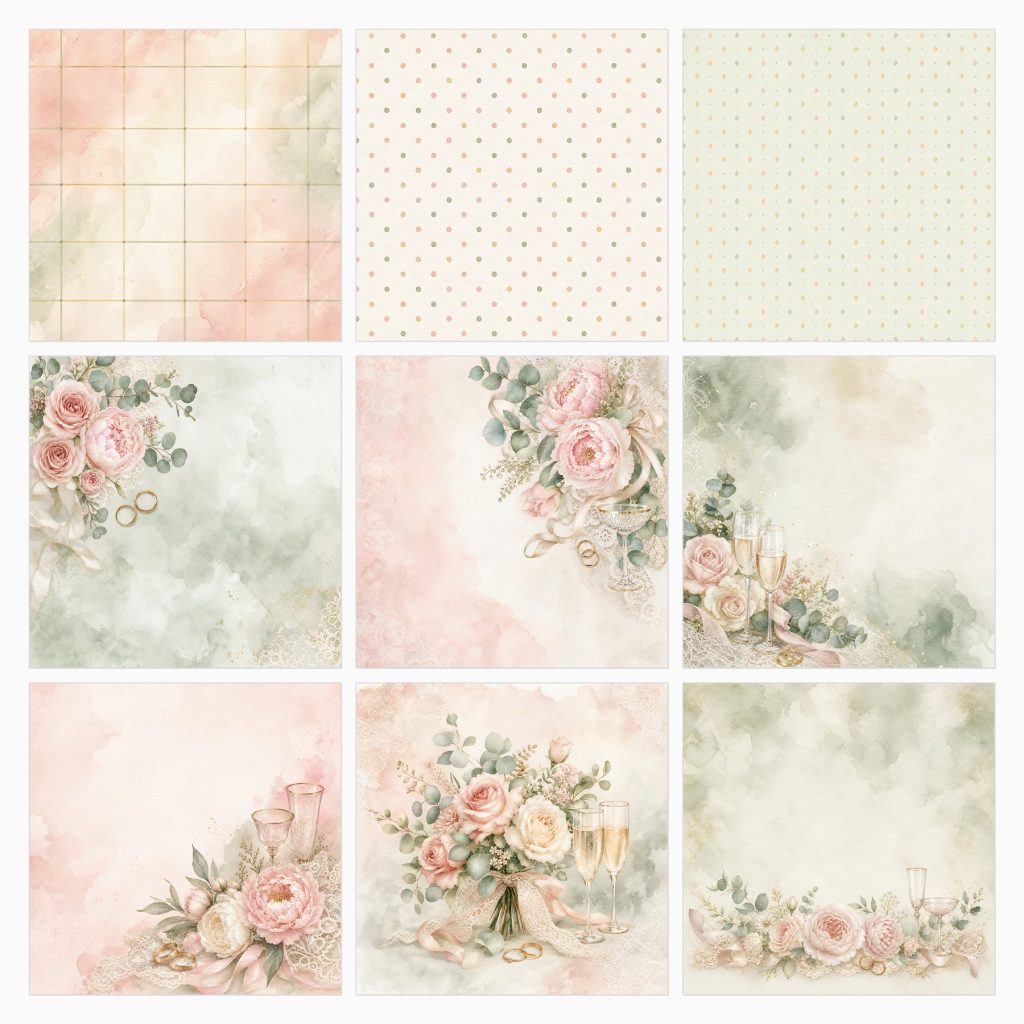
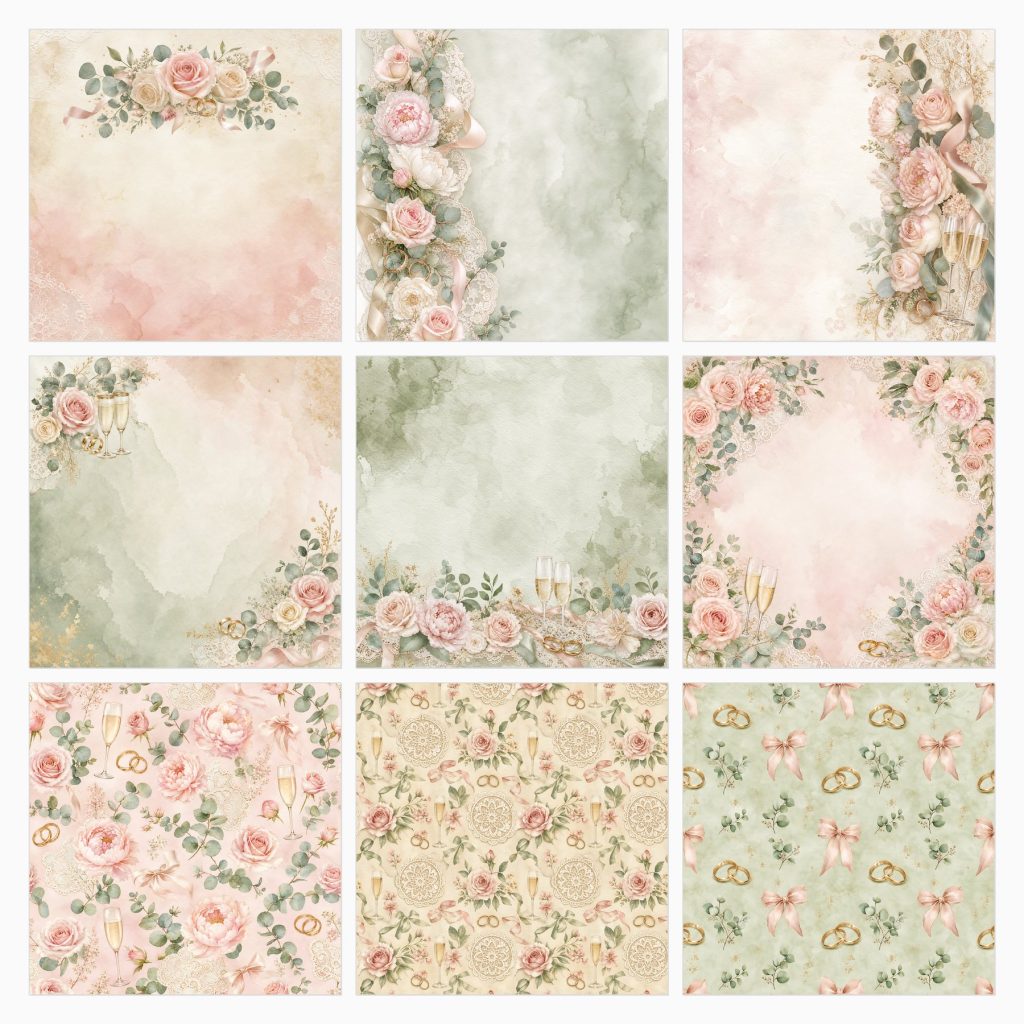
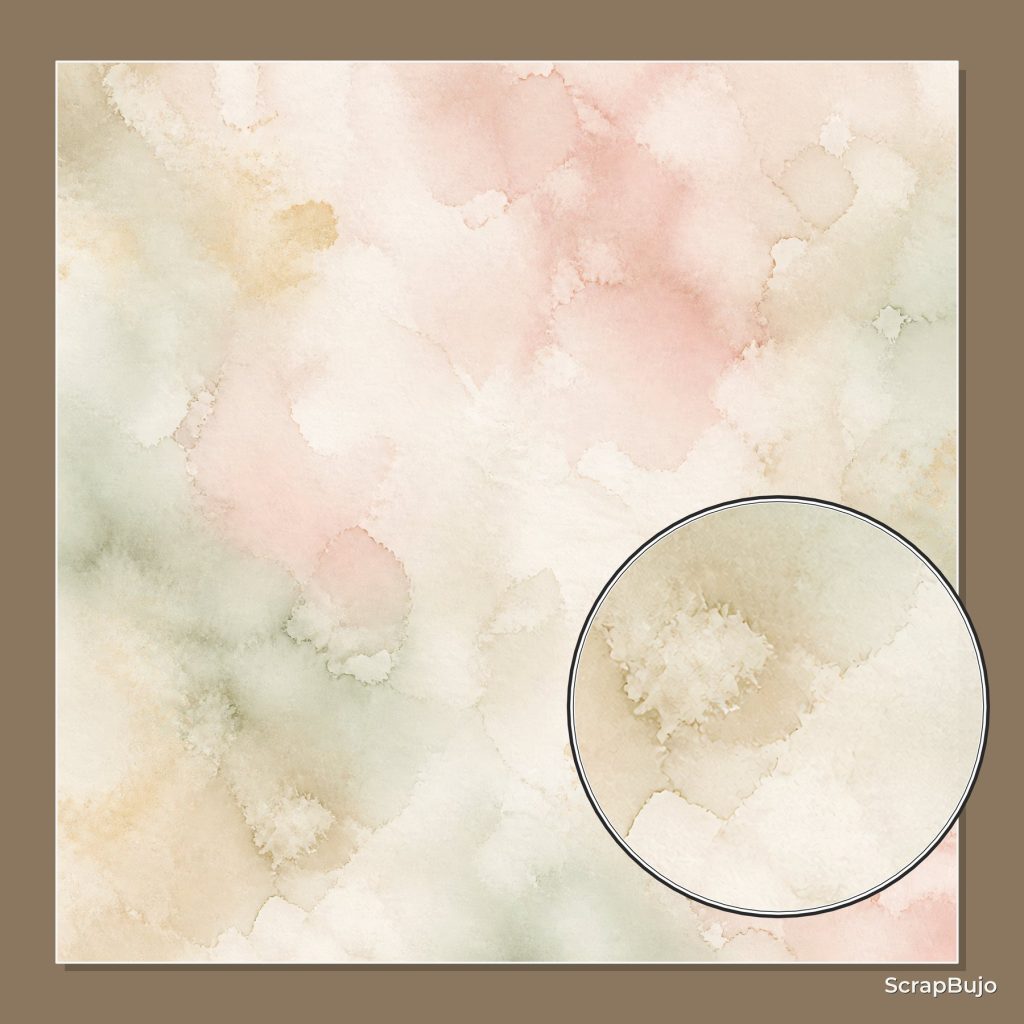
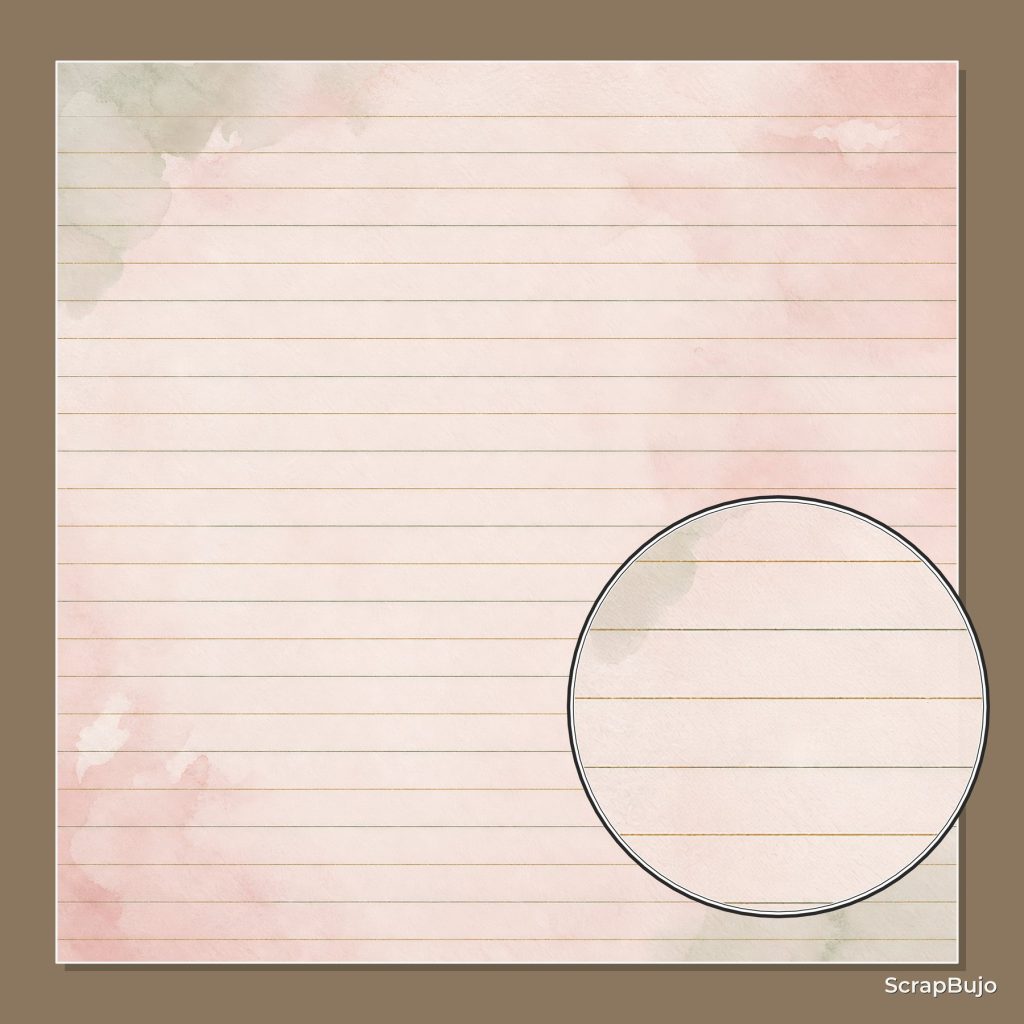
Choose your next step: Try the matching free wedding samples, review Elegant Wedding Blush & Sage, or see the full collection on Etsy. The suggested portrait mats, flat writing cards and color accents are project ideas, not additional files promised with the collection.
Explore ScrapBujo digital collections
Explore the related digital collection
Review the collection previews and current file details before choosing a format.

12×12 in 300 DPI Digital download
Wedding & Celebrations
Elegant Wedding Blush & Sage
Create wedding keepsakes with 40 square 12 × 12-inch JPG papers and 3…
Each product page identifies its checkout, current price, and digital delivery details.