
How to Create a Digital Scrapbook Kit for Your Own Project
Quick answer: To create a digital scrapbook kit for your own project, choose one standard page size, gather artwork you made or have permission to use, coordinate a few backgrounds with accents, and organize the files by type. Test one page before printing a full set. A kit can be as small as the files your project needs; it does not have to match a store-bought bundle.
This guide is about assembling a personal set of digital supplies. If you are deciding what a shop’s finished collection should contain, see what may be included in a complete digital scrapbook collection.
1. Decide what the kit needs to help you make
Start with the project: a vacation album, a baby memory book, a small journal, or a few printable cards. Write down the mood, subject and colors you want to repeat. Then choose only the materials that support that idea. For example, a personal travel set might use two background papers, a calmer writing paper and a few accents made from the traveler’s own photographs or licensed artwork. This is a planning example, not a ScrapBujo product count.
2. Choose the finished page size before arranging the files
Pick the page size to match the album, printer or print service you will use. Common choices include:
- 12 × 12 inches: a square scrapbook page. A full-size print needs paper and a printer or service that accepts that size.
- US Letter: 8.5 × 11 inches, a portrait or landscape sheet used by many home printers in the United States.
- A4: 210 × 297 mm, a standard rectangular sheet used in many other regions.
Small planner pages may use A5 or Half Letter. Keep the page shape intact when moving artwork between sizes. On a smaller sheet, choose a proportional “Fit” option or place one part of a square design on the page; filling the sheet may crop the edges, and stretching can distort the art. Use the 300 DPI to pixels calculator to check the pixel dimensions for a planned print size.
3. Gather and check the files
Keep the original artwork in a separate folder before making working copies. Background papers are often flattened JPG images. Individual cut-out motifs may be PNG files with transparent backgrounds, but the PNG extension alone does not prove transparency; inspect the actual image. A PDF can hold a print-ready page, so check its page size as well as the image dimensions.
A simple folder structure might be Travel Kit / Papers, Travel Kit / Accents, and Travel Kit / Print PDFs. Use names that make the design and format clear, such as map-background-12x12.jpg or ticket-accent-transparent.png. Record where each file came from and its usage terms. Never include a file in a shared or commercial kit unless its license allows that use.
4. Coordinate the papers and accents
Choose one visual anchor, such as a photograph, a color from a keepsake, or a pattern you want to feature. Pair it with a quieter background where journaling can stay readable. Reuse one or two colors in the accents so separate pages feel connected. Leave open space for photographs, dates and notes; the decoration should help the memory stand out.
Before finishing, open each file at full size and confirm that the subject, edges and colors look the way you expect. Keep a copy of the untouched source so you can make a different layout later without rebuilding the kit.
5. Make one page, then check the print
Build a single page first. If you are printing a PDF, check its page dimensions and select “Actual Size” only when the sheet and printable area match. On ordinary Letter or A4 paper, a square 12 × 12 design will need to be reduced, cropped, split across sheets or sent to a print service that supports a larger page. Compare the result with the guide to paper for printing digital scrapbook paper at home.
Check the first page for clipped edges, unreadable journaling space and unexpected scaling before printing more. Printer margins and available paper sizes vary, so check the printer manufacturer’s instructions for your device.
Want a coordinated collection ready to use?
Making your own set gives you control over the subject and the files you already own. If you would rather compare coordinated designs, start with free printable scrapbook paper samples, check each sample page for its exact files and size, and then browse ScrapBujo’s printable collections. Each collection page links to its specific Etsy listing, where the current package contents, price and terms can be checked before purchase.
ScrapBujo digital files are not for redistribution. Free samples are for personal use only; some paid collections allow limited use in finished physical projects under their stated terms. Read the ScrapBujo license and the license included with the specific product before using downloaded artwork.
Quick checklist
- Choose the standard page size before laying out the artwork.
- Keep backgrounds, individual accents and print PDFs in clearly named folders.
- Check transparency, image dimensions, PDF page size and usage terms from the actual files.
- Make one page and check the print before preparing a larger project.
Explore ScrapBujo digital collections
Digital paper collections for your next project
Explore coordinated digital collections on ScrapBujo, compare formats, and follow the checkout shown for the product you choose.
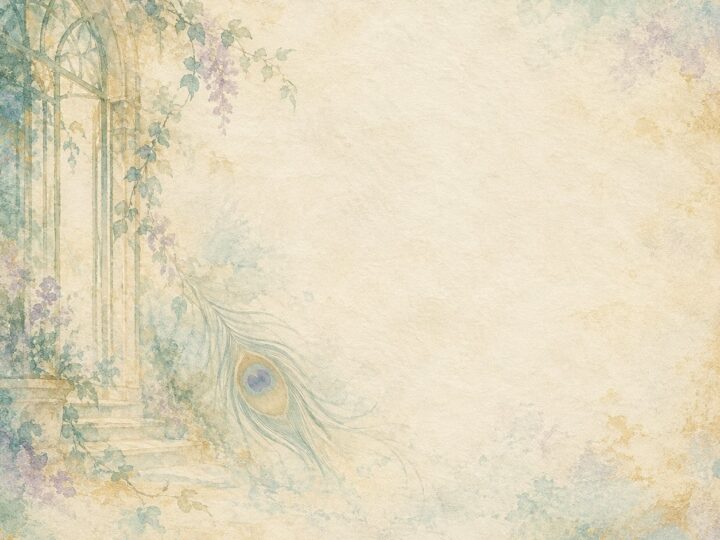
300 DPI Digital download
Digital Scrapbook Papers
Peacock Glasshouse Art Nouveau Scrapbook Papers
Explore a coordinated 29-paper digital scrapbook collection with a free three-page sample and…
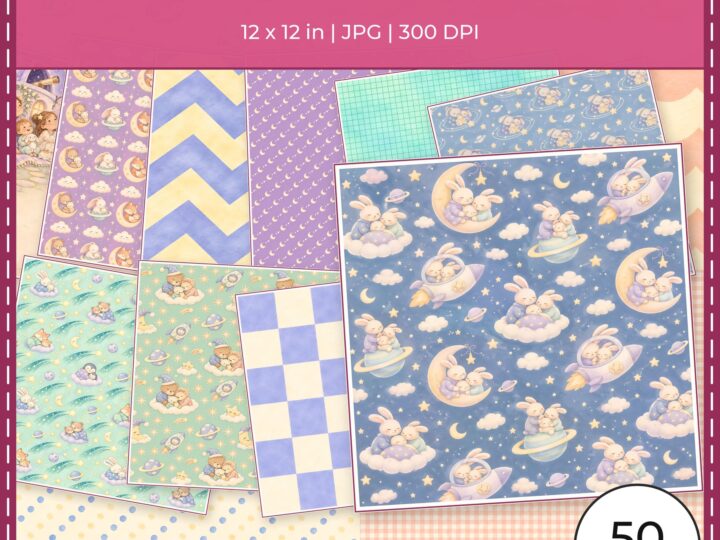
300 DPI Digital download
Digital Scrapbook Papers
Little Cosmic Dreamers
Explore the Little Cosmic Dreamers bundle: 40 square JPG scrapbook papers and 10…

12×12 in 300 DPI Digital download
Digital Scrapbook Papers
Amber & Iris Perfumer’s Atelier Papers
Explore 40 coordinated perfumer’s atelier papers: 32 paid Etsy JPGs and 8 separate…
Each product page identifies its checkout, current price, and digital delivery details.